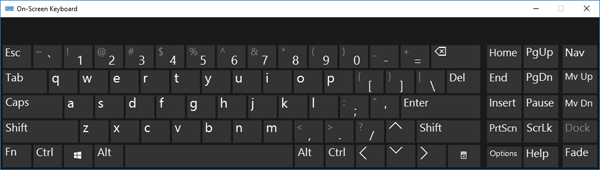
On-Screen Keyboard is a virtual keyboard that can be used in place of a physical keyboard. You can use your mouse or other pointing device to type the keys. In this tutorial we’ll show you 6 ways to turn on / open On-Screen Keyboard in Windows 10.
Method 1: Open On-Screen Keyboard from Control Panel
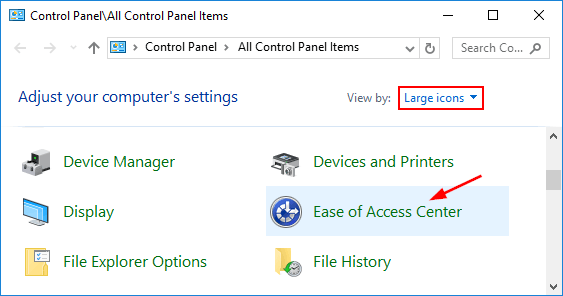
Open the Control Panel and select either Large icons or Small icons in the View by menu. Click Ease of Access Center.
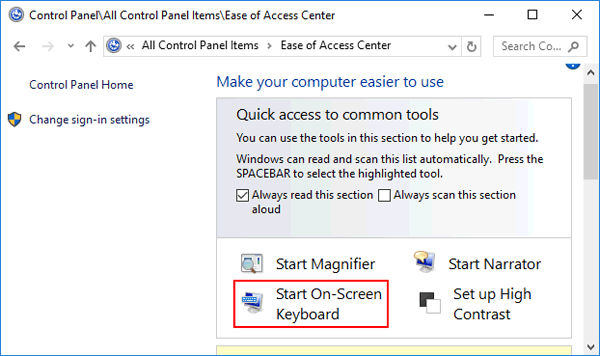
Click Start On-Screen Keyboard.
Method 2: Open On-Screen Keyboard from Run or Command Prompt
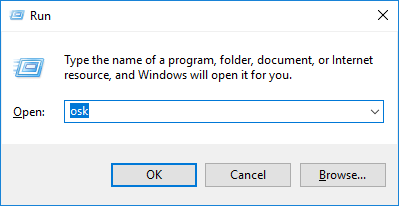
Press the Windows key + R to open the Run box, or open the Command Prompt. Type osk and hit Enter. This will open the On-Screen Keyboard immediately.
Method 3: Open On-Screen Keyboard from PC Settings
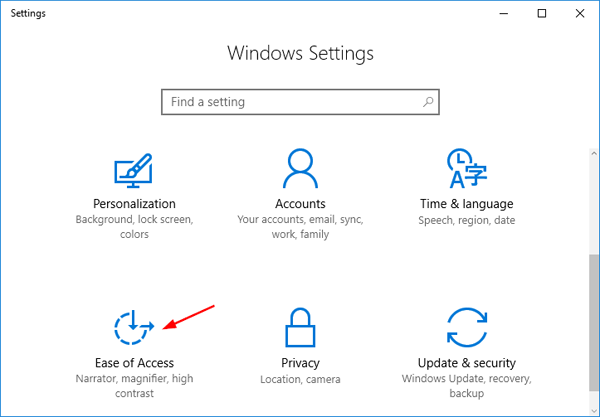
Press the Windows key + I to open the PC Settings app. Click Ease of Access.
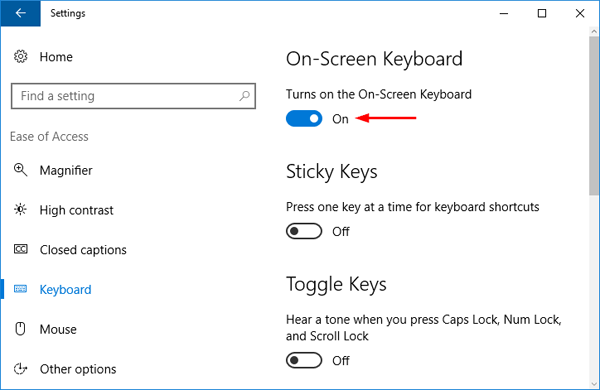
In the left sidebar, select the Keyboard option. Under On-Screen Keyboard on the right side, move the slider to the right to turn it on. This will launch On-Screen Keyboard immediately. After closing it, the slider will be automatically put back to Off.
Method 4: Open On-Screen Keyboard via Cortana Search
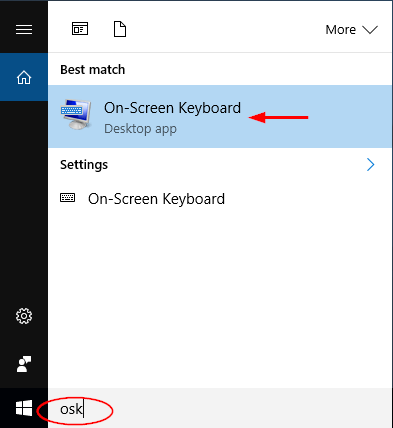
Click the Cortana Search box on the taskbar, type osk and then click the “On-Screen Keyboard” desktop app to launch it.
Method 5: Open On-Screen Keyboard from Start Menu
Click the Start button. From the Start Menu, expand the Windows Ease of Access folder and you can access On-Screen Keyboard.

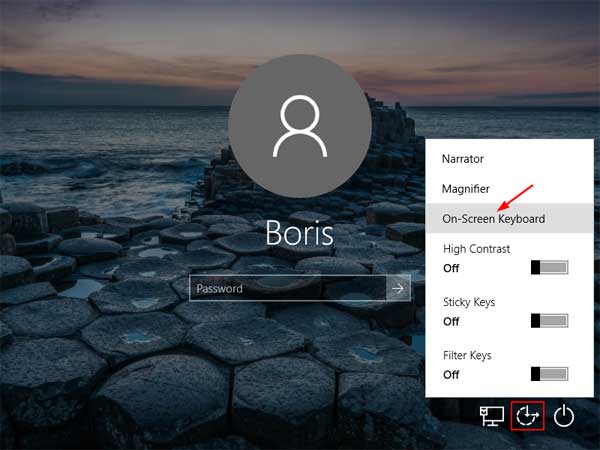
Method 6: Open On-Screen Keyboard from Login Screen
At Windows 10 login screen, click the Ease of Access icon at the bottom-left corner. From the popup menu, you can select On-Screen Keyboard, and then use it to type your Windows password.