Keep hearing the annoying notification sound? Windows 10 notification sounds might drive you crazy. In this tutorial we’ll show you 2 simple ways to disable or turn off notification sounds in Windows 10.
Method 1: Turn Off Windows 10 Notification Sounds from Settings App
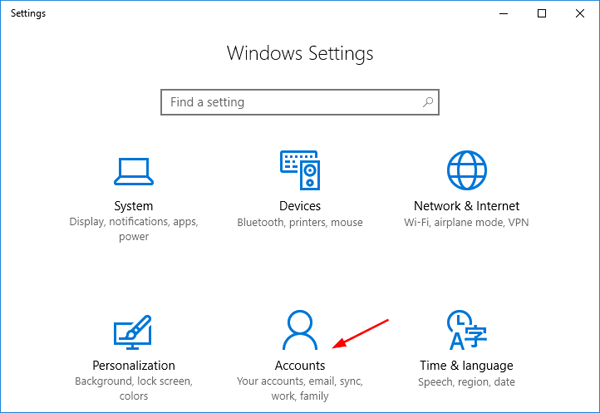
- Click the Start button and then click the Settings icon, or press Windows key + I to open the Settings app.

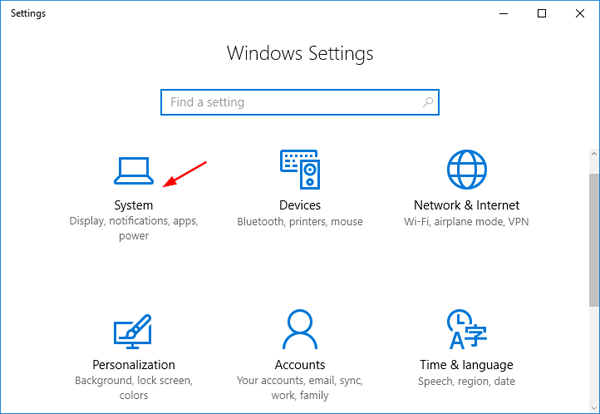
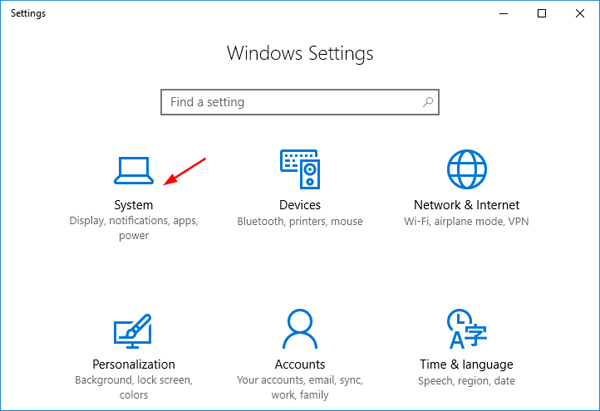
- On the main settings screen, click System.
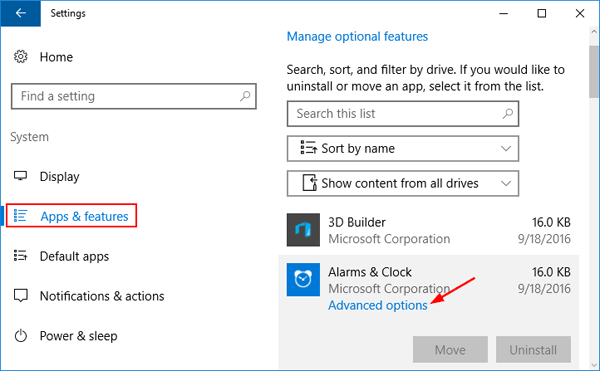
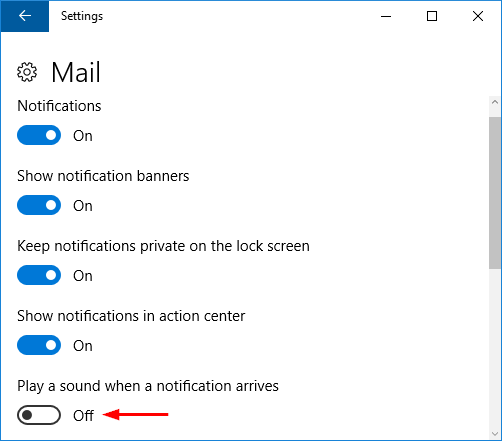
- On the left side of the window, click on Notifications & actions. Then, on the right side, scroll down to the “Get notifications from these senders” section, and click on the app that you want to block from playing notification sound.
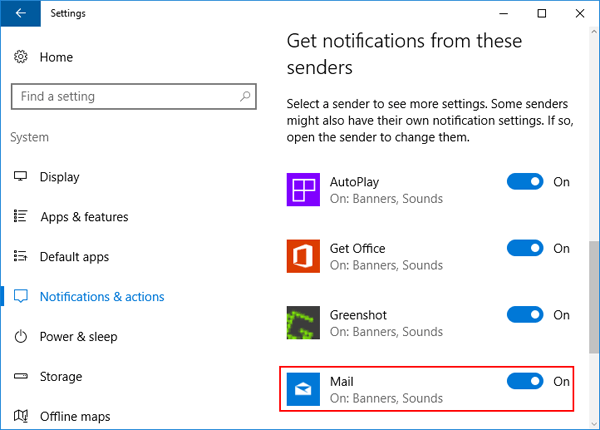
- Turn off the option named “Play a sound when a notification arrives“. Repeat these steps and you can disable notification sounds from other apps.
Method 2: Turn Off Windows 10 Notification Sounds from Control Panel
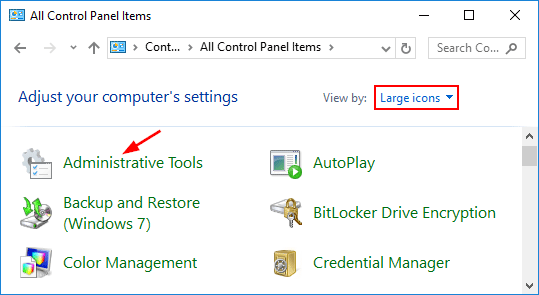
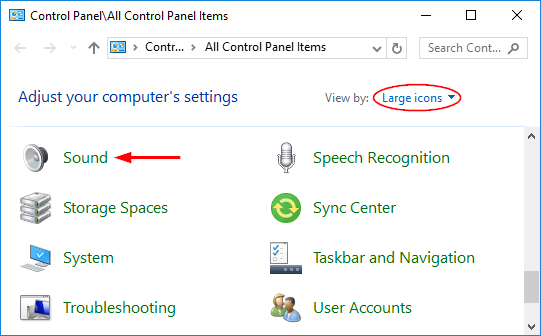
- Open the Control Panel in Large or Small icons view. Click the Sound option.
- When the Sound Settings dialog opens, click the Sounds tab.
- Select the Notification option under the Program Events section. Click the Sounds drop-down list at the bottom and select None. Click OK to save your change.

- Now your Windows 10 system will still be able to receive all the notifications, but it won’t play sounds any longer.