Do you have any trouble with flickering on the monitor when playing games? Most of screen flickering issues can be solved by adjusting the monitor’s refresh rate. The refresh rate refers to how many times per second the screen refreshes the image on it. Increasing the monitor’s refresh rate should reduce screen flicker, which results in less strain on their eyes. In this tutorial we’ll show you how to change monitor refresh rate in Windows 10 / 8 / 7.
Note: The refresh rates that you can set for your monitor are determined by the capabilities of the Graphic card and monitor.
Part 1: Change Monitor Refresh Rate in Windows 10
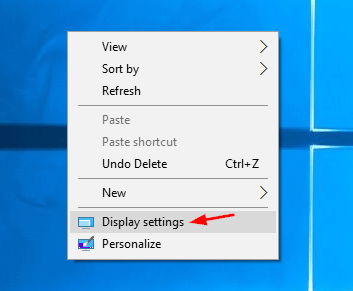
- Right-click an empty area on the desktop and select Display settings.
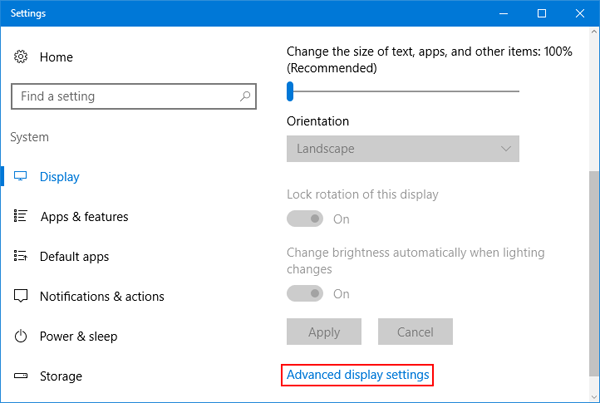
- This should open the Settings app and go to the Display tab. Click Advanced display settings at the bottom of the right pane.
- Click Display adapter properties.
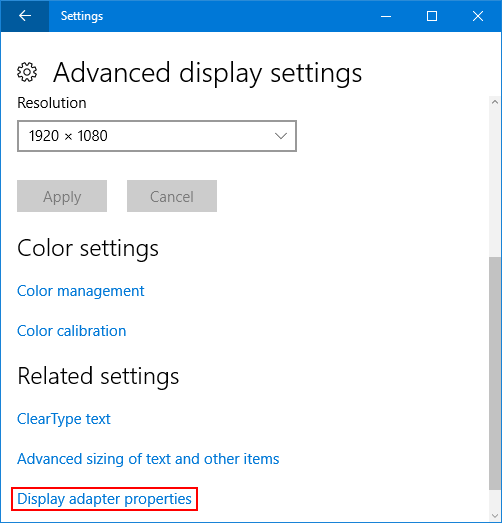
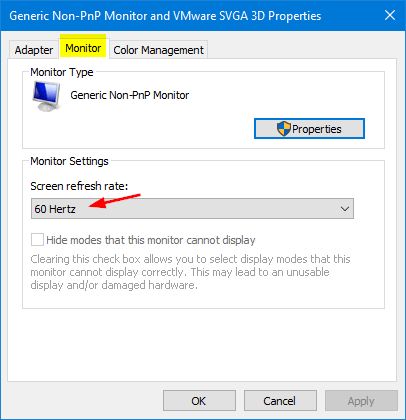
- This will open the Monitor and graphics card properties. Go to the Monitor tab and you can select a higher or lower refresh rate and click Apply.
Part 2: Change Monitor Refresh Rate in Windows 8 / 7
- Right-click an empty area on the desktop and select Screen resolution.

- Click on Advanced Settings in the bottom right.
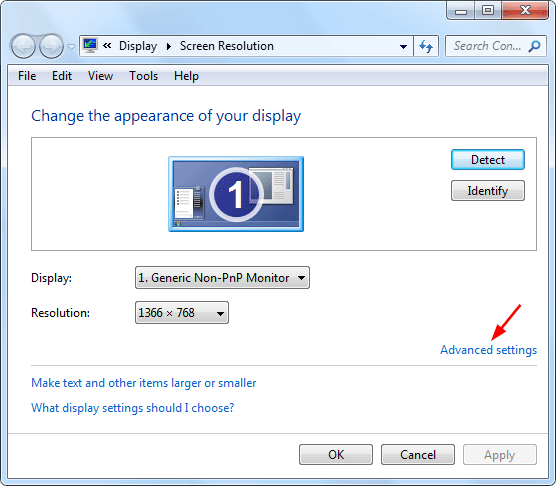
- When the Display adapter properties window opens, click the Monitor tab, and then select a Screen Refresh Rate from the drop down menu.
- Click Apply. That’s it!