Game Mode is a new feature introduced since Windows 10 Creators Update, which can improve gaming performance by preventing any other programs from hogging CPU and GPU cycles. While playing game, you should enable Game Mode if you don’t wish to be bothered by Windows Update or you’ve got some CPU/RAM-intensive programs like Chrome running in the background. In this tutorial we’ll show you how to turn on / off Game Mode for your preferred game in Windows 10 Fall Creators Update.
Part 1: Check If Your System Supports Game Mode
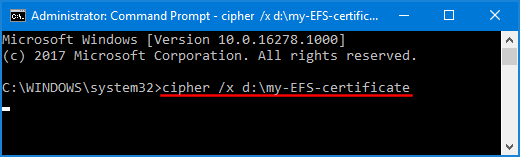
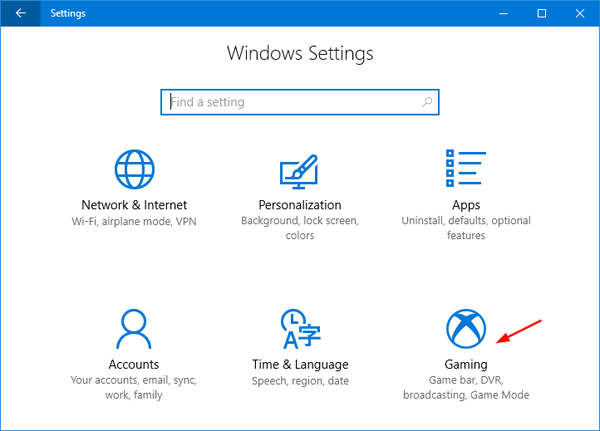
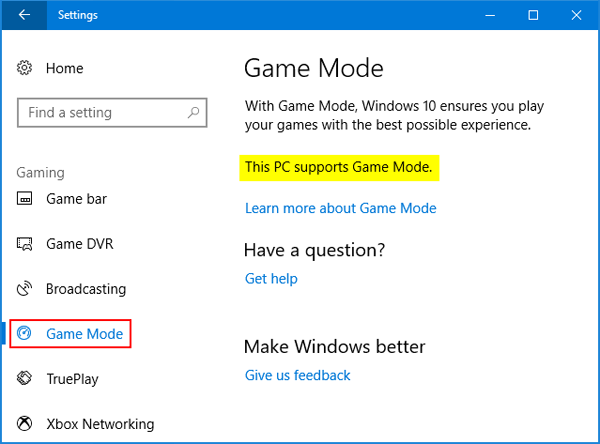
Before getting started, you need to check if your computer supports Game Mode. Press the WIN + I shortcut to open the Settings app. Click on Gaming.
Select the Game Mode tab in the left pane. You should see a text saying “This PC supports Game Mode“.
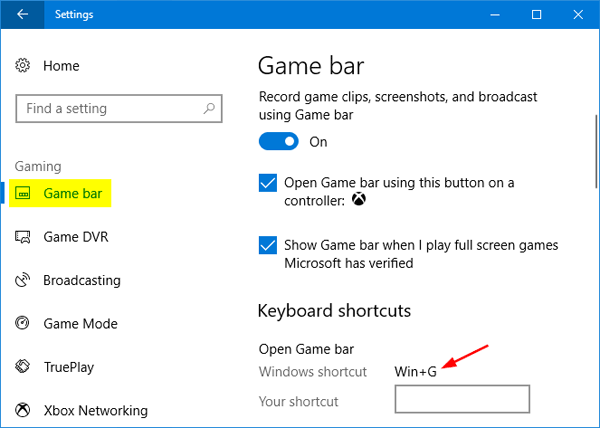
Next, move to the Game bar tab and find out the keyboard shortcut which we’ll later use to open Game bar. By default, it’s WIN + G.
Part 2: Turn On / Off Game Mode in Windows 10
While you are in the game, press the WIN + G keyboard combination to open the Game bar. Next, click the Settings icon to the extreme right.

In the next screen that opens, check the box labeled “Use Game Mode for this game“. If you want to disable Game Mode later, just uncheck that box.

Now close the dialog box. You need to restart the game for the changes to take effect.