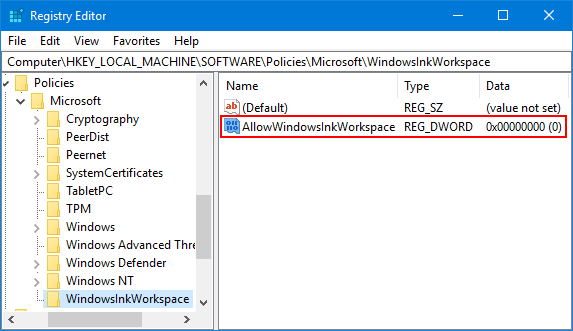
How to apply local group policy settings to individual user or standard account in Windows 10? On a shared computer, you may want to restrict all users except Administrators from accessing CD, USB drive or other resources. Group Policy Object Editor can help achieve them.
In this tutorial we’ll show you how to apply local group policy to non-administrators or specific users in Windows 10. To do this, you have to log on to Windows as administrators because standard/limited users don’t have the necessary rights to access Group Policy Objects.
How to Apply Local Group Policy to Non-Administrators or Specific User in Windows 10?
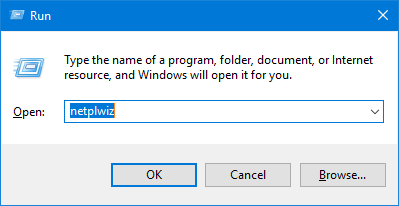
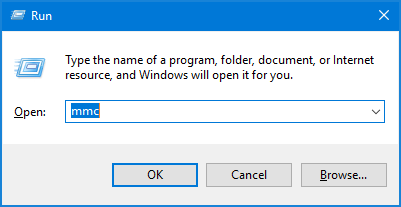
- Press the Windows key + R to open the Run box. Type mmc and hit Enter.
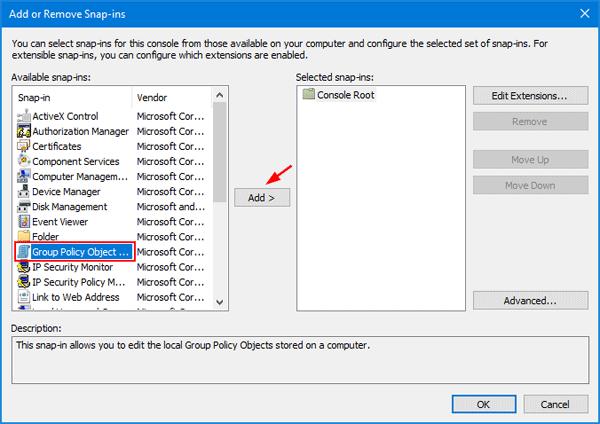
- When the Microsoft Management Console opens, click the File menu and then select “Add/Remove Snap-in“.

- Select “Group Policy Object Editor” under the “Available Snap-ins” category, and click on the Add button.
- In the next dialog which appears, click on the Browse button.

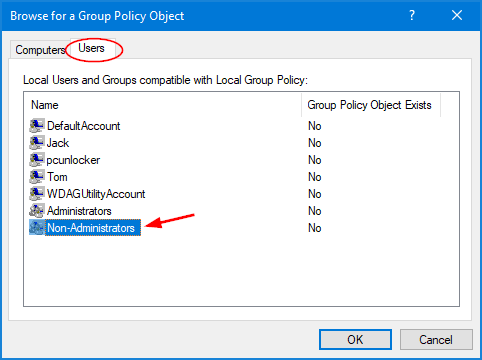
- Click on the Users tab and select Non-Administrators (or a specific user you want to apply group policy settings to) from the list as shown below. Click OK.
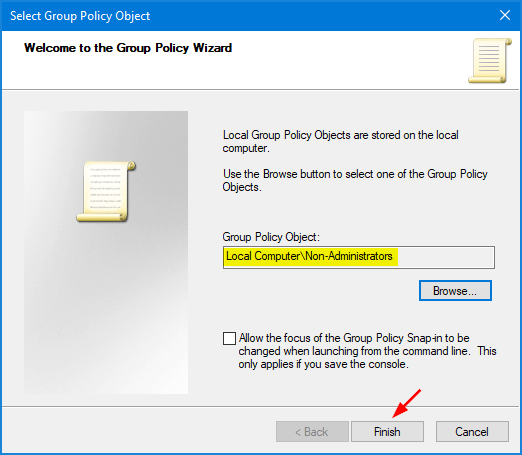
- Now, you’ll find that this new group policy object is set to “Local Computer\Non-Administrators“. Click on the Finish button to close the wizard.
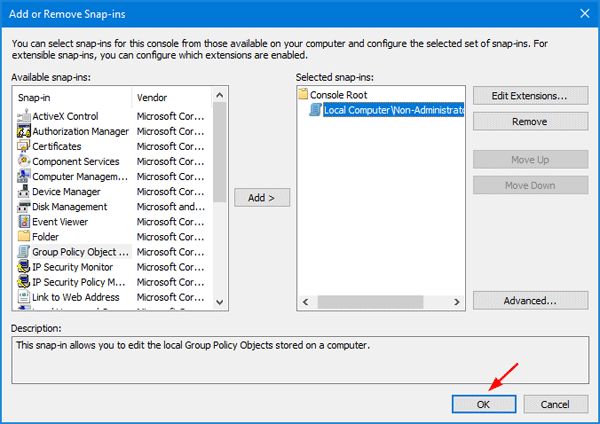
- You will be brought back to the Snap-ins window, click OK.
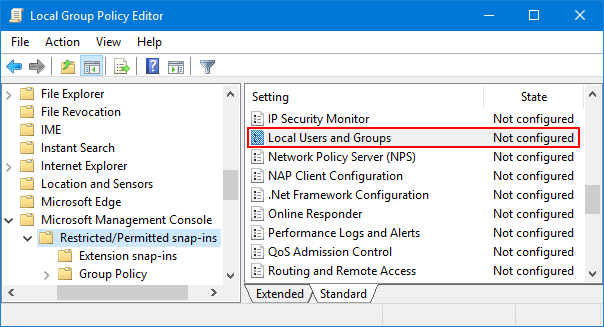
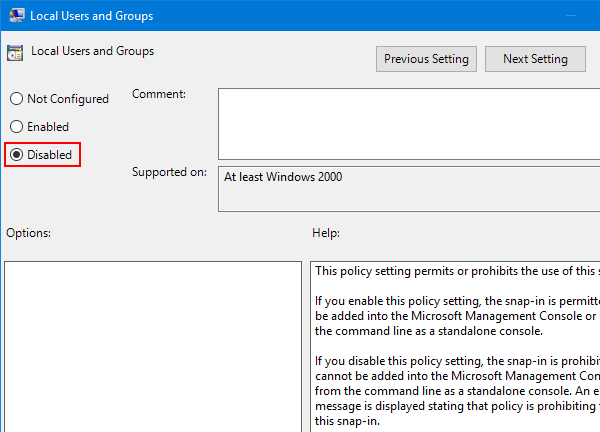
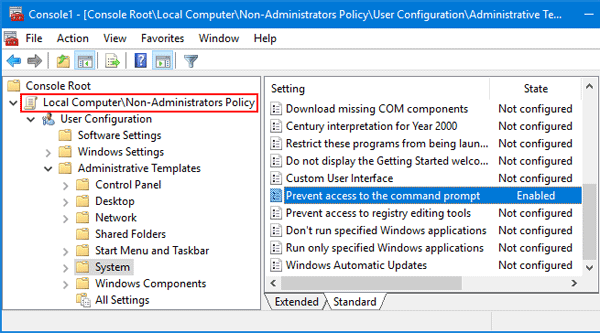
- In the main Management Console window, you will now have a group policy object for non-administrators ( or your selected user). Apply whatever restrictions you want.
- After editing the group policy settings, you have to save the snap-in. To do that, click the File menu and select Save As.
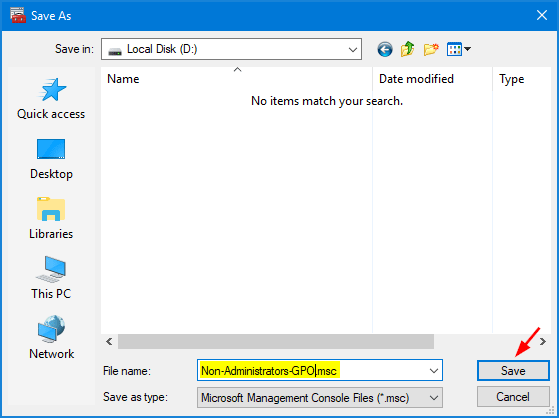
- In the Save As window, navigate to any location where you want to save this .MSC to. Enter a name for your new snap-in and then click on the Save button.
If you want to customize your group policy latter, just double-click that .MSC file to make changes.
What to Do If You Want to Delete Group Policy Object for Non-Administrators in Windows 10?
If you want to cancel / disable the group policy applied to non-administrators on your computer, Follow these steps:
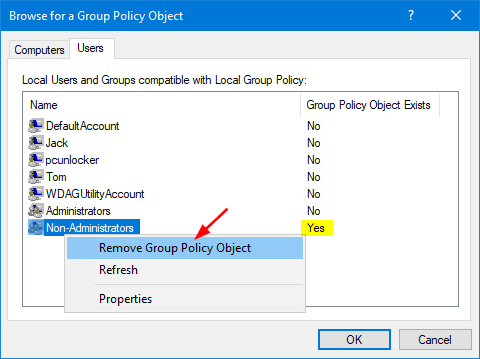
- Go through the same steps 1 to 4 as above. In the “Browse for a Group Policy Object” window, click the Users tab. You should see all local users, the “Administrators” group and the “Non-Administrators” group. To the right you can see if a local policy object already exists for the given user or group (Yes or No).
-
Right-click on the Non-Administrators in the list, and then select “Remove Group Policy Object” from the menu that opens.
- Click Yes to confirm the deletion of the Local Group Policy object, and you’re done!