If you lost access to your EFS encrypted files, you’ll not be able to open them unless you have a backup of the EFS certificate to decrypt the data. In this tutorial we’ll show you 2 simple ways to import EFS certificate into Windows 10, 8 and 7, so you can regain access to your EFS encrypted files.
Method 1: Import EFS Certificate into Windows Using Certificate Import Wizard
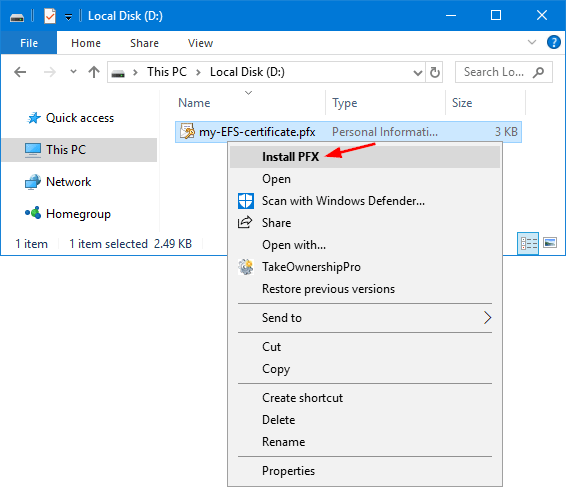
- Right-click on your EFS certificate (.pfx) in Windows Explorer, and then select Install PFX from the context menu.
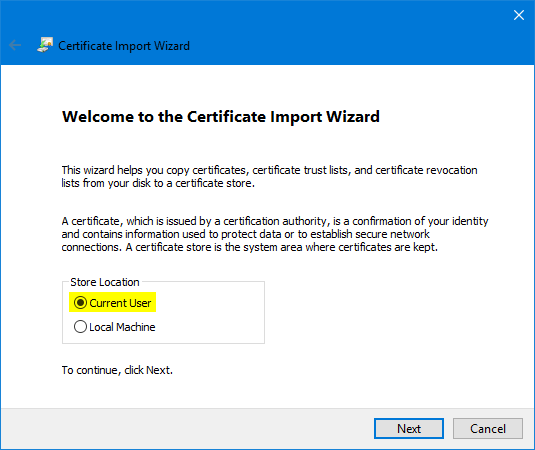
- When the Certificate Import Wizard opens, click Next.
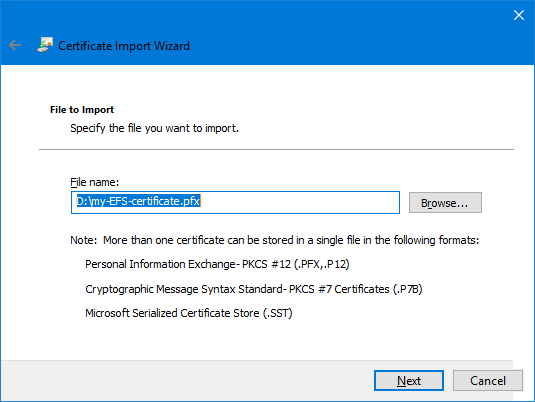
- Confirm the EFS certificate file with the .PFX extension is entered in the File name field. Click Next.
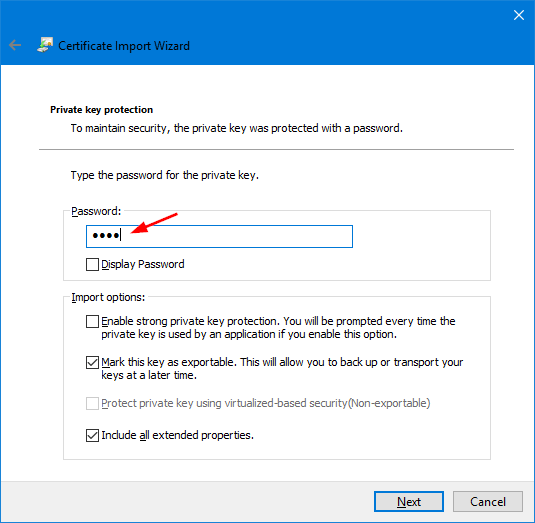
- Enter the password to access the private key associated with the EFS certificate. Select the box “Mark this key as exportable. This will allow you to back up or transport your keys at a later time“. Click Next.
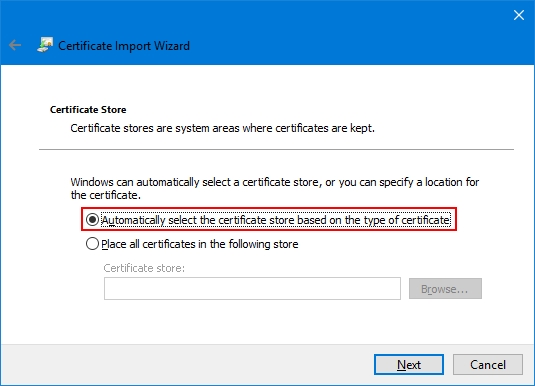
- Click “Automatically select the certificate store based on the type of certificate” and click Next.
- Click Finish.
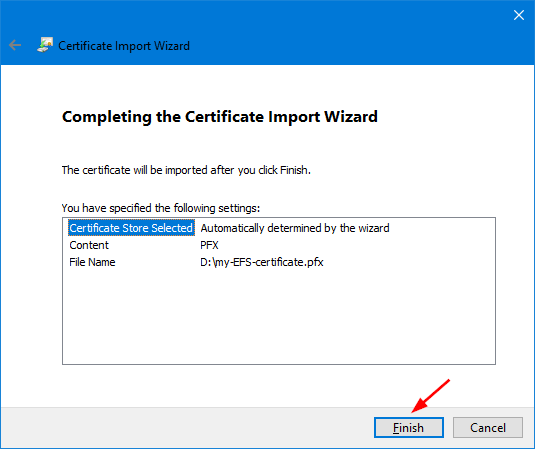
You should see a message reporting that the import was successful.
Method 2: Import EFS Certificate into Windows Using Command Prompt
- Open the Command Prompt as administrator.
- If you want to import EFS certificate you’ve backed up, type the following command and press Enter.
certutil.exe -p [certificate_password] -user -importpfx [certificate_full_path]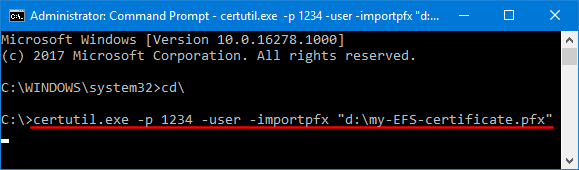
- You will get a security warning indicating that the self-signed EFS certificate is not signed from a trusted authority. Click Yes to continue.
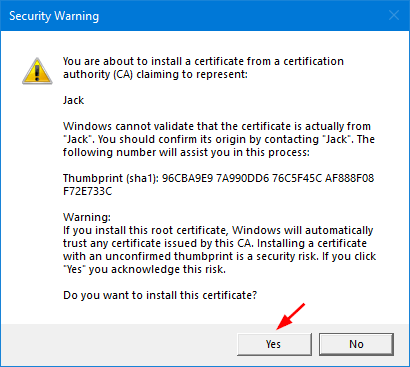
- Now you’ve successfully imported the EFS certificate (.pfx) into the Personal store of Certificates Manager.