Starting with Windows 11, Compact View is disabled by default for all users, no matter if your computer has a touch device or not. This adds extra padding between files in File Explorer for easier touch input.
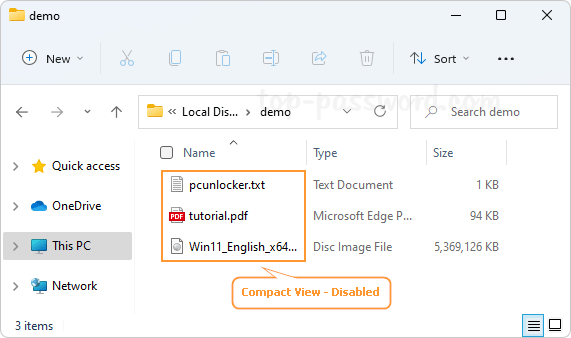
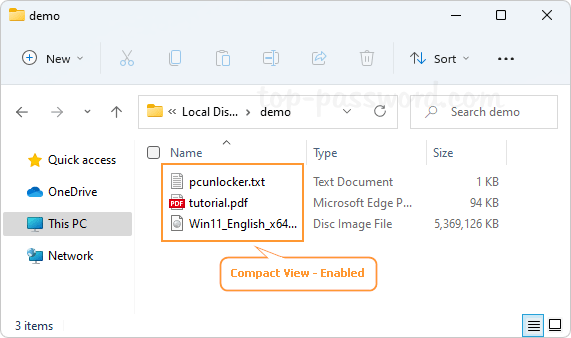
If you’re not using a touch screen device, you can view more files without scrolling after turning on Compact View.
In this tutorial we’ll show you 3 simple methods to enable or disable Compact View in File Explorer on Windows 11.
Method 1: Enable or Disable Compact View via File Explorer
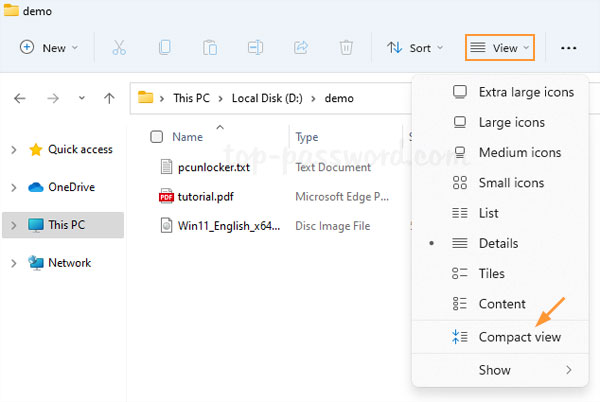
After opening up File Explorer, click on the View icon from the ribbon menu at the top. You can then click the Compact view option to enable Compact View, or click it again to disable Compact View.
Method 2: Enable or Disable Compact View via Folder Options
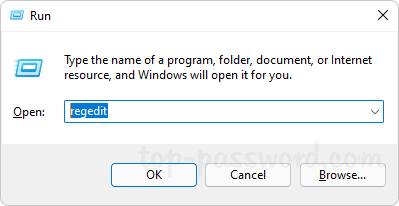
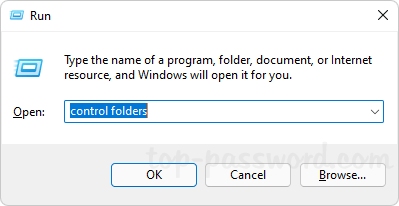
Press the Windows key + R to launch the Run dialog box. Next, type control folders in the text field and click OK to open the Folder Options window.
Go to the View tab. Under Advanced settings, check the box next to “Decrease space between items (compact view)” to turn on Compact View, or uncheck it to turn off Compact View.
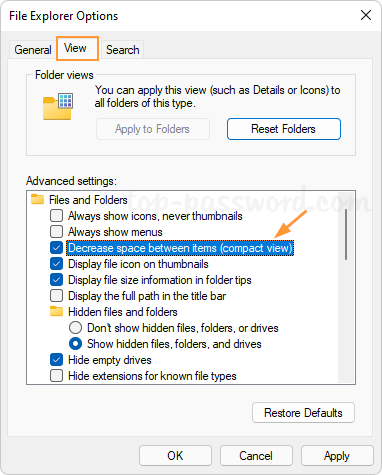
Click OK to save your change.
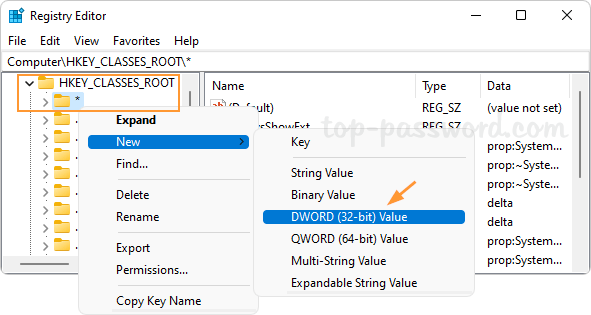
Method 3: Enable or Disable Compact View via Registry Editor
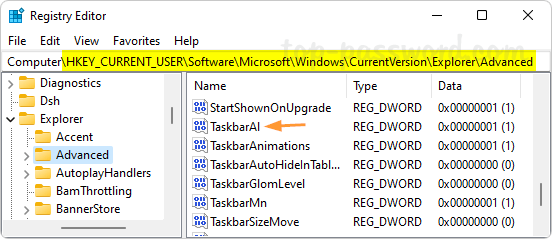
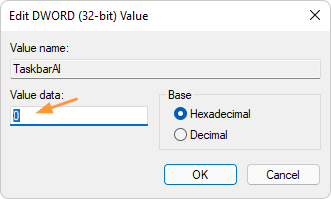
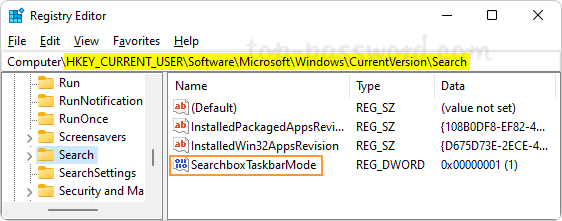
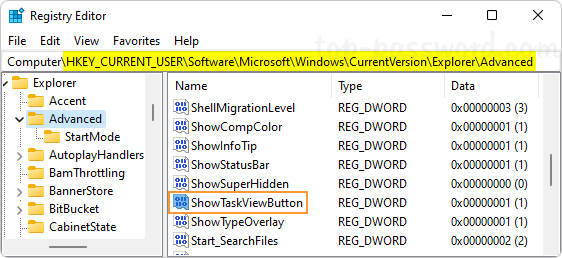
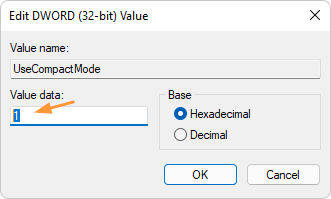
Open Registry Editor and browse to: HKEY_CURRENT_USER\Software\Microsoft\Windows\CurrentVersion\Explorer\Advanced. In the right pane, double-click on the 32-bit DWORD named UseCompactMode.
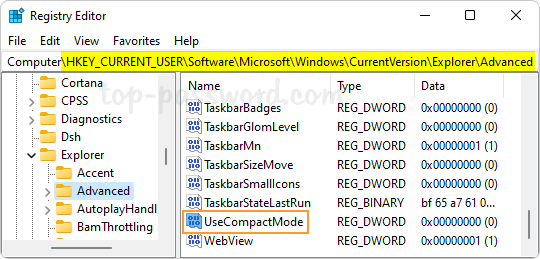
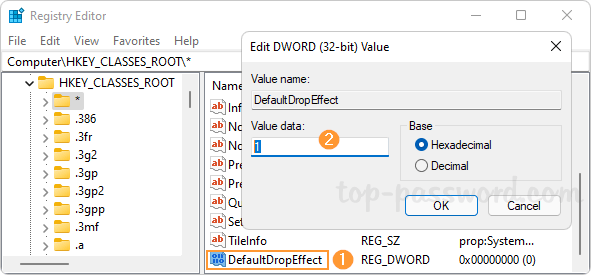
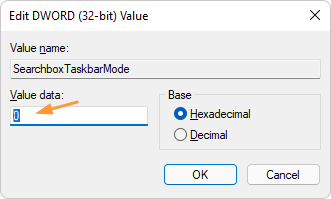
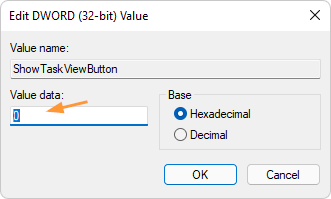
Change the Value data to 1 for enabling Compact View, or set it to 0 for disabling Compact View. Click OK.
Close Registry Editor and you can immediately see the changes of the padding between folders/files in File Explorer.
That’s it!