How can I keep track of each steps I did on my computer? This is where an application built into Windows 10 called “Steps Recorder” can help. Steps Recorder makes it easy to capture steps you take on a PC, including a text description of what you did and a screenshot during each step. In this tutorial we’ll show you how to open and use Steps Recorder in Windows 10.
Part 1: Open Steps Recorder in Windows 10
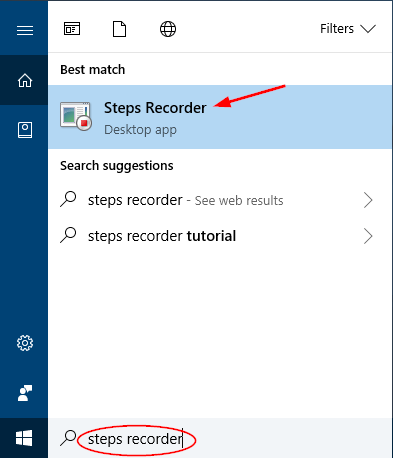
To access Steps Recorder, type “steps recorder” in the Cortana Search box on the taskbar, then click Steps Recorder app from the search result.
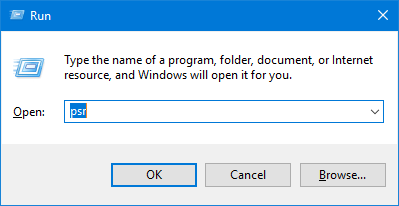
Steps Recorder is previously known as the Problem Steps Recorder (PSR for short) in earlier versions of Windows. You can also launch it by pressing Windows + R keys and then typing psr.
Another way of opening Steps Recorder is to click the Start button. When the Start Menu opens, expand the Windows Accessories folder and then click Steps Recorder.

Part 2: How to Use Steps Recorder
After opening the Steps Recorder application, click the “Start Record” button to begin the recording process. While Steps Recorder is recording, its title bar flashes the words “Recording Now” and its Taskbar icon shows a flashing red dot.

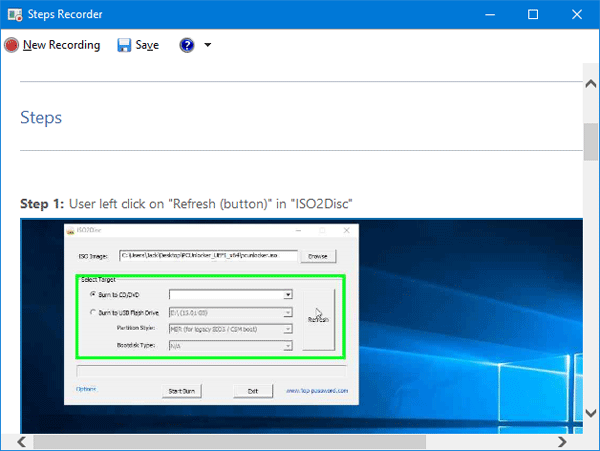
When you finish recording, click the “Stop Record” button. You’ll see the results of the recording in a report that appears below the original Steps Recorder window.
Click the Save button at the top. It will save the report in an .MHT webpage and then compress it into a ZIP file so that it can be easily emailed.
Conclusion
Steps Recorder is a program that helps you troubleshoot a problem in Windows 10 by recording the exact steps you took when the problem occurred. You can then send this record to a support professional to help them diagnose the problem. The program could also be used for creating annotated tutorials.