Most wireless printers support Wi-Fi Direct, which lets you connect it to your PC directly even when a local network is unavailable. The printer serves as a Wi-Fi access point. After establishing peer-to-peer connection via Wi-Fi Direct, you can access the printer’s Web-based setup page and complete the network configuration. If your printer has a LCD screen, the on-screen Wi-Fi setup wizard lets you connect to your router much easier. Once your wireless printer is connected, you can add or install it on any Windows 10 computers you want to print from.
How to Add / Install a Wireless Printer in Windows 10
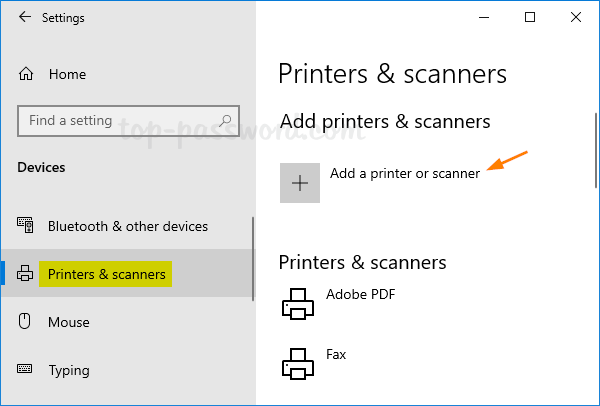
Open the Settings app with Win + I keyboard shortcut, and then navigate to Devices -> Printers & scanners. On the right side, click Add a Printers or scanner.
If your printer is detected, select it and click on Add device. Windows 10 will automatically download and install the printer driver. Just wait for it to complete and you’re done.
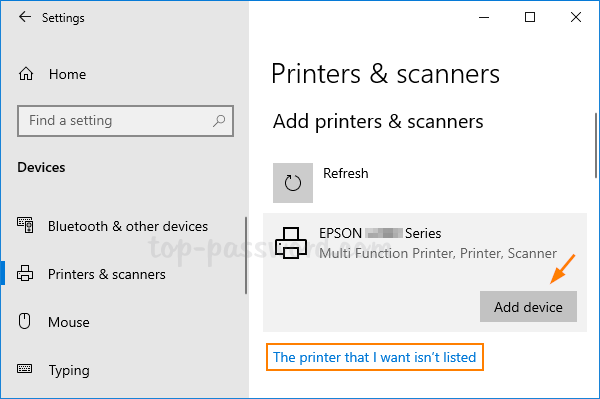
When Windows doesn’t detect your printer, click on “The printer that I want isn’t listed” link.
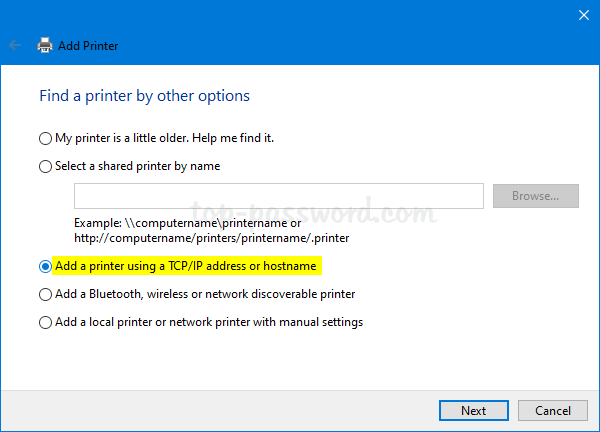
The pop-up wizard gives you a list of different options to help you find the printer. I recommend you choose the “Add a printer using a TCP/IP address or hostname” option.
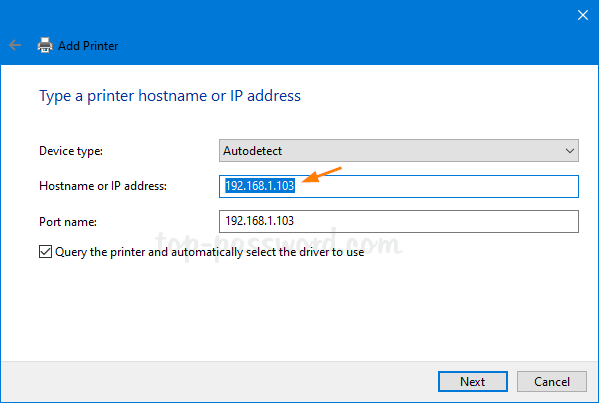
Enter the IP address of your printer and leave other settings as they were. Click Next.
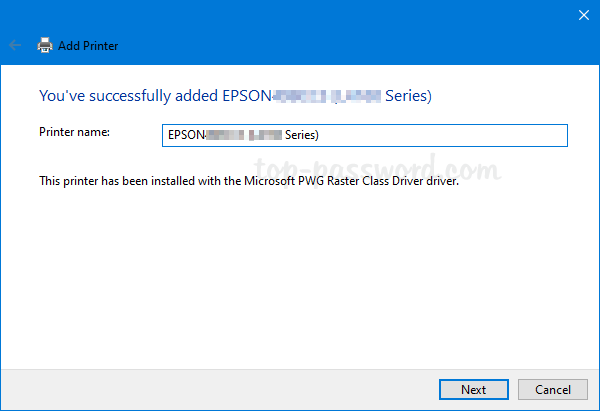
The next window allows you to rename the printer. Click Next if you don’t want to change it.
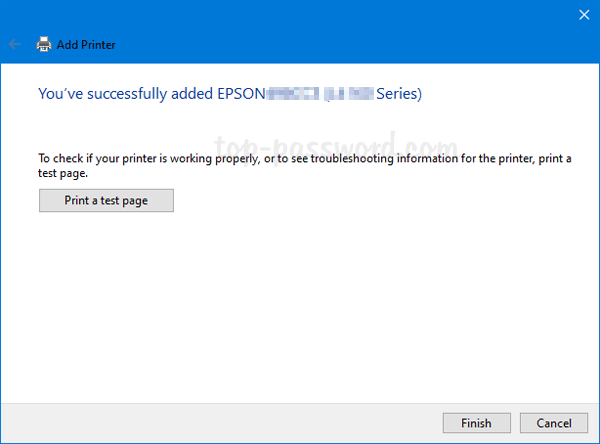
Choose “Do not share this printer” and you’ll then get to the last page of the installation wizard. You can click “Print a test page” to see whether your printer and computer can communicate with each other.
That’s it!