Print Management missing from Windows 10 Administrative Tools? Print Management is a Microsoft Management Console (MMC) snap-in that enables you to install, view, and manage the printers. In this tutorial we’ll show you the easiest ways to open Print Management in Windows 11 / 10 / 8 / 7.
Method 1: Open Print Management via Run Command
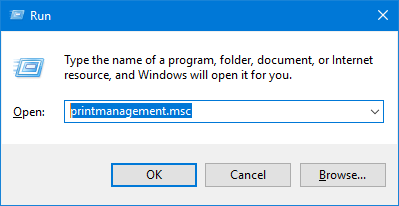
Press the Windows key + R to open the Run command box, type printmanagement.msc and hit Enter.
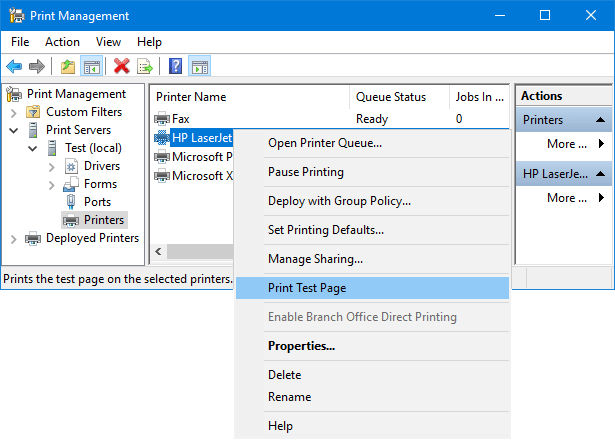
This will launch the Print Management console immediately. Expand the Print Servers node on the left, you can add / delete the printers and drivers, view printer queue, configure the printer port, print test page, etc.
Method 2: Open Print Management via Control Panel
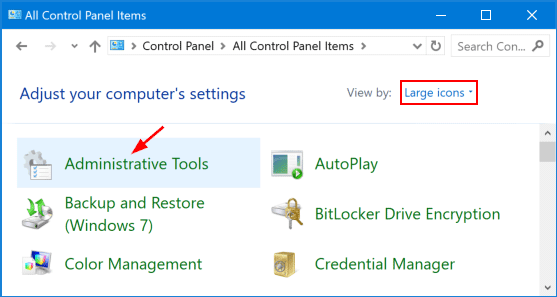
Open the Control Panel and select Large icons under the View by drop-down list. Click Administrative Tools.
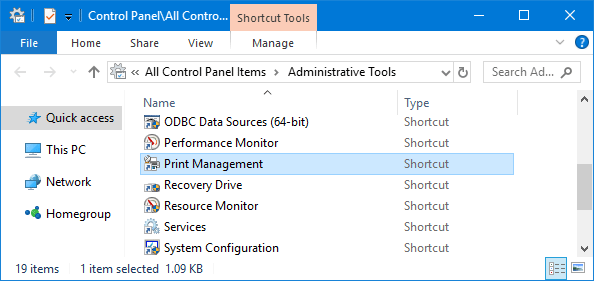
You can find the Print Management shortcut.
Can’t Find Print Management in Windows 10/8/7 Home?
Print Management is not available in the Home edition of Windows. However, you can find an alternative Control Panel applet that can help manage the printers connected to your computer. Follow these steps:
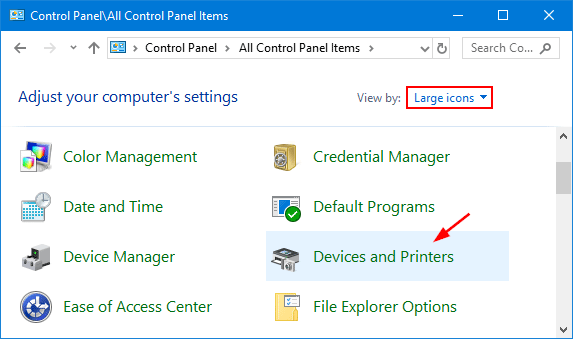
Open the Control Panel in Large icons view. Click Devices and Printers.
In the Devices and Printers window, you can see the connected printers, scanners, Bluetooth and other external devices. Right-click on your printer and you can see how many documents are in the printing queue, set the default paper size for printing, manage the printer properties.
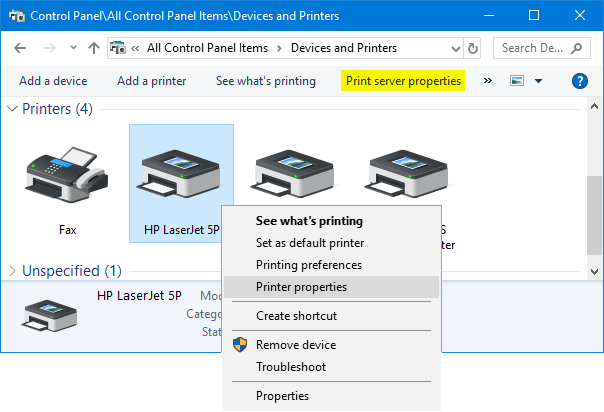
Click the “Print server properties” in the toolbar area and it lets you configure available printer forms and printer ports, add and remove printer drivers, etc. That’s it!