Remote Desktop Connection is a built-in feature that comes with Windows 11 Professional and Windows 11 Enterprise, which lets you remotely connect to your PC from another device. In this tutorial we’ll walk you through the steps of turning on Remote Desktop on Windows 11.
How to Enable Remote Desktop on Windows 11
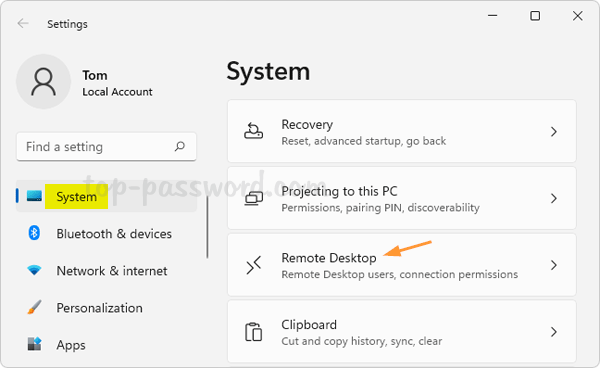
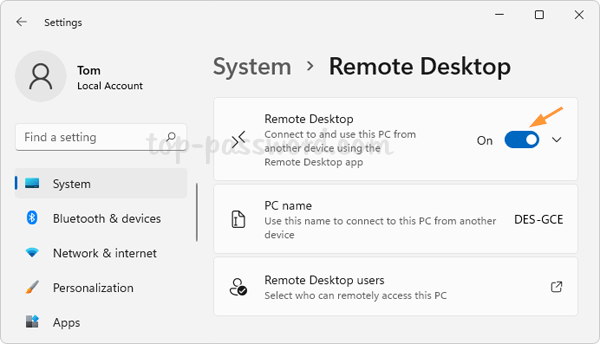
- To begin, press the Windows key + I on your keyboard to launch the Settings app. Choose System on the left and click Remote Desktop on the right-hand pane.
- Turn on the Remote Desktop toggle switch.
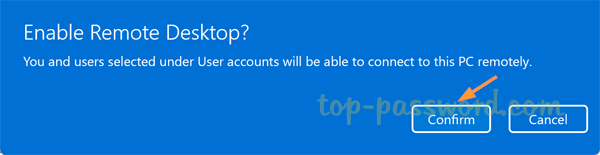
- You will then receive a confirmation pop-up. Click Confirm to proceed.
- Next, click the arrow icon next to the toggle switch. Tick the checkbox “Require devices to use Network Level Authentication Connect (Recommended)” which adds security to remote desktop connection. However, if you need to connect to this PC from an older version of Windows which doesn’t support Network Level Authentication, like Windows XP or Vista, you have to uncheck this option.
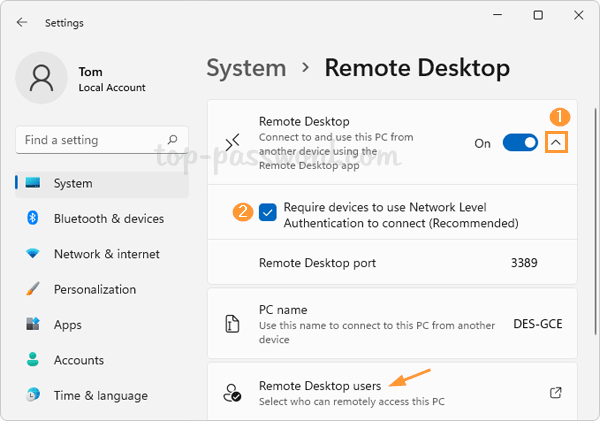
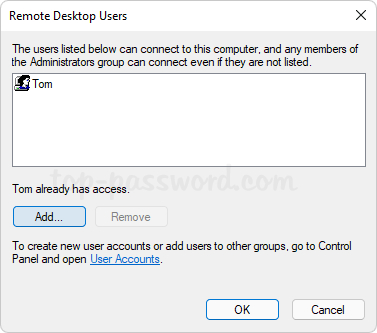
- By default, all user accounts in the Administrators group can remotely access this PC. If you want to grant remote access to non-administrative users, click the “Remote Desktop users” option. When the Remote Desktop Users dialog box appears, you can click the Add button to add other user accounts.
- Now you’ve successfully turned on Remote Desktop. Windows 11 will automatically open the RDP port and allow Remote Desktop through firewall. Additionally, you can also enable Remote Desktop using Command Prompt, PowerShell or a registry tweak.