Starting with Windows 11, more Control Panel features are being migrated to the Settings app. In this tutorial we’ll show you the most common ways to open Settings app in Windows 11.
Method 1: Open Windows 11 Settings App Using Keyboard Shortcut
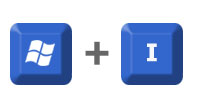
Hold down the Windows Logo key and the I key on your keyboard at the same time, this will open the Settings app directly. This is the quickest way to launch Settings app for fans of keyboard shortcuts.
Method 2: Open Windows 11 Settings App via Search, Start Menu or Taskbar
Click the Search button on the taskbar, type settings in the search field at the top. From the search result, you can then click Open from the right pane to start the Settings app.
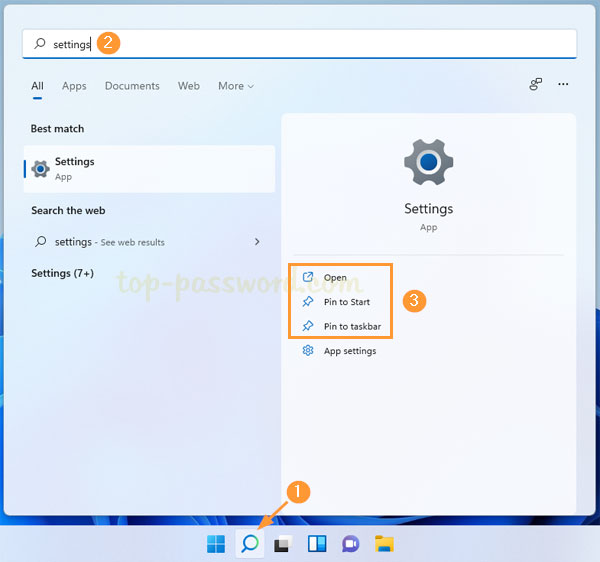
Or click “Pin to taskbar” for adding the shortcut of the Settings app to the taskbar.
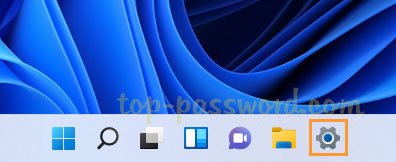
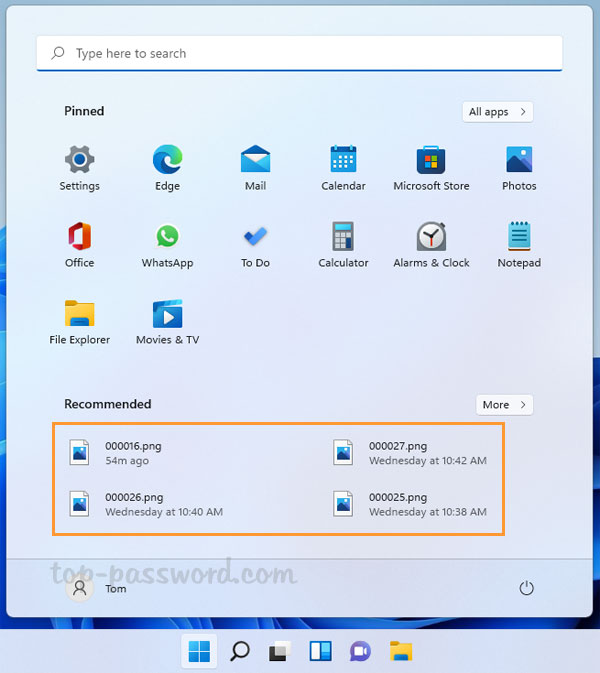
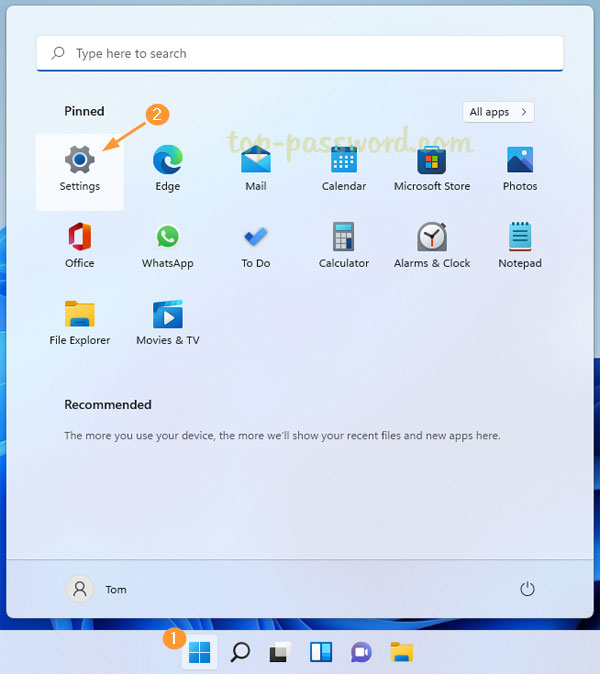
If you have clicked the “Pin to Start” option, the Settings app will appear under the Pinned section of the Start Menu.
Method 3: Open Windows 11 Settings App via WinX Menu
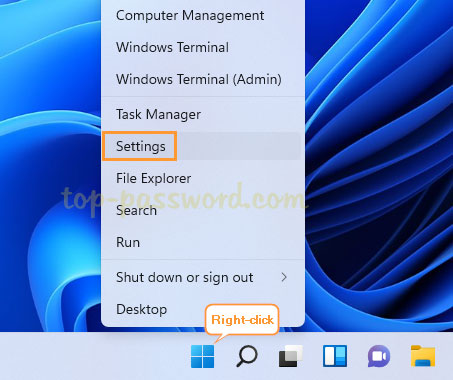
Right-click on the Start button on the taskbar to open up the WinX menu, and then choose Settings to run the Settings app.
Method 4: Open Windows 11 Settings App from Desktop
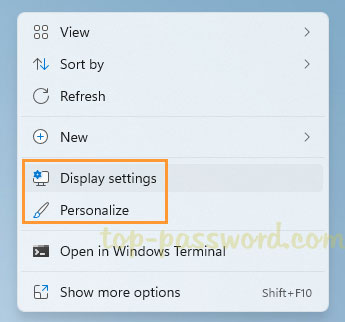
Right-click any blank area on your desktop and choose either “Display settings” or “Personalize” from the context menu.
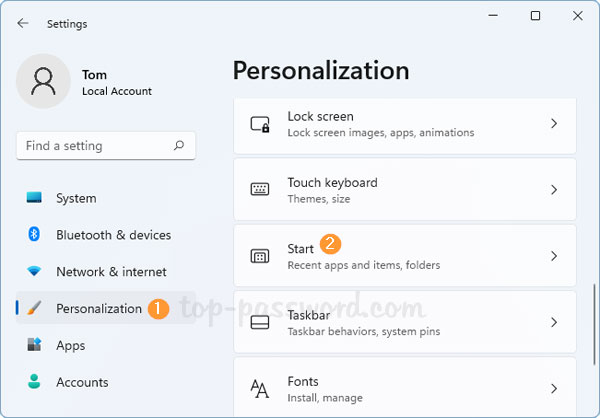
When the Settings app launches, you can use the left navigation pane to find the settings you need.
Method 5: Open Windows 11 Settings App via Run, Command Prompt or PowerShell
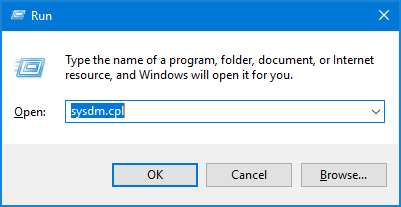
Press the Windows key + R together to Open the Run box, type the following command and press Enter to access the Settings app.
ms-settings:
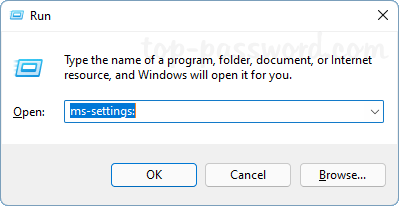
Or run the above command in the Command Prompt, PowerShell or Terminal window.
Method 6: Open Windows 11 Settings App from Quick Settings
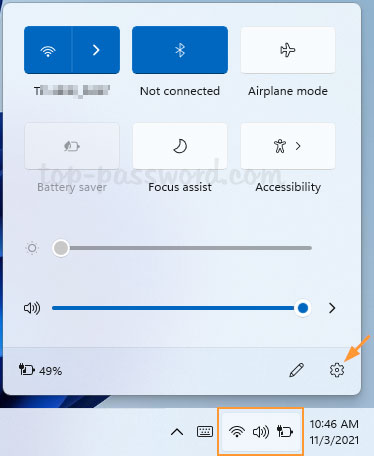
Click the battery icon, speaker icon or network icon in the system tray to open Quick Settings panel, next click the gear icon located in the lower-right corner to access the Settings app.
That’s it!