By default, Microsoft collects diagnostic data anonymously from your Windows 10 system. Starting with Windows 10 version 1809, you can use a group policy to allow or deny the ability to delete diagnostics data. In this tutorial we’ll show you 2 ways to disable deleting diagnostic data in Windows 10.
Method 1: Disable Deleting Diagnostic Data in Windows 10 via Group Policy
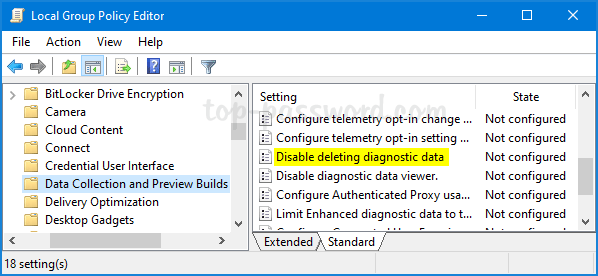
Open Local Group Policy Editor and browse to: Computer Configuration -> Administrative Templates -> Windows Components -> Data Collection and Preview Builds. Next, double-click on the “Disable deleting diagnostic data” policy in the right pane.
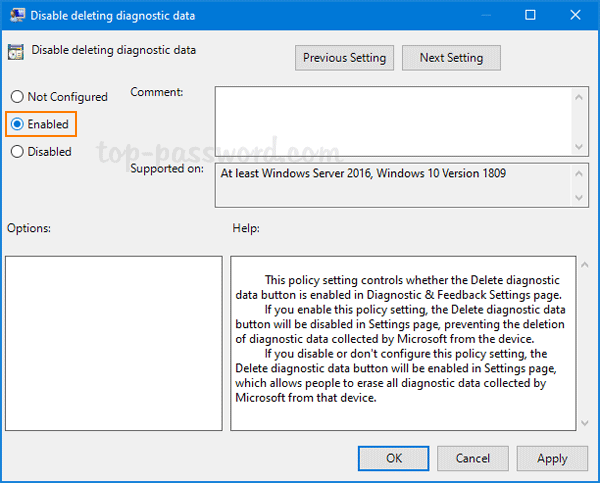
Select the Enabled option if you want to prevent users from deleting diagnostic data. Click Apply and then OK.
If you open the Settings app and navigate to: Privacy -> Diagnostics & feedback, you’ll find the “Delete” button is greyed out.

Method 2: Disable Deleting Diagnostic Data in Windows 10 via Registry Editor
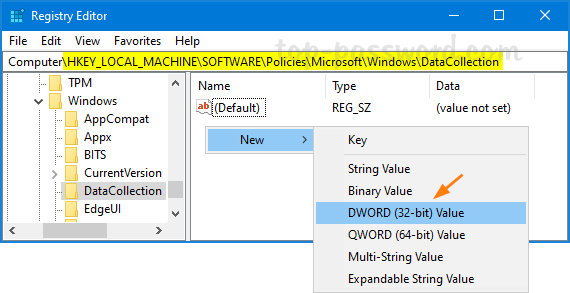
Open Registry Editor and navigate to: HKEY_LOCAL_MACHINE\SOFTWARE\Policies\Microsoft\Windows\DataCollection. In the right pane, right-click the blank area and select New -> DWORD (32-bit) Value.
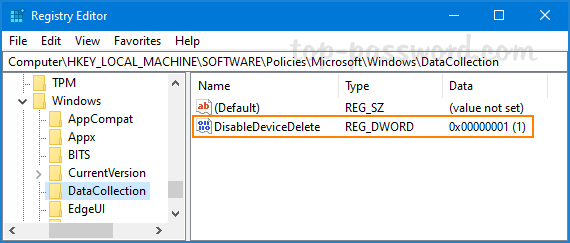
Name the newly-created DWORD as DisableDeviceDelete, and then double-click it to change the value data to 1.
Close Registry Editor. Now you can check if the option of deleting diagnostic data is disabled in the “Diagnostic & feedback” Settings page.