Is there a way to disable certain keyboard shortcuts in Windows? Sometimes or even frequently you might press a hotkey accidentally that can disrupt your productivity. In this tutorial we’ll show you how to use the freeware AutoHotkey to disable any certain global hotkeys (keyboard shortcuts) in Windows 10 / 8 / 7.
How to Disable Any Shortcut Keys in Windows 10 / 8 /7?
In this example, we’ll demonstrate how to disable the [Windows] + [+] hotkey in Windows 10. Just make a few changes with the AutoHotkey script and you can disable other keyboard shortcuts as well.
- AutoHotkey is a free, open-source automation and scripting tool for Windows platform. Go to AutoHotkey’s website and download the installer.
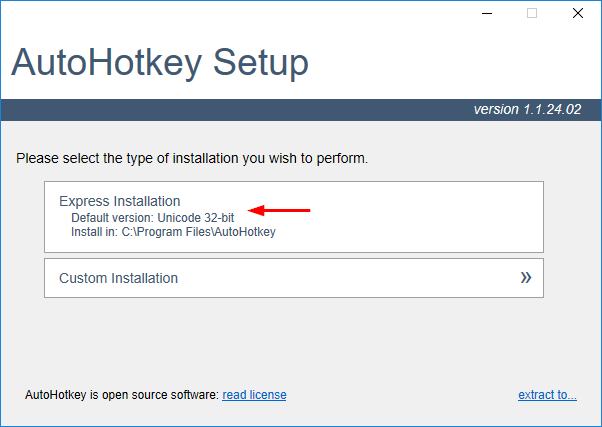
- After the download is complete, double-click the installer. When you’re asked to choose the installation type, select Express Installation.
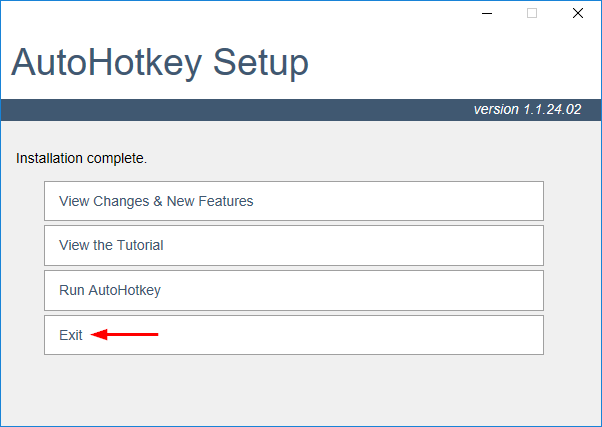
- When the installation is complete, click Exit. Now it’s time to create your first script.
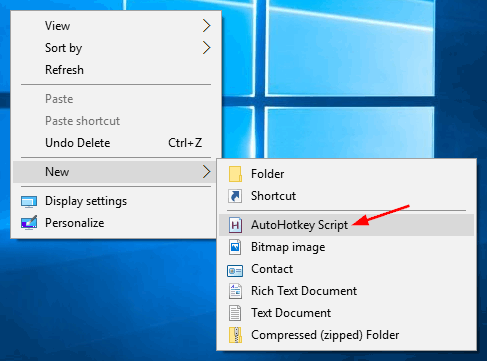
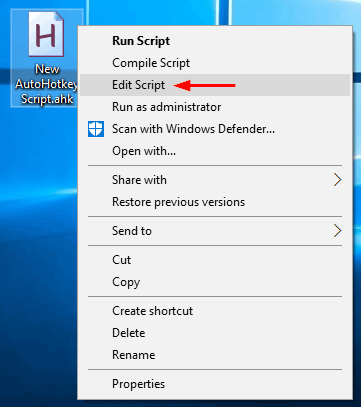
- Right-click any empty space on your desktop (or any directory), and then select New -> AutoHotkey Script from the context menu.
- Name the script file whatever you like, then open it up with your favorite text editor or NotePad.
- Place your cursor at the end of the last sentence and press Enter. Copy and paste the following line which tells AutoHotkey to disable the [Windows] + [=] / [+] shortcut key.
#=::Return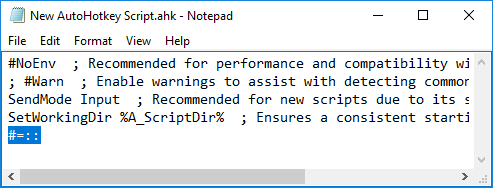
In this case, the # symbol represents the Windows key. Here’s an example script to disable Alt + Tab, Windows + Tab, Left/Right Windows key:
; Disable Alt+Tab

!Tab::Return
; Disable Windows Key + Tab

#Tab::Return
; Disable Left Windows Key

LWin::Return
; Disable Right Windows Key
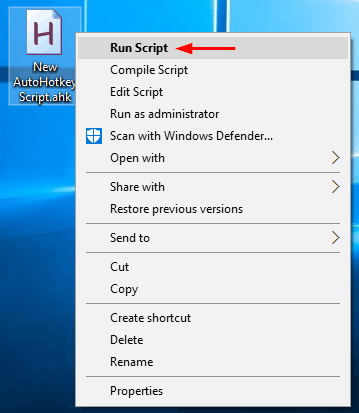
RWin::Return - Save the script file. Right-click on it and select Run Script. Now press the [Windows] + [+] keyboard shortcut and you’ll find nothing happen. This way allows you to temporarily disable your desire shortcut keys by running the script manually.
If you want to permanently disable the shortcut key, you can create a scheduled task to run your AutoHotkey script when your PC starts up.