Do you have some private files that you want to hide from your children? Here is a registry trick to hide a drive or partition in Windows 11/10/8/7/Vista/XP, so it cannot be accessed from Windows Explorer by inexperienced users.
The method is not foolproof though, and users can still access the contents of the hidden drive from Command Prompt or Disk Management. If you have some confidential or sensitive data on a local disk and want to lock / protect it securely, I recommend you use the Protect My Folder application.
How to Hide A Drive / Partition from Windows Explorer?
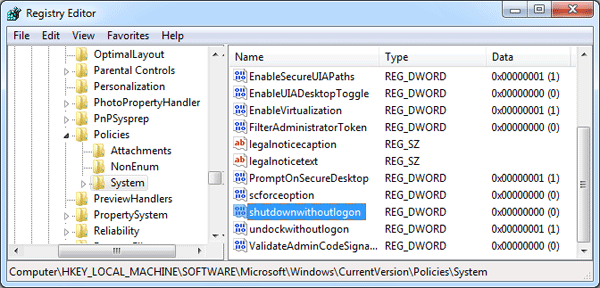
- Open Registry Editor and navigate to the following key:
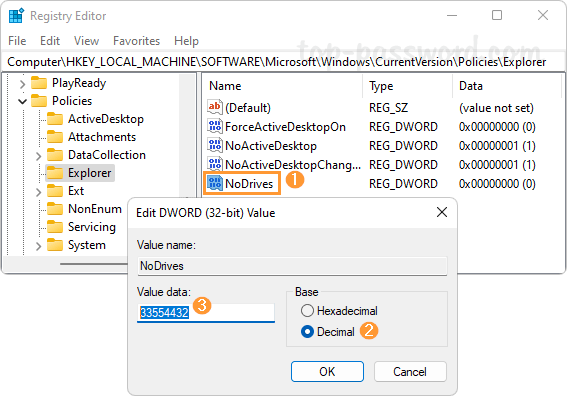
HKEY_LOCAL_MACHINE\Software\Microsoft\Windows\CurrentVersion\Policies\Explorer. In the right pane, right-click the blank area and choose New -> DWORD (32-bit) Value.
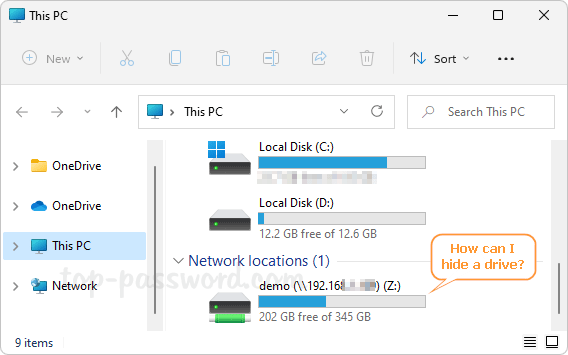
- Name the newly-created DWORD as NoDrives and then double-click it. In the pop-up window, choose Decimal, enter a proper number for hiding your desired partition. In my example, I want to hide the network drive Z:, so I type in the value 33554432.
Here’s a list of the values (decimal number) you’ll want to enter for different drive letters:
- A: 1
- B: 2
- C: 4
- D: 8
- E: 16
- F: 32
- G: 64
- H: 128
- I: 256
- J: 512
- K: 1024
- L: 2048
- M: 4096
- N: 8192
- O: 16384
- P: 32768
- Q: 65536
- R: 131072
- S: 262144
- T: 524288
- U: 1048576
- V: 2097152
- W: 4194304
- X: 8388608
- Y: 16777216
- Z: 33554432
- ALL: 67108863
But what to do if you want to hide more than one drive in Windows? Just add the values of the drives that you want to hide. For example, if you want to hide the drives E:, F: and A: you would enter 49 (16+32+1) in
NoDrivesas the decimal value. - Restart your computer and your target drive will disappear from Windows Explorer.
You can even hide the C: drive without corrupting your system. When you want to get your drives back, just set
NoDrivesto 0 or simply deleteNoDrivesaltogether.