If you want to remove a child user account from your Windows 10 computer because you don’t need it anymore, it’s not hard to do at all. In this tutorial we’ll show you how to remove the child account from a Microsoft Family, and then delete the child account locally in Windows 10.
Part 1: Remove Child Account Online from The Family
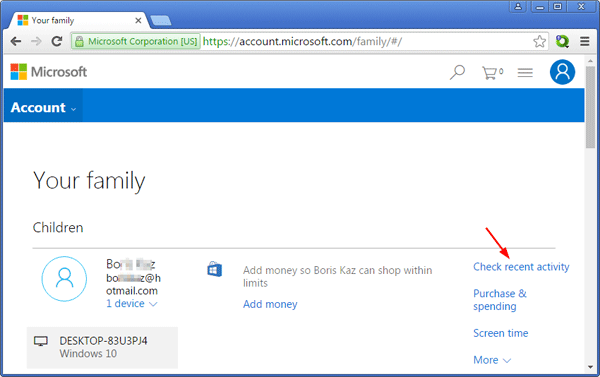
- As a parent, sign into the Microsoft Family webpage with your Microsoft account on any PC or device. You’ll be able to see and manage all the child/adult accounts configured on your computer.
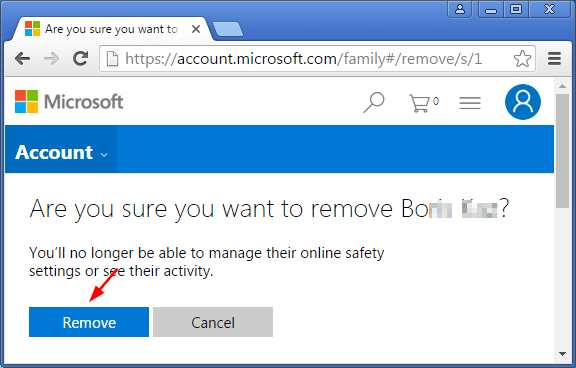
- Under the Children section, find the child account you want to delete, and click More and then Remove from family.
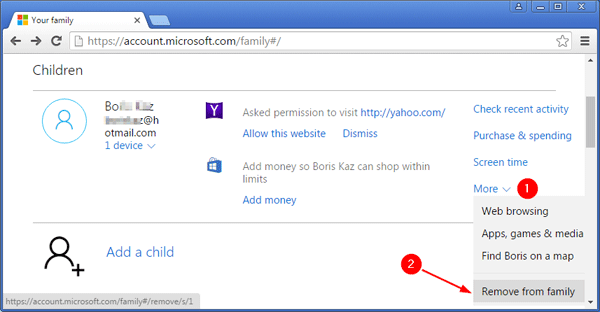
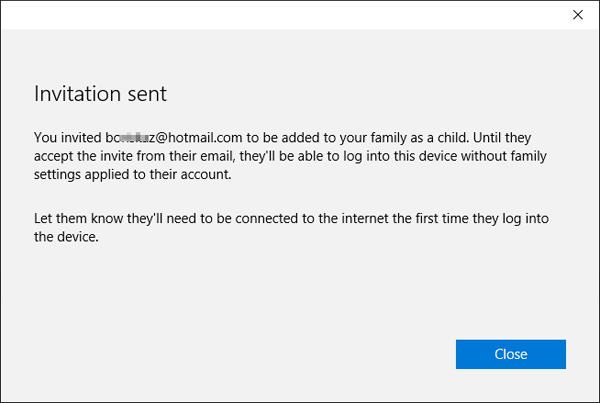
- click Remove to confirm that you want to remove the family member. Your child will now get an email confirming that he/she has been removed from the family.
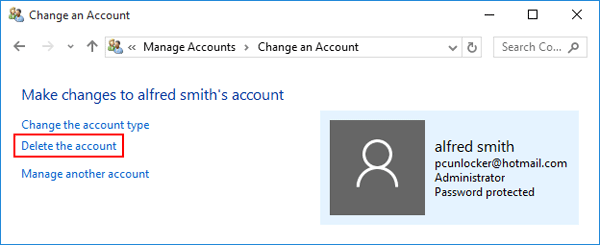
Part 2: Delete Child Account in Windows 10
After removing the child account from Microsoft Family, the kids can still log in to your Windows 10 computer with their Microsoft account. If you want to delete the child account completely, please follow these steps:
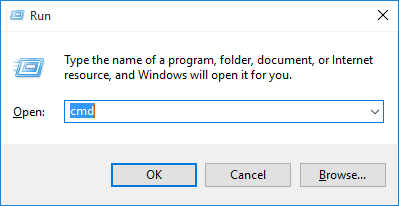
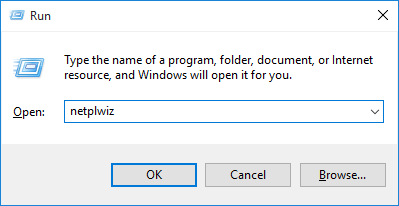
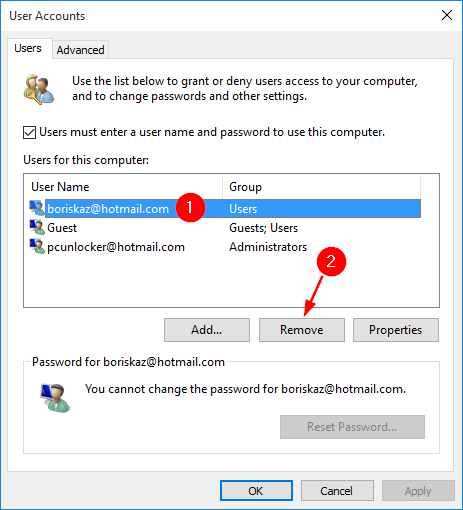
- Press the Windows key + R to open the Run box. Type netplwiz and press Enter. If prompted by UAC, then click Yes.
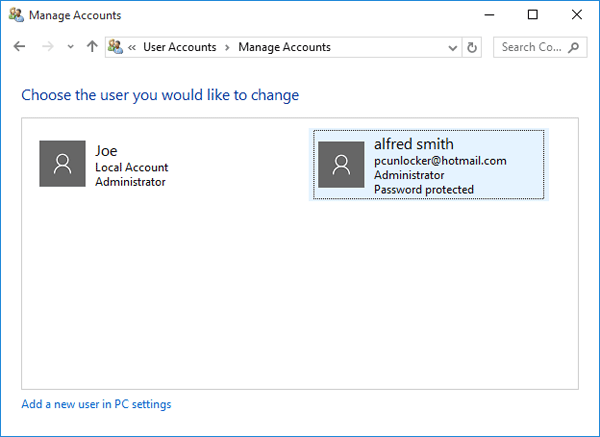
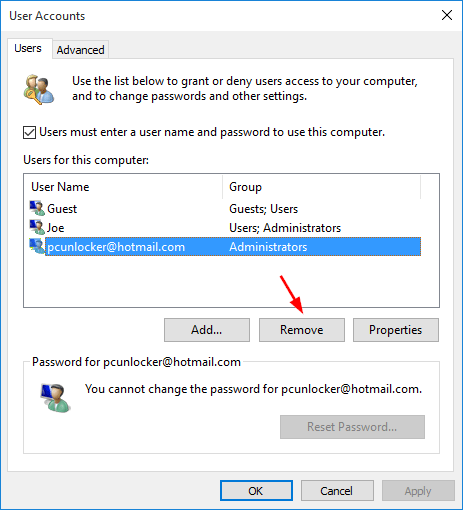
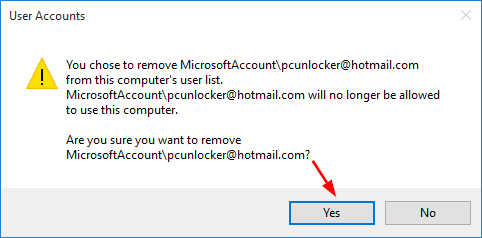
- Select the child account you want to delete and click on Remove. If the Remove button is greyed and disabled, you need to check the “Users must enter a user name and password to use this computer” option firstly.
- After deleting the child account locally, the kids should be unable to log on to your Windows 10 computer any longer.