Do you want to clear the administrator password and let Windows boot directly into the desktop? How to remove Windows 10 password if you’ve forgotten it? In this tutorial we’ll show you 5 ways to remove the administrator password in Windows 10.
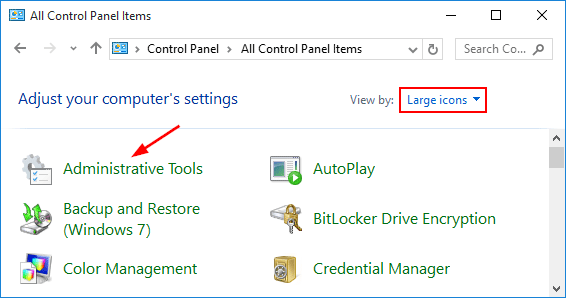
Option 1: Remove Windows 10 Administrator Password from Control Panel
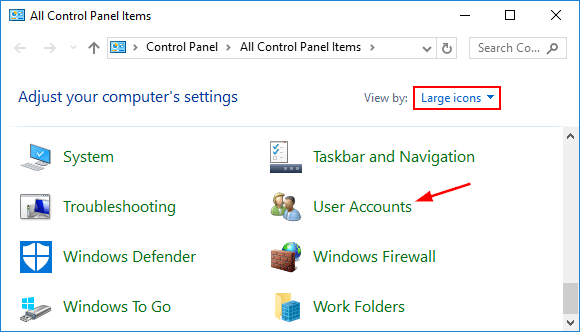
- Open the Control Panel in Large icons view. Click on User Accounts.
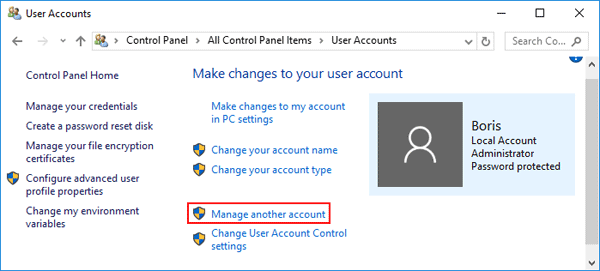
- Under the “Make changes to your user account” section, click Manage another account.
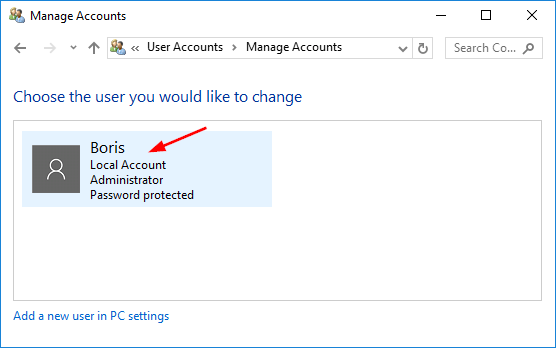
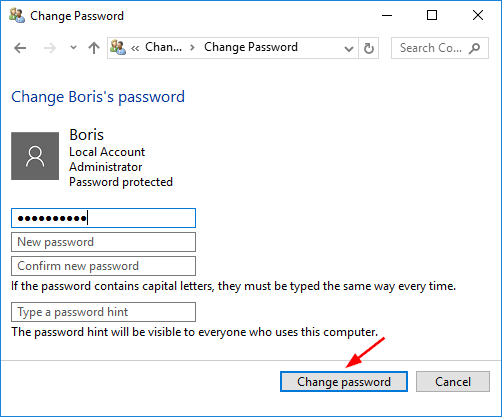
- You’ll see all the accounts on your computer. Click the account you’d like to remove the password for.
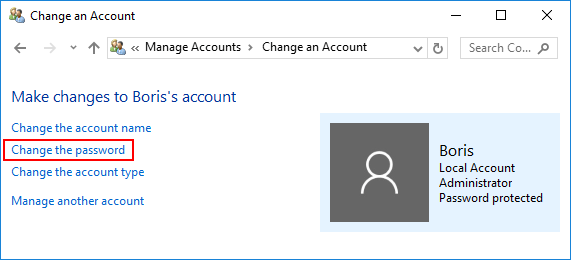
- Click the “Change the password” link.
- Enter your original password and leave the new password boxes blank, click on Change password button. It will remove your administrator password immediately.
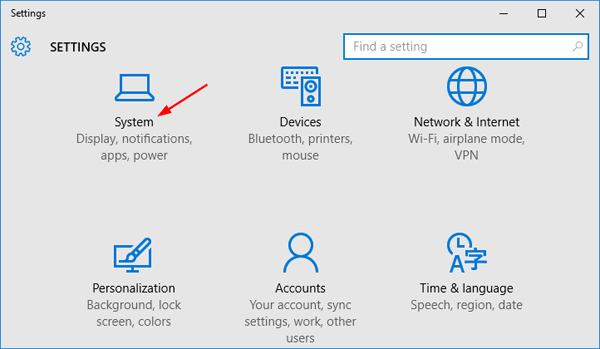
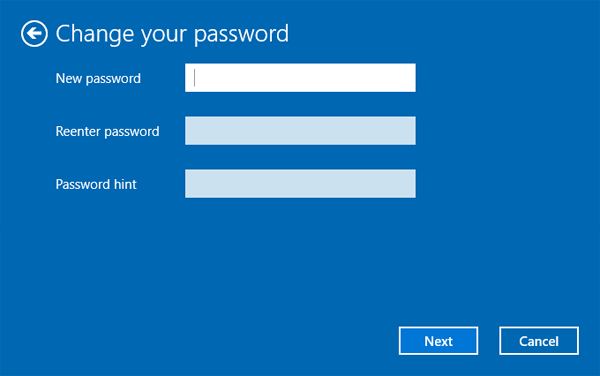
Option 2: Remove Windows 10 Administrator Password from Settings
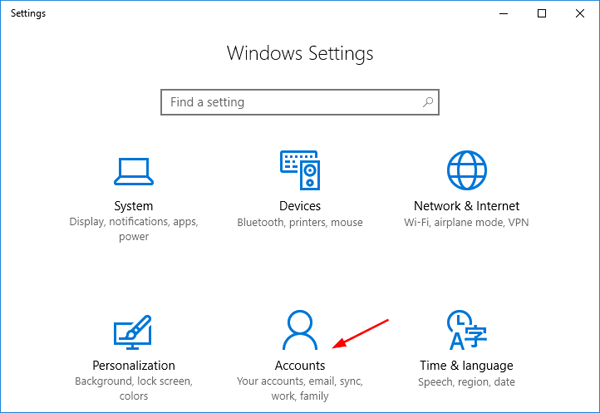
- Open the Settings app by clicking its shortcut from the Start Menu, or pressing Windows key + I shortcut on your keyboard.
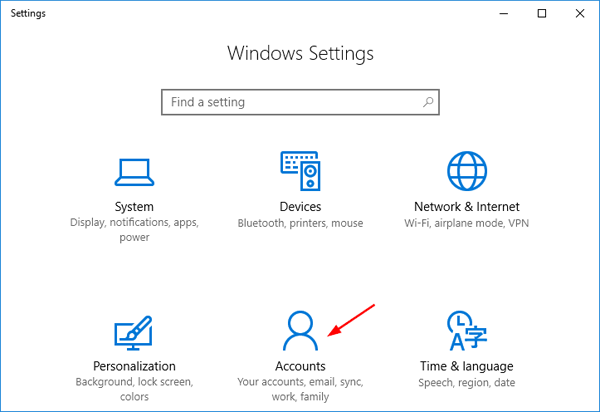
- Click on Accounts.
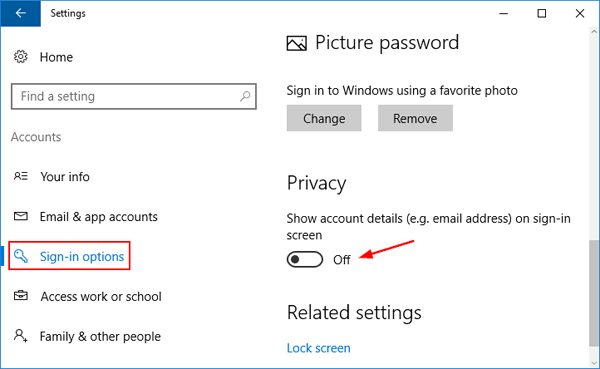
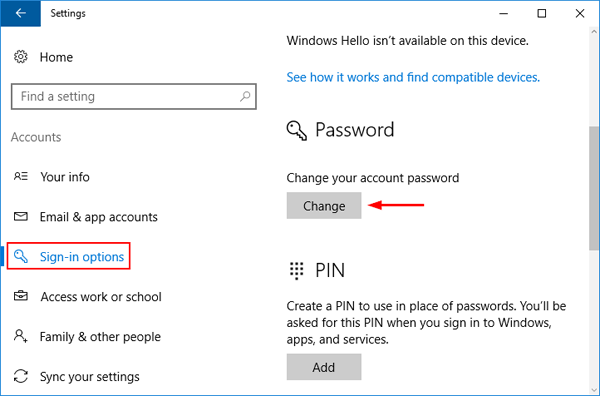
- Select Sign-in options tab in the left pane, and then click the Change button under the “Password” section.
- Next, enter your current password and click Next.
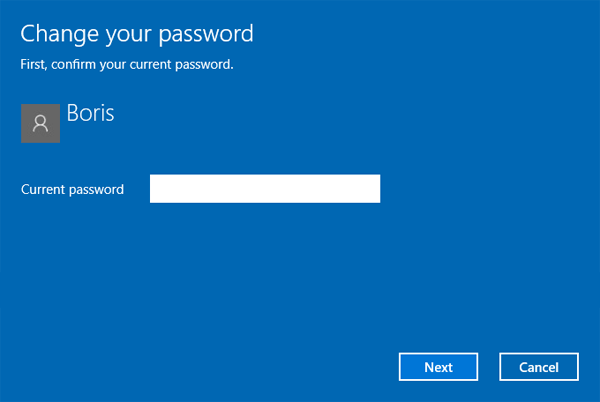
- To remove your password, leave the password boxes blank and click Next.
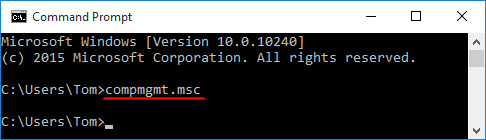
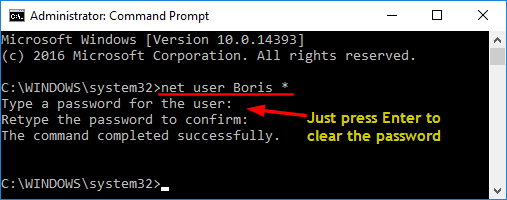
Option 3: Remove Windows 10 Administrator Password from Command Prompt
- Open up an elevated Command Prompt.
- At the Command Prompt, type the below command and press Enter.
net user Administrator * - When you’re prompted to type new password, just press Enter twice and it will remove your Windows administrator password.
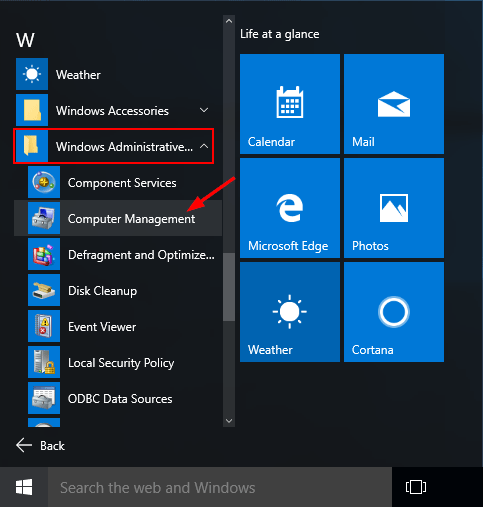
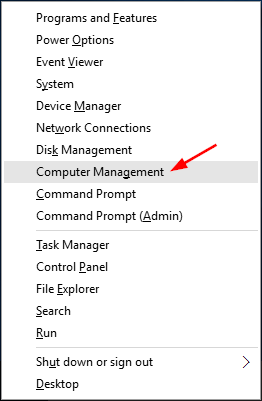
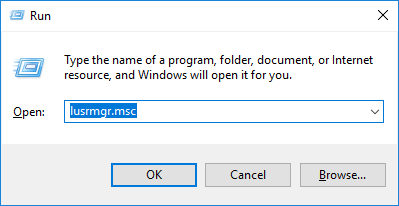
Option 4: Remove Windows 10 Administrator Password Using Local Users and Groups snap-in
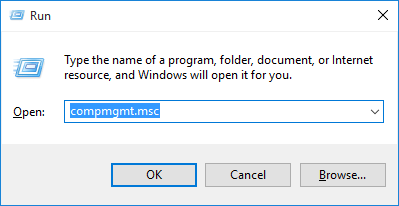
- Press Windows key + R to launch Run, type lusrmgr.msc and click OK.
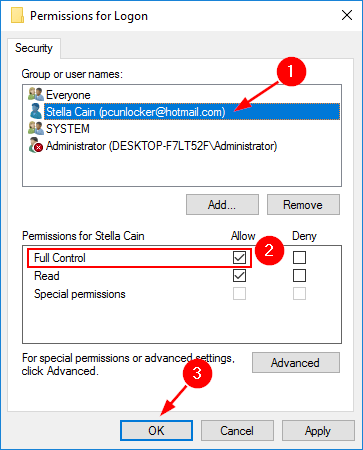
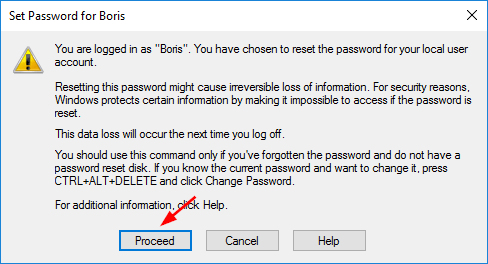
- When the Local Users and Groups snap-in opens, click Users from the left pane, then right-click the Administrator in the center pane. Select Set Password.
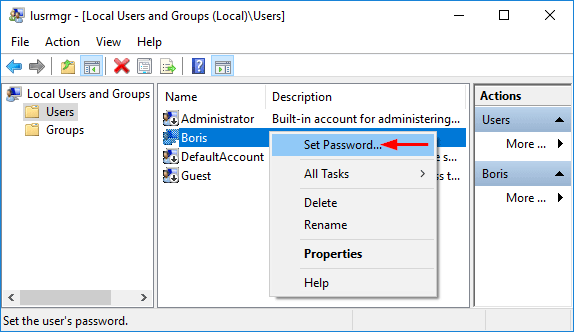
- Now click Proceed in the following window.
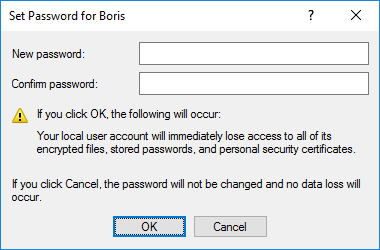
- Leave the New password and Confirm password boxes empty and click OK. This will remove your Windows user password instantly.
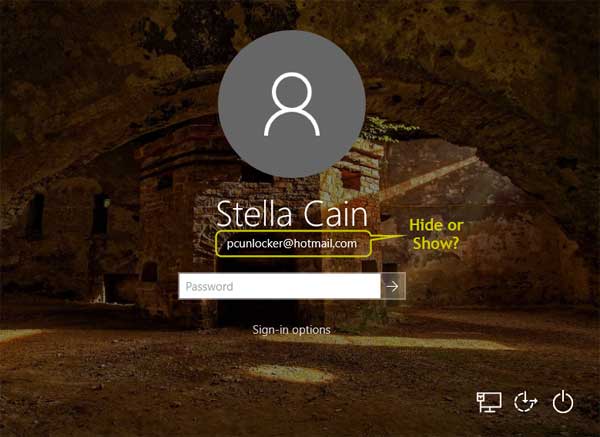
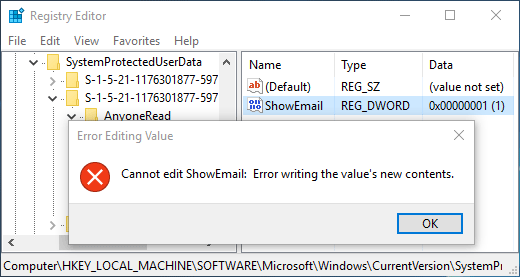
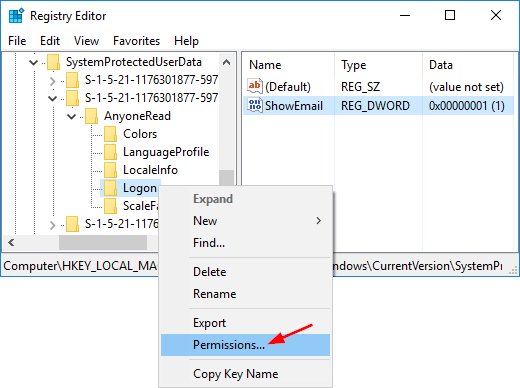
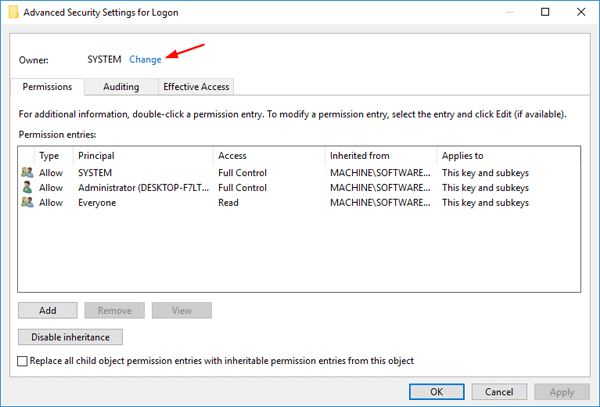
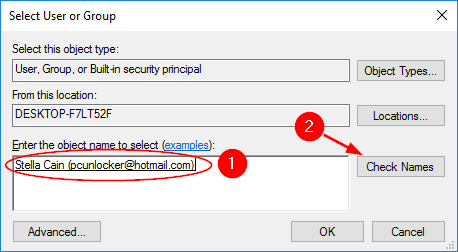
Option 5: Remove Windows 10 Administrator Password Using PCUnlocker
PCUnlocker is a handy Windows password removal tool that runs from a boot disk. It allows you to remove forgotten Administrator password for any Windows-based PC you can get physical access to.
- Start by burning the PCUnlocker ISO file onto a CD (or USB flash drive) using the freeware ISO2Disc.

- Boot your locked computer from the CD.
- Once booted to the PCUnlocker program, select the Administrator account and click on “Reset Password” button.

- This will remove your forgotten Windows administrator password quickly. Reboot your computer without CD, you can then log into your Windows 10 administrator account without a password.