Need to save all your installed drivers on your PC? Before doing a clean install, it’s advise to backup all existing drivers so you don’t need to spend time downloading each driver and avoid compatibility issues. We’ve already covered how to backup & restore device drivers using the DISM command. In this tutorial, we’ll show you another way to backup and restore drivers in Windows 11.
Part 1: Backup and Restore Drivers Using Windows Terminal
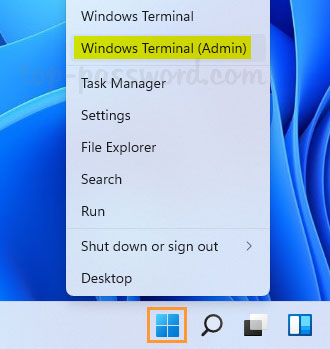
- Right-click the Start button on the taskbar and click “Windows Terminal (Admin)“.
- When the Command Prompt or Windows PowerShell launches, enter the following command and press Enter to backup all your drivers. Make sure you replace
D:\DriverBackupwith the folder you created for saving the exported drivers.
pnputil /export-driver * "D:\DriverBackup"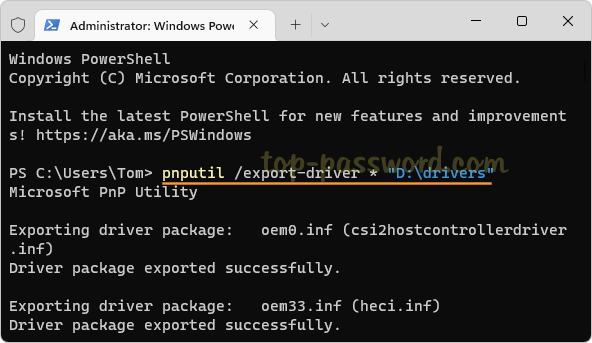
Just like creating driver backup, restoring it is also pretty simple and easy to perform. Just run this command to reinstall all the drivers you’ve saved.
pnputil /add-driver "D:\DriverBackup\*.inf" /subdirs /install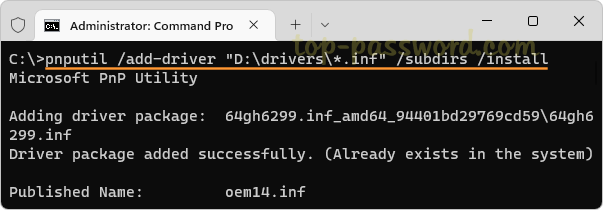
Part 2: Restore All Drivers Using Device Manager
- Press the Windows key + R together to open a Run window. Type
devmgmt.mscand then click OK to launch Device Manager.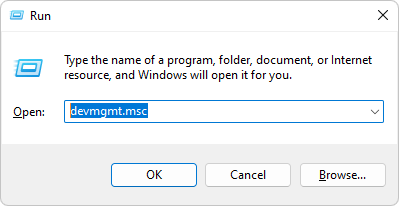
- Right-click your computer’s name at the top of the device list, and choose Add drivers.

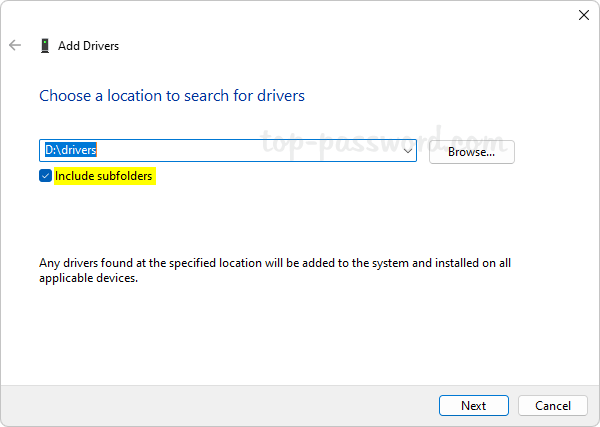
- Click on Browse to select the location where you’ve backed up the device drivers, tick the “Include subfolders” checkbox and click Next.
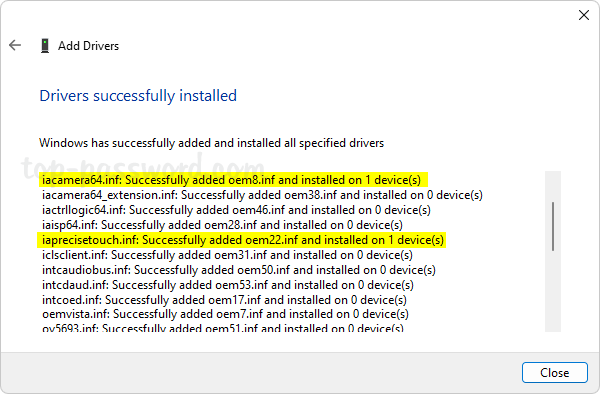
- The program will restore and install all your drivers and Windows 11 can then identify the unknown devices with their proper drivers.
That’s it!