Is there any way to disable video and image thumbnail preview in Windows 10? Thumbnail previews are useful since they let you preview Windows files without opening them, but it might slow down folder navigation process. In this tutorial we’ll show you 4 ways to turn off or on thumbnail previews in File Explorer on Windows 10 / 8 / 7.
Thumbnail previews are enabled:

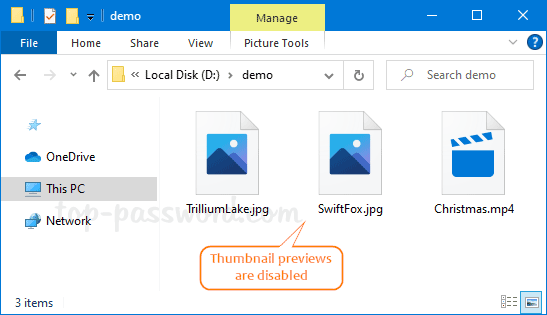
Thumbnail previews are disabled:
Method 1: Disable or Enable Thumbnail Previews via Folder Options
- Open Windows Explorer. Go to the View tab and click the Options button in the Ribbon menu.
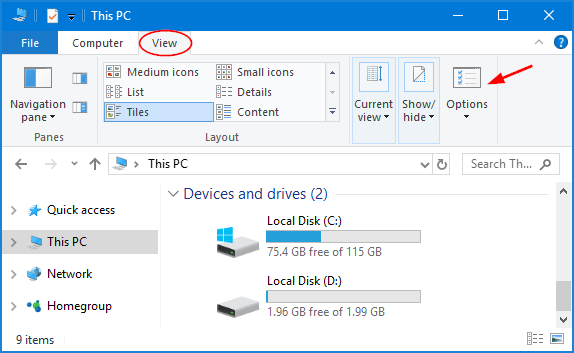
- Click on the View tab and check the option “Always show icons, never thumbnails” to disable thumbnail previews, or uncheck it to enable thumbnail previews.
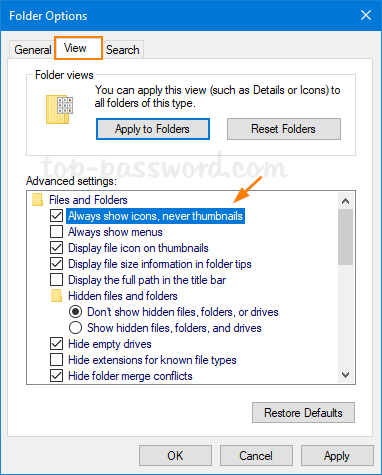
- Click OK to save your changes.
Method 2: Disable or Enable Thumbnail Previews via Performance Options
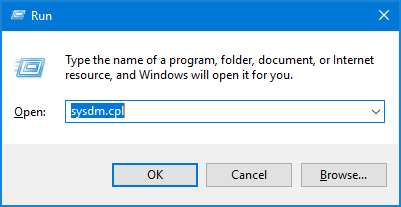
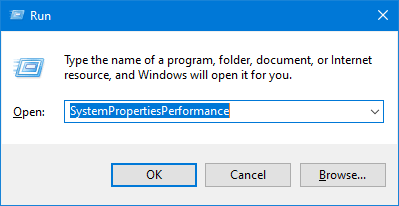
- Press the Windows key + R keyboard shortcut, then type SystemPropertiesPerformance in the Run box and press Enter.
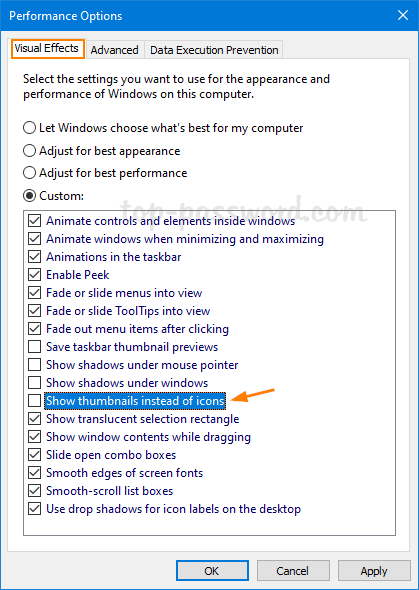
- The Performance Options window will open. Uncheck or check the “Show thumbnails instead of icons” option under the Visual Effects tab, and click OK.
Method 3: Disable or Enable Thumbnail Previews via Registry Editor
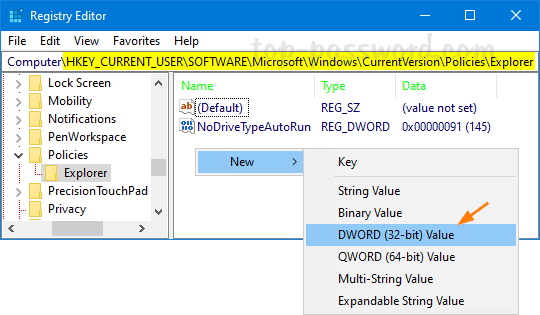
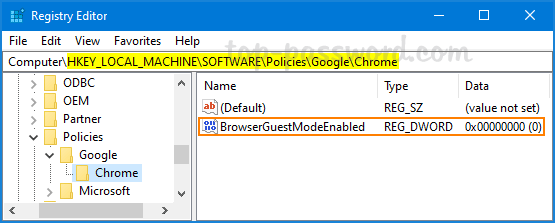
- Open Registry Editor and navigate to
HKEY_CURRENT_USER\SOFTWARE\Microsoft\Windows\CurrentVersion\Explorer\Advanced. On the right pane, double-click the DWORD value IconsOnly to modify.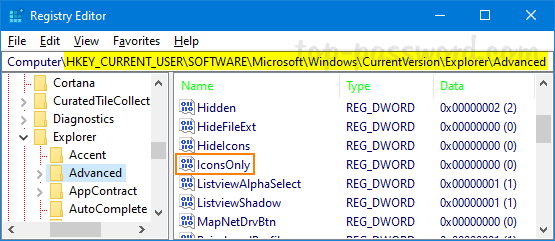
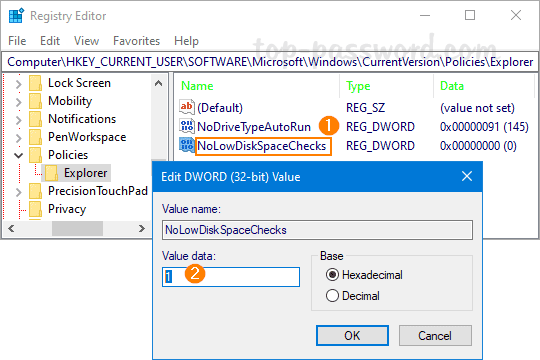
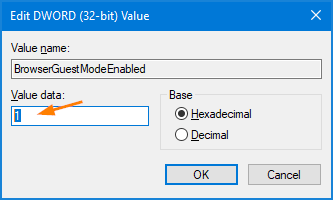
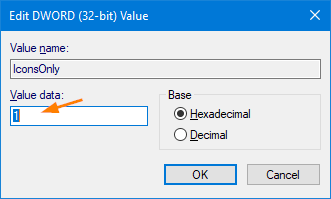
- Change the value data to 1 to hide thumbnails or 0 to show thumbnails, and click OK.
- You only need to refresh your File Explorer to see the changes immediately.
Method 4: Disable or Enable Thumbnail Previews via Group Policy
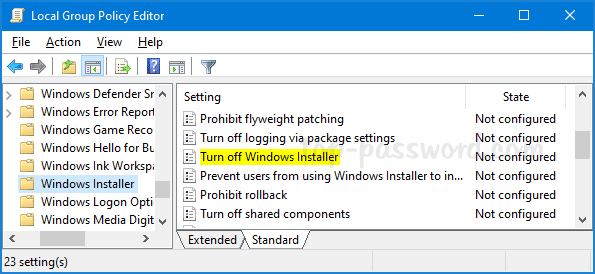
- Open Local Group Policy Editor and browse to:
User Configuration -> Administrative Templates -> Windows Components -> File Explorer. Double-click the “Turn off the display of thumbnails and only display icons” policy on the right pane.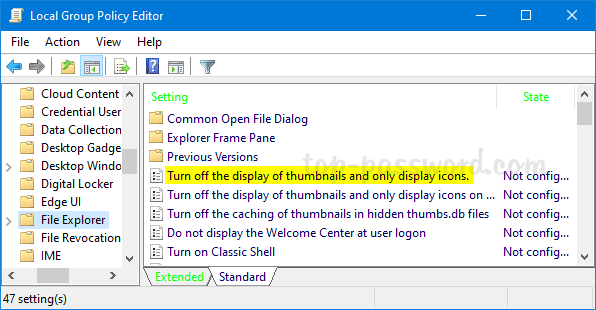
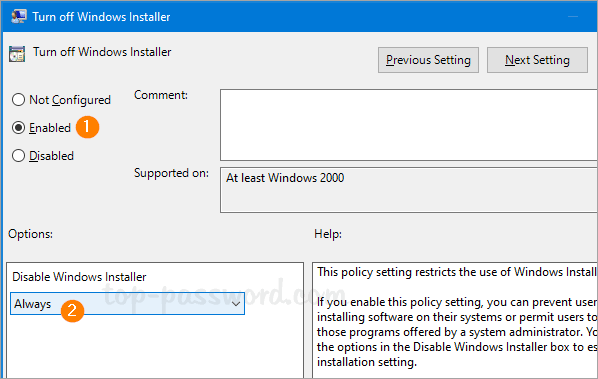
- Select Enabled to turn off thumbnail previews, or select Not configured to turn on thumbnail previews. Next, click OK.
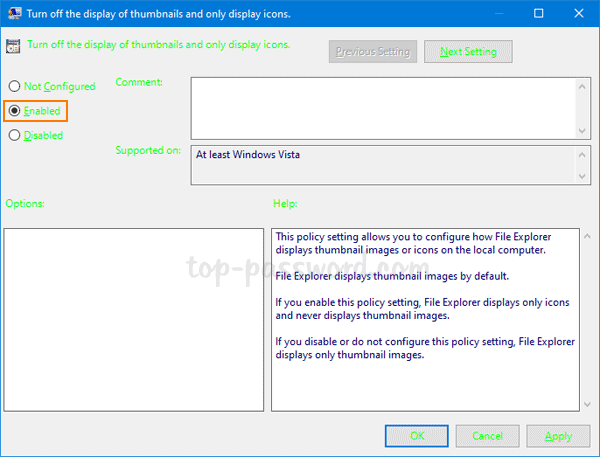
- You can see the changes by refreshing your folder in Windows Explorer. No need to restart Windows. After disabling thumbnail previews with group policy, it’s impossible to enable thumbnail previews using other methods above until you set this policy back to Not configured.