Keyboard is locked and you can’t type anything? If you’ve locked the keyboard unintentionally and couldn’t recall how you did it, just follow this troubleshooting tutorial and you should be able to unlock the keyboard on your Windows 10 / 8 / 7 computer.
Before getting started, you have to find if certain keys or the entire keyboard has broken physically. For external USB / PS2 keyboard, you can connect it to a different computer. If the issue still exists, it is possible that your keyboard is physically damaged. Otherwise, it should be a software issue and you can fix it with the steps below.
Step 1: Turn Off Filter Keys
If your entire keyboard is locked, it’s possible that you’ve turned on the Filter Keys feature accidentally. When you hold down the right SHIFT key for 8 seconds, you should hear a tone and the “Filter Keys” icon appears in the system tray. Just then, you’ll find that the keyboard is locked and you can’t type anything.
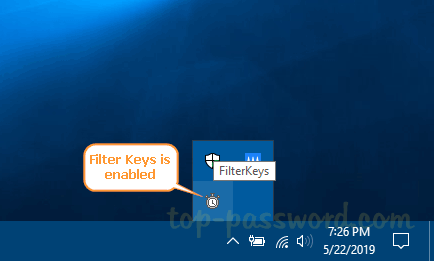
To unlock the keyboard, you have to hold down the right SHIFT key for 8 seconds again to turn off Filter Keys, or disable Filter Keys from the Control Panel.
Step 2: Turn Off NumLock
If your keyboard doesn’t type the correct characters, it’s possible that you’ve turned on NumLock or you’re using a incorrect keyboard layout. To fix such issue, you have to disable NumLock or change your keyboard layout by following these tutorials:
- 3 Methods to Disable NumLock on a Laptop Keyboard
- How to Change Input Language Using Keyboard Shortcut in Windows 10
Step 3: Reinstall or Update Keyboard Driver
The keyboard may become locked due to a faulty or outdated driver. To get your keyboard back to work, you may need to reinstall or update the keyboard driver. Follow these steps:
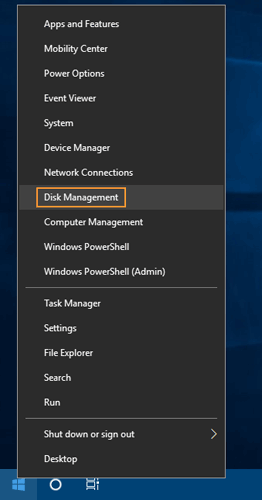
Open Device Manager and expand the Keyboards category. Right-click on your computer’s keyboard and select either Update driver or Uninstall device.

If you’ve chosen the “Uninstall device” option, restart your PC. Windows will automatically install the default keyboard driver.
Conclusion
With these troubleshooting tips you should be able to unlock your keyboard most of the time. If you problem still persists, try to contact your computer’s manufacturer or seek help from their forums. For HP Pavilion laptop, you might unlock the keyboard by pressing the Ctrl + PrntScr keyboard shortcut.