Do you really need to safely eject a USB drive before pulling it out of your computer? Windows has two different policies you can select for each individual USB drive:
- Quick removal – This will disable write caching on the USB device, and your data will be written to physical drive in real-time. So you will be able to disconnect your USB drive even without using the “Safely Remove Hardware” option.
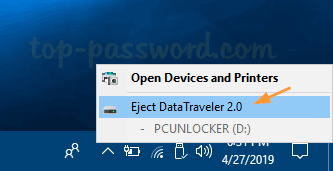
- Better performance – This will cache the write operations to optimize performance and your data will be written to physical drive at a later time. Before unplugging your USB drive, you have to click the “Safely Remove Hardware” icon appears in the system tray to tell Windows to write all the cached data to disk.
If you don’t bother with safely removing USB devices before unplugging them, follow this tutorial to enable Quick Removal policy for USB drives in Windows 10 / 8 / 7.
How to Change Removal Policy for USB Drives in Windows
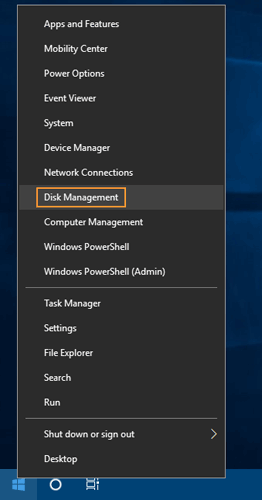
- To get started, you need to open the Disk Management tool. If you’re running Windows 10, just hit the Windows key + X together and you can then select “Disk Management” from the menu.
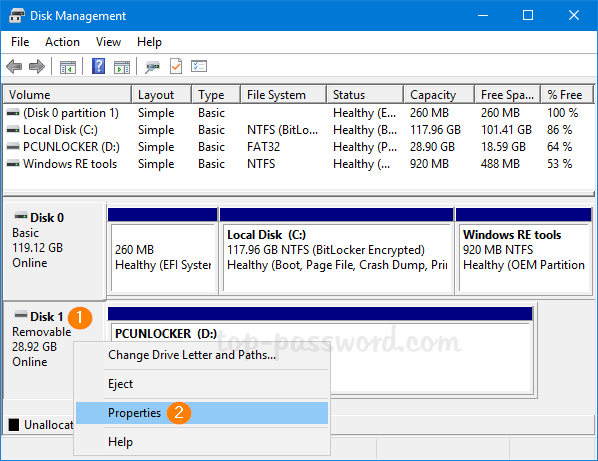
- Find your USB drive in the lower section of the Disk Management window, right-click its name and choose Properties from the pop-up menu.
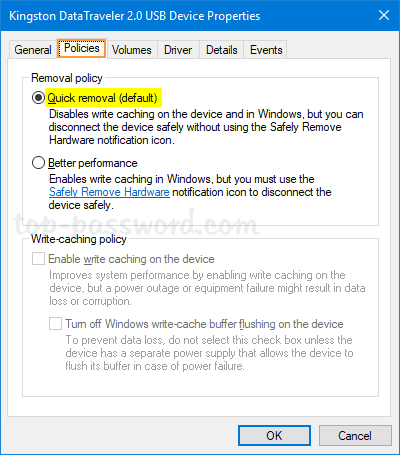
- Switch to the Policies tab and you can change the removal policy to Quick removal. Click OK to save your change. Note that This change only applies to this specific USB device.
- That’s it! Whenever the activity light on your USB drive is no longer blinking, you can directly remove the device without bothering to click the Safely Remove Hardware notification icon.
Updates: In earlier versions of Windows the default removal policy applied to USB drives was Better Performance. With the release of Windows 10 version 1809, Microsoft has changed its default policy to Quick Removal.