By default, Windows will automatically create a restore point before you make a major change to the OS, such as installing a new driver or app. In order to make more frequent backup, you need to create restore points manually or schedule the task to run daily or weekly. In this tutorial we’ll show you how to create system restore points in Windows 10 using Command Prompt or PowerShell.
Part 1: Turn On System Protection
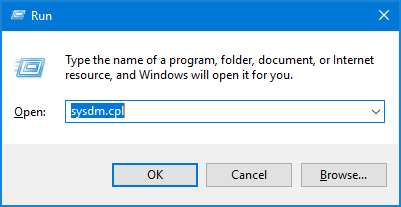
Before getting started, you need to check if system protection is enabled. Press the Windows key + R to open the Run box and type “sysdm.cpl” to open the System Properties window.
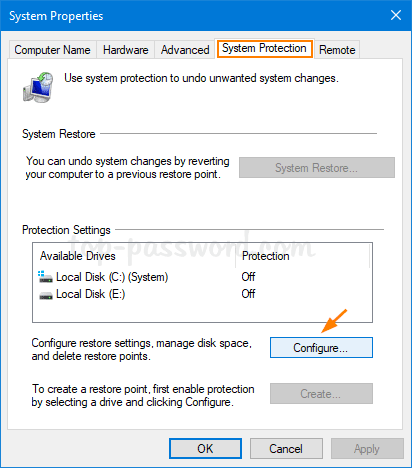
Go to the System Protection tab and click on the Configure button.
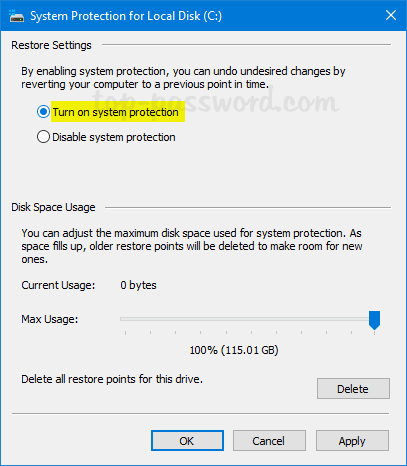
Select “Turn on system protection” and click OK.
Part 2: Disable System Restore Point Frequency
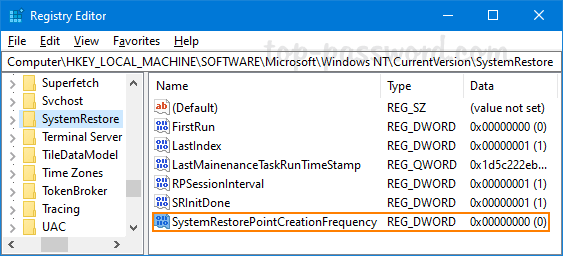
By default, Windows allows you to create only one restore point every 24 hours. To remove this limitation, open Registry Editor and navigate to: HKEY_LOCAL_MACHINE\SOFTWARE\Microsoft\Windows NT\CurrentVersion\SystemRestore. Right-click on the SystemRestore key in the left pane and select New ->DWORD (32-bit) Value.
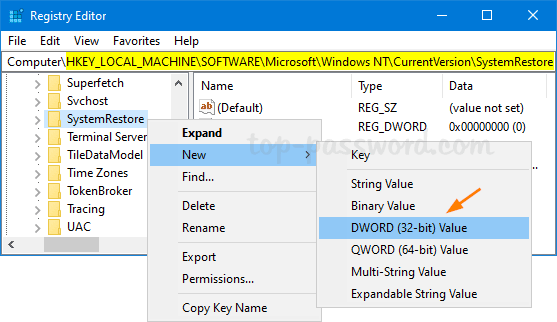
Give the new DWORD a name SystemRestorePointCreationFrequency and leave its value data to 0.
Part 3: Create System Restore Point with CMD or PowerShell
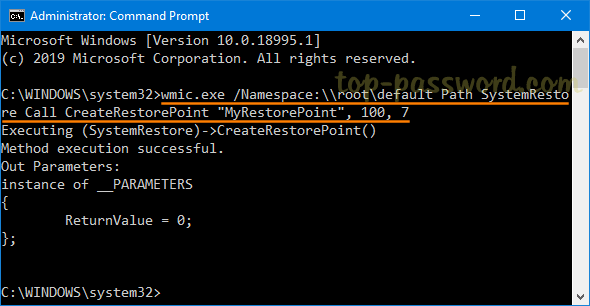
Open an elevated Command Prompt and type the following command:
wmic.exe /Namespace:\\root\default Path SystemRestore Call CreateRestorePoint "MyRestorePoint", 100, 7
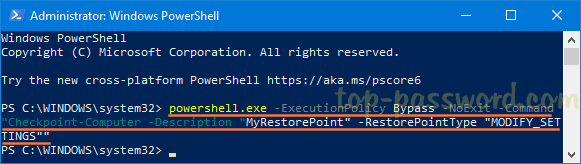
or launch Windows PowerShell as administrator and enter:
powershell.exe -ExecutionPolicy Bypass -NoExit -Command "Checkpoint-Computer -Description "MyRestorePoint" -RestorePointType "MODIFY_SETTINGS""
Once pressing Enter, a new system restore point will be created immediately. You can use Task Scheduler to make your system run the above command to create restore points automatically during startup.