Have you ever wondered how long your PC has been up and running? How can I find out when Windows was last restarted? In this tutorial we’ll show you 4 simple ways to check your computer uptime in Windows 10 / 8 / 7. This is useful when troubleshooting problems or checking the last boot time due to a power outage.
Method 1: Check Windows Uptime Using Task Manager
Press the Ctrl + Shift + Esc keyboard shortcut to start Task Manager. Go to the Performance tab and select your CPU device. You can see system uptime located toward the bottom of the window.
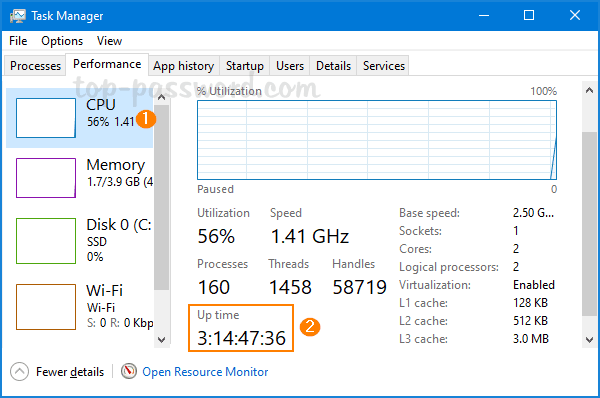
In the example above, my computer has been running for over three days.
Method 2: Check Windows Uptime Using PowerShell
Open Windows PowerShell and type the following command:
(get-date) – (gcim Win32_OperatingSystem).LastBootUpTime
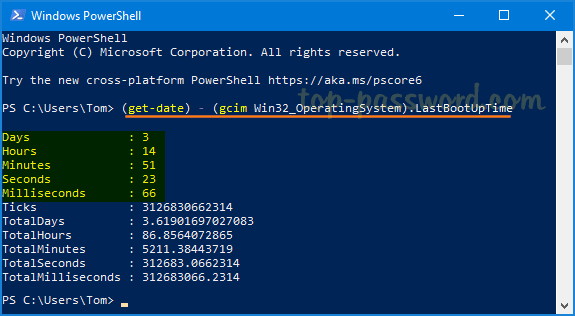
Once pressing Enter, you’ll get the uptime information on a list format with the days, hours, minutes, seconds and milliseconds.
Method 3: Check Windows Uptime Using Network Settings
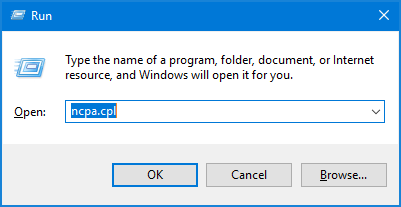
Press the Windows key + R together to launch the Run box. Type ncpa.cpl and hit Enter to open the Network Connections window.
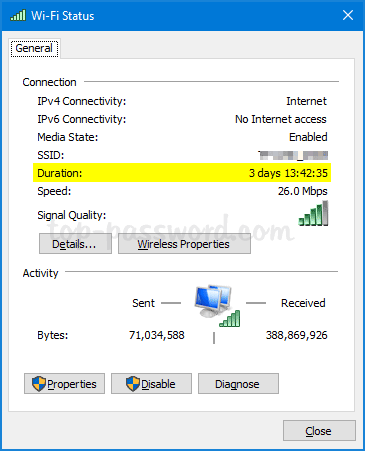
Right-click on an active network adapter and then select Status from the popup menu.
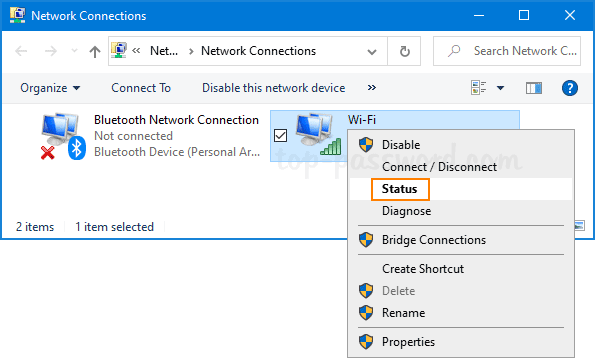
Look for the “Duration” field which indicates how long the network has been connected for, and that’s equivalent to your computer uptime.
Method 4: Check Windows Uptime Using Command Prompt
Open Command Prompt and run this command to check your system’s last boot time.
systeminfo | find "System Boot Time"
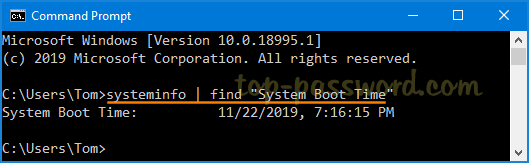
You can subtract the last boot time with the current time to determine the number of days, hours, and minutes the computer has been running.