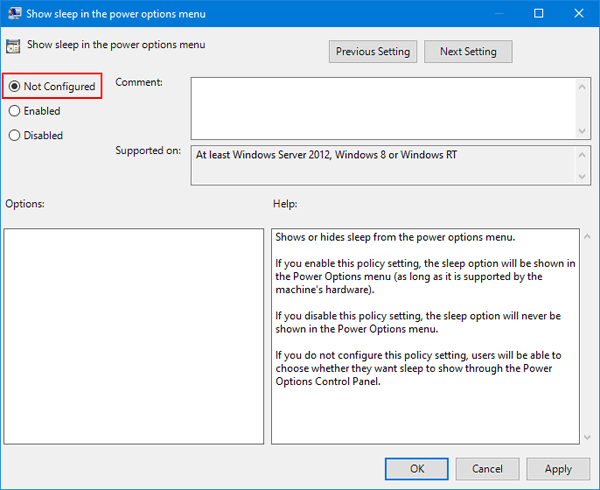
Caret browsing is a useful feature in Microsoft Edge, which allows you to copy a block of text from a web page using the keyboard, not the mouse. Just place your cursor anywhere on a body of text, then use the arrow keys to move the cursor to select the text you want to copy. In this tutorial we’ll show you 2 methods to enable / disable caret browsing in Microsoft Edge in Windows 10.
![]()
The “Always use caret browsing” option seems to be gone from the Settings menu in Microsoft Edge. So you have to turn on/off caret browsing using the F7 shortcut or registry editor.
Method 1: Enable / Disable Caret Browsing in Microsoft Edge Using F7 Shortcut
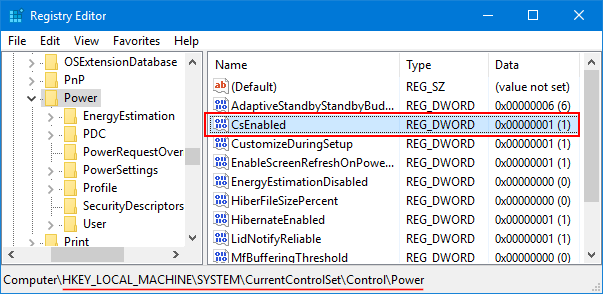
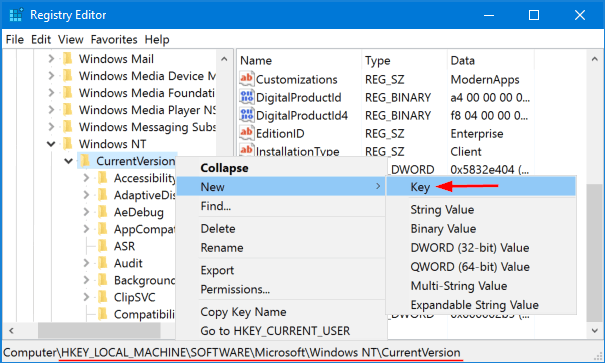
Open Microsoft Edge and browse to a web page where you’d like to select text, press F7 key on your keyboard. This will bring up a confirmation window, asking you if you want to turn caret browsing on. Select Yes to turn it on.
![]()
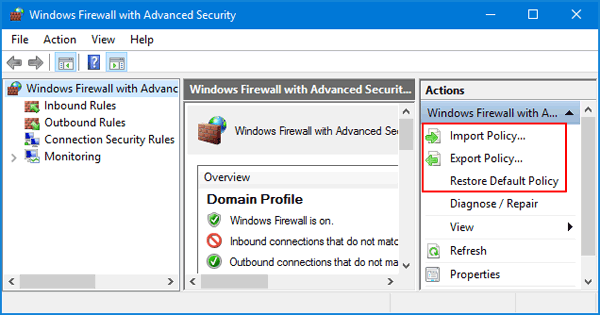
If you don’t want to be prompted the next time you press F7, just check the option “Don’t ask me again when I press F7“. When you want to turn off caret browsing, just hit F7 again.
![]()
Method 2: Enable / Disable Caret Browsing in Microsoft Edge Using Regedit
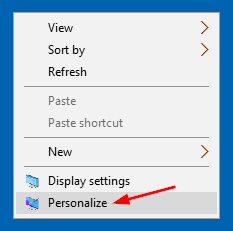
- Press the Windows Key + R keys simultaneously, then type regedit in Run dialog box and press Enter.
-
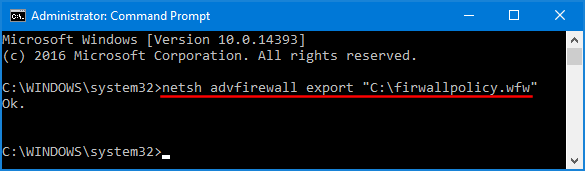
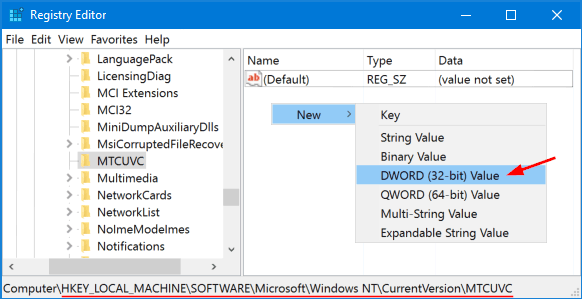
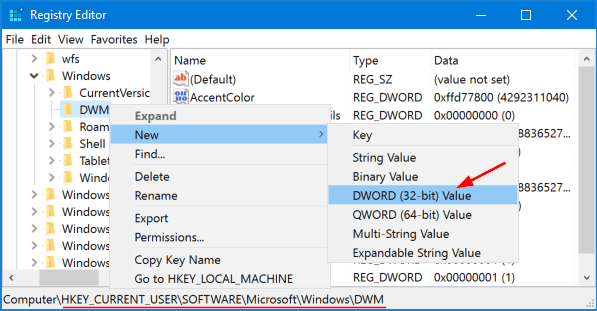
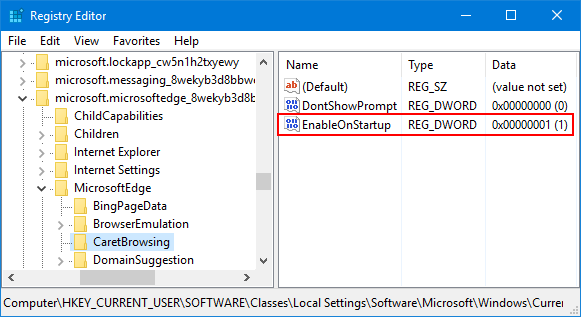
When the Registry Editor window opens, navigate to the following key:
HKEY_CURRENT_USER\SOFTWARE\Classes\Local Settings\Software\Microsoft\Windows\CurrentVersion\AppContainer\Storage\microsoft.microsoftedge_8wekyb3d8bbwe\MicrosoftEdge\CaretBrowsing -
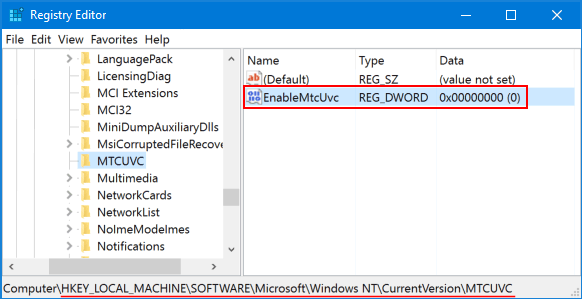
In the right pane, double-click the DWORD EnableOnStartup to modify. Set its value data to 1 if you want to enable caret browsing, or turn off caret browsing by resetting it to 0.
- When it’s done, close Registry Editor and relaunch Microsoft Edge to see results.
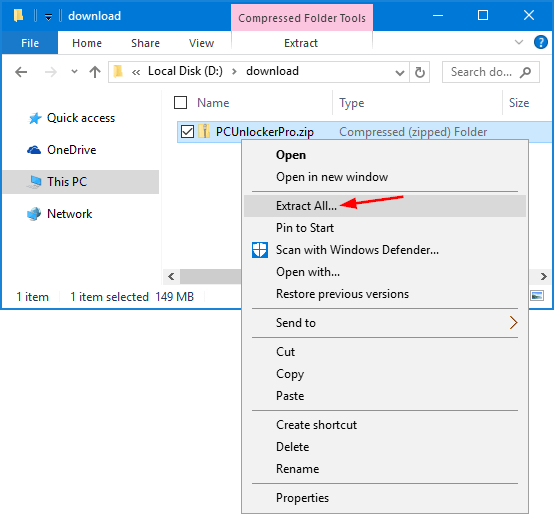
If you don’t want to use Registry Editor to make the registry changes above, just download one of these .reg files (enable-caret-browsing-in-edge.reg, disable-caret-browsing-in-edge.reg). After downloading, double-click the .reg file and apply the registry settings to your system.