There are two types of bad sectors – hard and soft. Hard bad sector is a cluster of storage on the hard drive that’s physically damaged, while soft bad sector is the result of software or data error. When copying files, it might stop at bad sectors saying “can’t read from the source file or disk“, “Location is not available” or “A disk read error occurred“.
In this tutorial we’ll show you 2 simple ways to check and repair bad sectors for USB drive in Windows 10 / 8 / 7, without using third-party software.
Method 1: Check and Repair Bad Sectors Using Windows Error Checking Tool
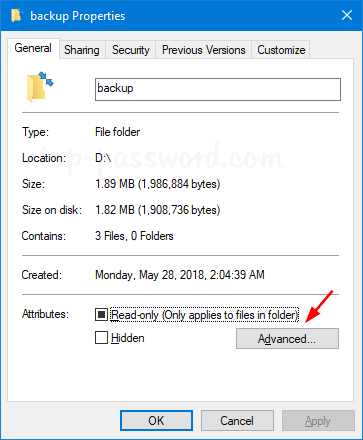
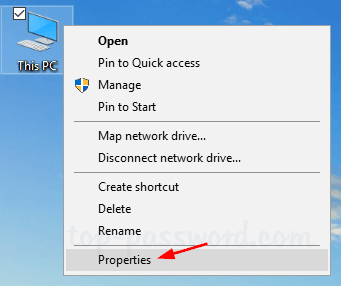
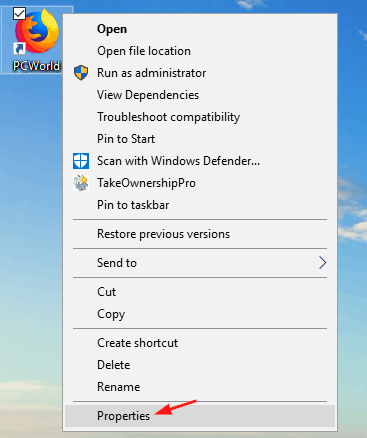
- Open Windows Explorer. Right-click on the USB drive you want to repair, and then select Properties from the context menu that appears.
- In the Properties dialog box, go to the Tools tab and then click on Check now.

- A new dialog box will appear, check both options: “Automatically fix file system errors” and “Scan for and attempt recovery of bad sectors“, and then click on Start.
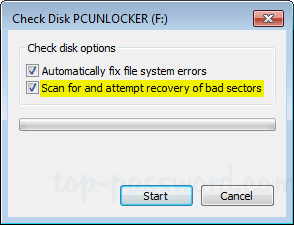
- It will scan the disk for errors, fix logical errors, detect and mark bad sectors. The process could take a significant amount of time to complete, and lots of system resources are required for the task.
Method 2: Check and Repair Bad Sectors Using Chkdsk Command Line
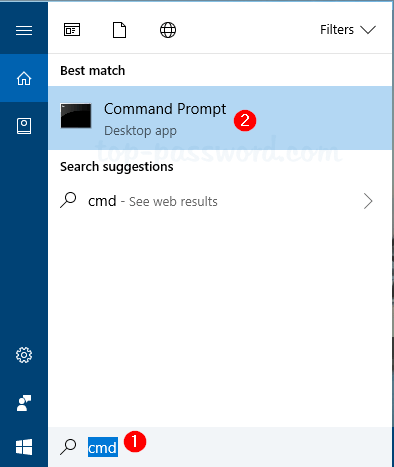
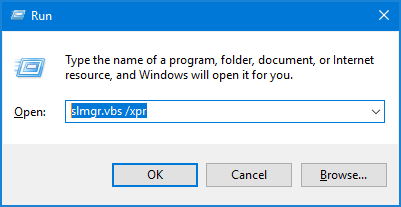
- Press the Windows + R keys to open the Run dialog box. Type cmd and press Enter.
- At the Command Prompt, run the following command to check and repair bad sectors found on your drive. Replace F: with the drive letter of the USB drive you want to repair.
chkdsk /f /R F: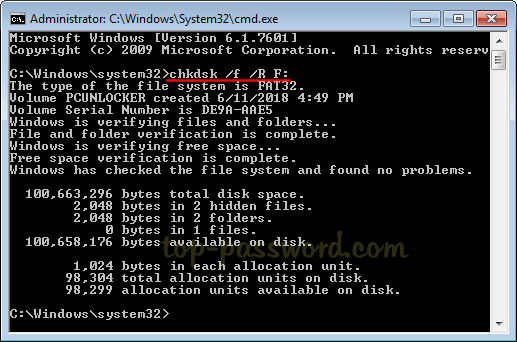
- It will locate bad sectors and recover readable information from your USB drive. When chkdsk can’t obtain exclusive access to your drive, it will prompt you to schedule this task to run just on the next reboot.