Recycle Bin icon is missing or disappeared after Windows 10 update? How can I get to the Recycle Bin without the desktop icon in Windows 10? In this tutorial we’ll show you all possible ways to restore or open Recycle Bin in Windows 10.
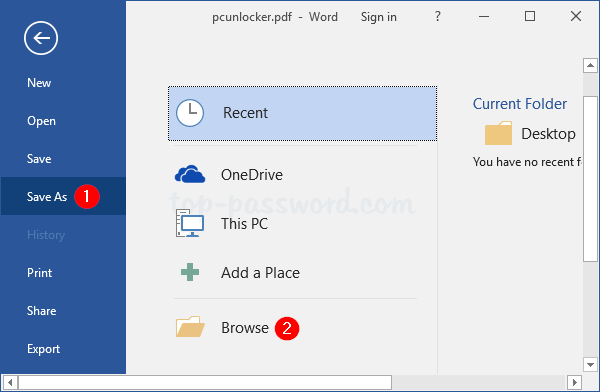
Method 1: Open Recycle Bin from File Explorer’s Address Bar
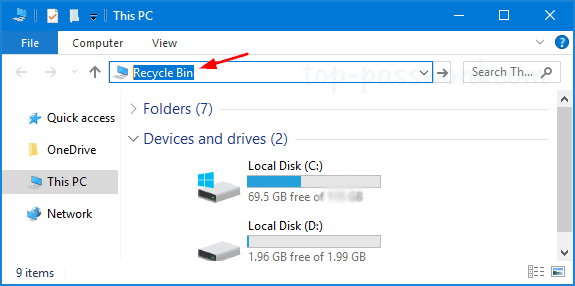
Open File Explorer then type “recycle bin” in the address bar. Press Enter to open Recycle Bin directly.
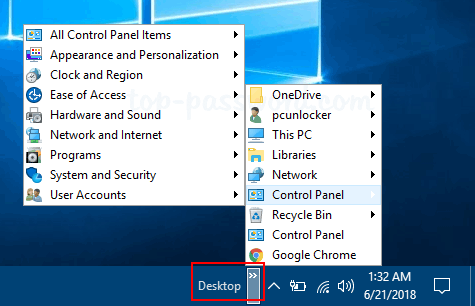
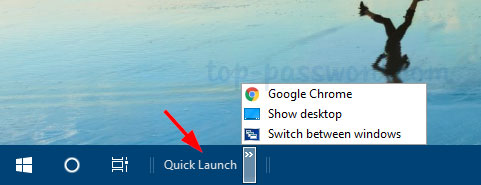
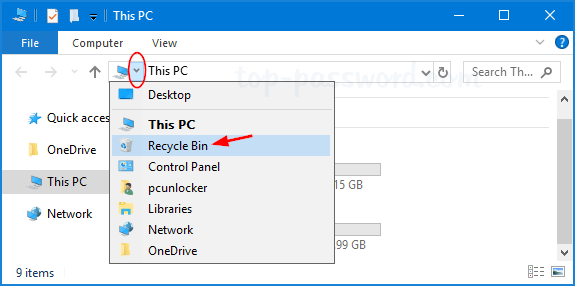
Another way is to click on the first “>” icon in the address bar to open a drop-down menu that contains all of the desktop icons, including Recycle Bin.
Method 2: Open Recycle Bin from Run Command
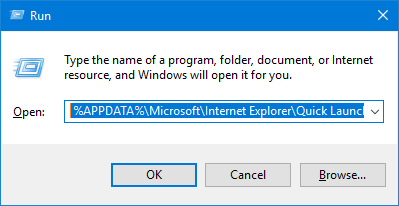
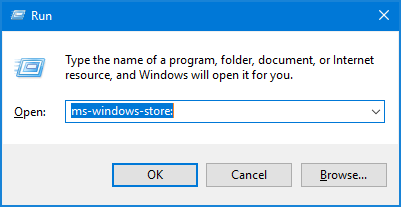
Use the Windows Key + R shortkey to open the Run prompt, type the following command and press Enter.
explorer.exe shell:RecycleBinFolder
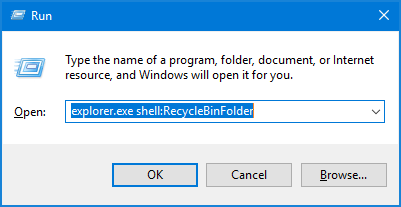
This will launch Recycle Bin immediately.
Method 3: Open Recycle Bin from Desktop Location
Use the Windows Key + R shortkey to open the Run prompt, type shell:desktop and press Enter.
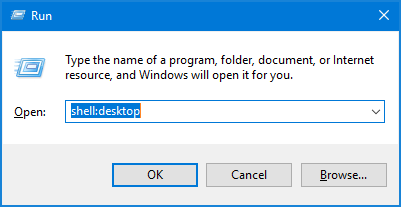
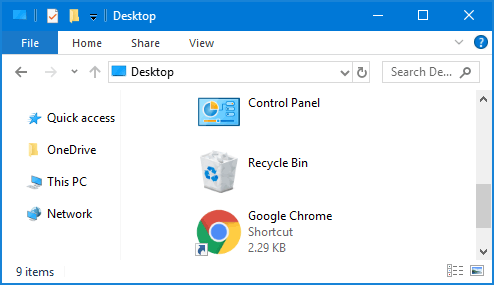
You can then access the Recycle Bin in a File Explorer window.
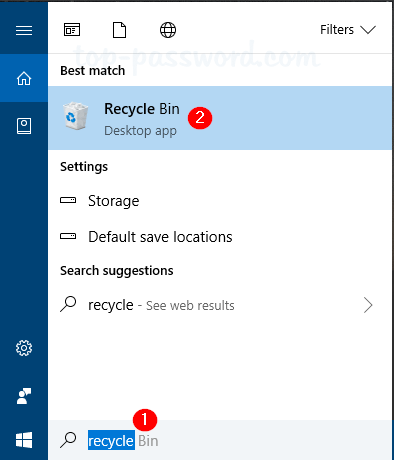
Method 4: Open Recycle Bin from Cortana Search
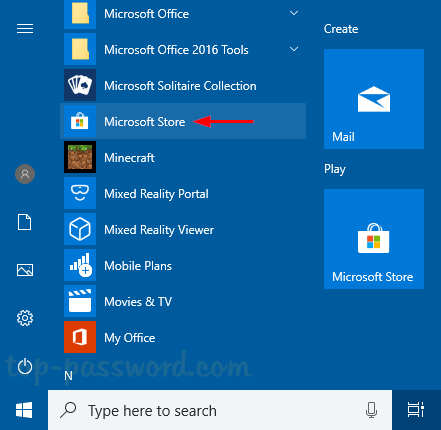
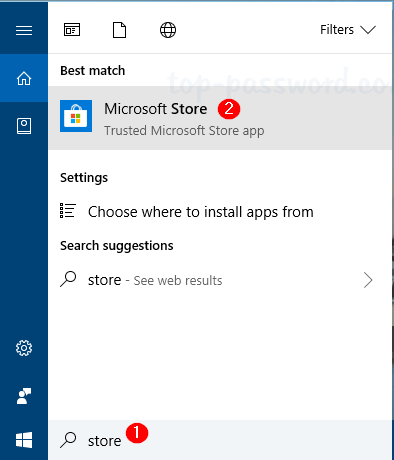
Click Start, type “recycle” and you can then open the “Recycle Bin” desktop app from the search result.
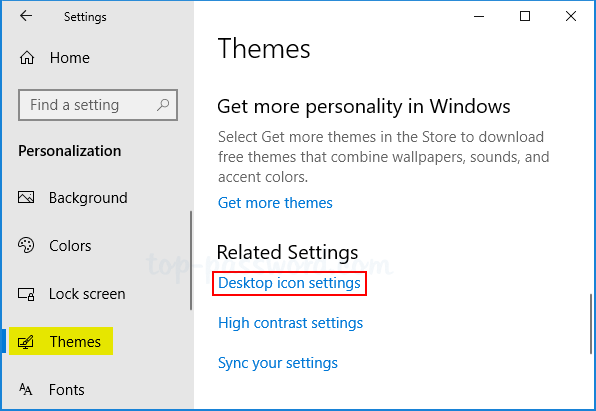
Method 5: Add Recycle Bin to Windows 10 Desktop
Use the Windows key + I shortkey to open the Settings app. Navigate to Personalization -> Themes. On the right pane, scroll down to the Related Settings section, and click the “Desktop icon settings” link.
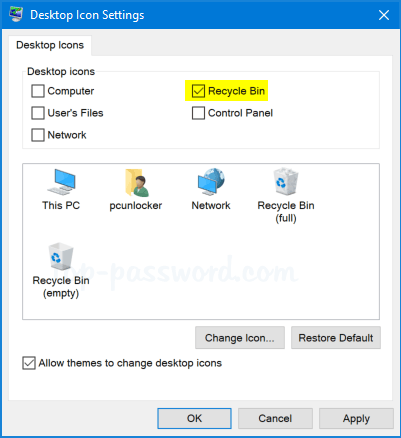
Select the check box for the Recycle Bin icon you want to appear on your desktop, and then click OK.
Method 6: Pin Recycle Bin to Start Menu
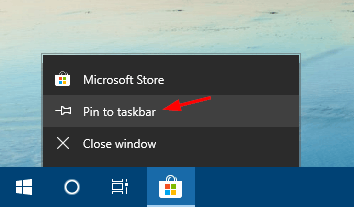
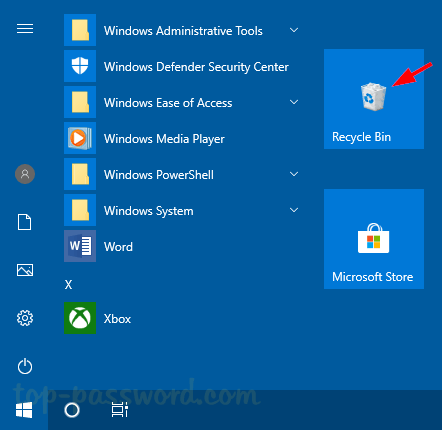
If you want to pin Recycle Bin to the Start Menu, just right-click the Recycle Bin icon on the desktop and then choose “Pin to Start“.
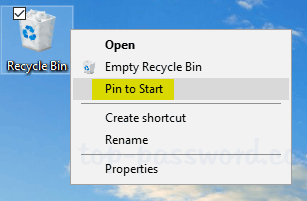
You should see the Recycle Bin icon show up in the Start Menu as a tile.
Method 7: Add Recycle Bin to My Computer
If you need to access Recycle Bin frequently, here is a way to add the Recycle Bin to the “This PC” view in File Explorer. Follow these steps:
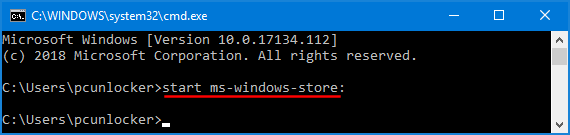
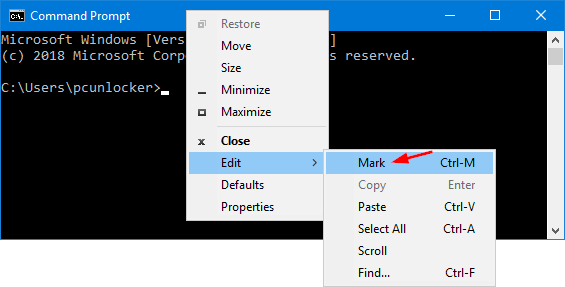
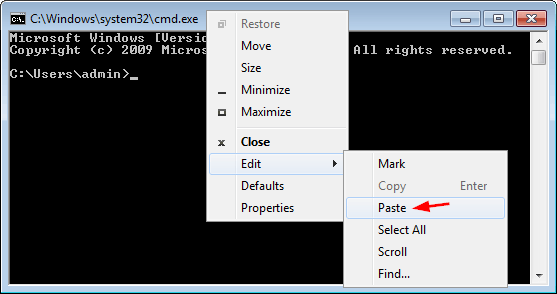
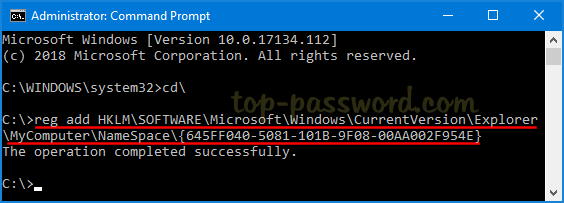
Open the Command Prompt as administrator. Type the following command and press Enter.
reg add HKLM\SOFTWARE\Microsoft\Windows\CurrentVersion\Explorer\MyComputer\NameSpace\{645FF040-5081-101B-9F08-00AA002F954E}
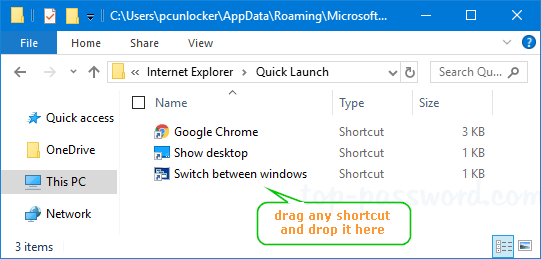
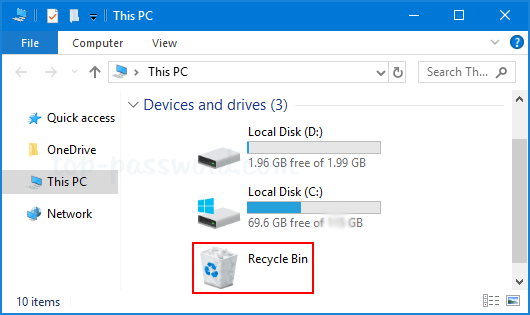
When it’s done, open File Explorer again and go to “This PC” view. You’ll see the Recycle Bin shortcut.
If you want to remove the Recycle Bin from My Computer (“This PC”) later, just open the elevated Command Prompt again and run this command:
reg delete HKLM\SOFTWARE\Microsoft\Windows\CurrentVersion\Explorer\MyComputer\NameSpace\{645FF040-5081-101B-9F08-00AA002F954E} /f
That’s it!