Lost SQL Server 2016 product key from an installed instance? When you need to reinstall SQL Server or move the license to a new machine, you can use KeyFinder Plus to decrypt and locate SQL Server product key stored in the Windows registry. This tutorial will walk you through the steps to find SQL Server 2017 / 2016 / 2014 product key from an existing instance.
How to Find SQL Server Product Key from an Installed Instance?
- To begin with, download and install KeyFinder Plus on the server running a SQL Server instance.
- The program comes with a neat and pretty simple interface. Just click on the Start Recovery button and you’ll see a list of options for recovering product keys from local machine, unbotable system or network PC.
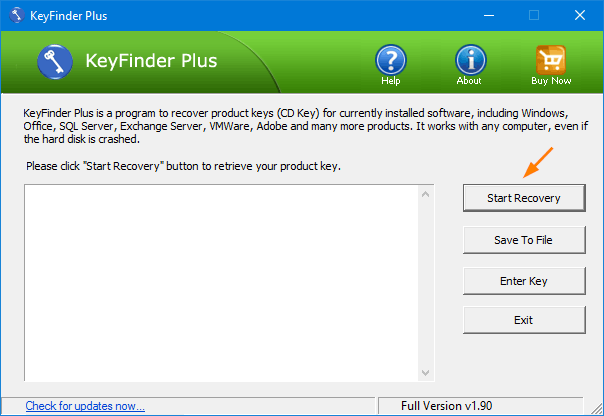
- Once you have chosen the first option, it will quickly find out product keys for all editions of SQL Server, Windows, Office and other softwares installed on your local computer.
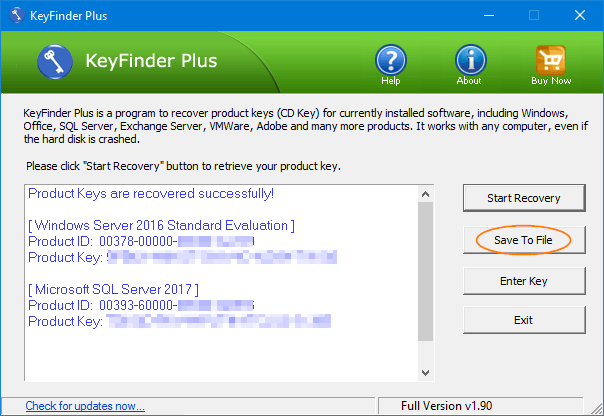
If you want to write down or print out the product keys so you can access them later, click on the Save To File button.
- We’d recommend saving to the desktop for easy access.
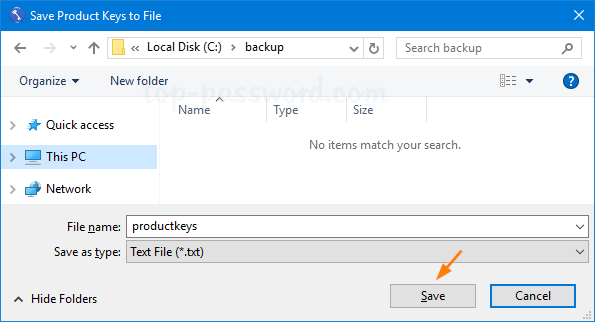
Afterwards, you can open that file with your preferred text editor and print it out.
Finding lost SQL Server product key is as simple as that!