How do I add a custom font to Windows 10? Windows comes with lots of fonts pre-installed, but many users might get tired of them and would like to install some stylish and elegant fonts on their computers. In this tutorial we’ll show you the easiest ways to install fonts on Windows 10.
Method 1: Install Fonts from Windows 10 Store
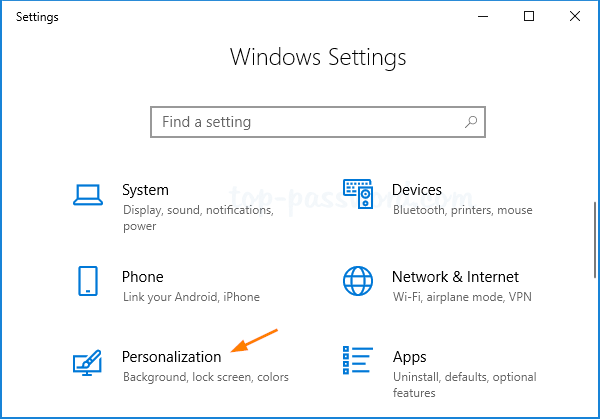
- Press the Windows + I keys together to access the Settings app, then click on Personalization.
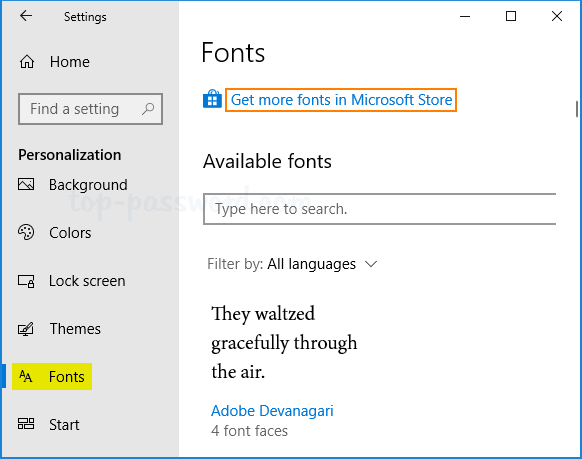
- Choose the Fonts tab on the left side, and then click the “Get more fonts in Microsoft Store” link on the right side.
- The Microsoft Store app will list all free and paid fonts available to your computer. Just select the font you like and then click the Get button.
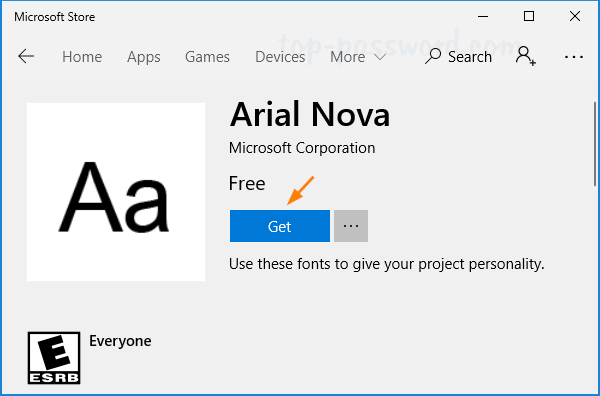
- It will download the font and automatically install it on your computer. After installing, you can use the font in your Office Word, Adobe Acrobat or Photoshop applications.
Method 2: Install Third-Party Fonts You’ve Downloaded
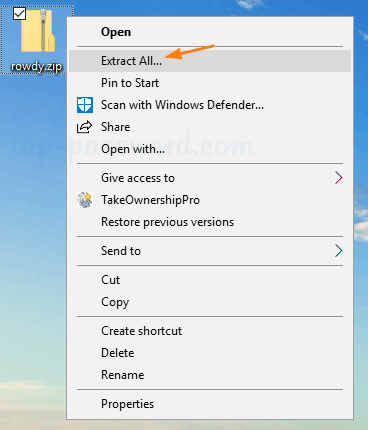
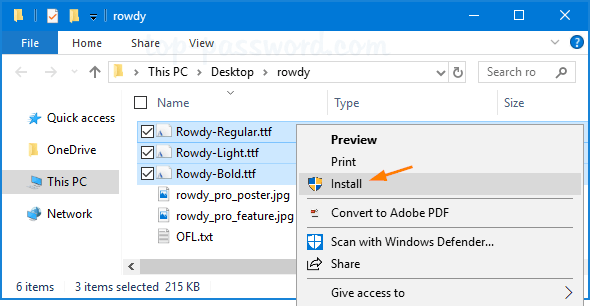
Most fonts are distributed inside of a zip archive. After you’ve downloaded it, follow the steps below to install it on your Windows 10 system:
- Right-click on the .zip archive of your preferred fonts in File Explorer, and then select Extract all from the context menu.
- After extraction, go to the extracted folder and you should see one or more font files with the extensions .ttf or .ttc. Simply right-click on them and select Install from the context menu.
Another way of installing fonts is to drag and drop the .ttf or .ttc files into the system directory: C:\Windows\Fonts.
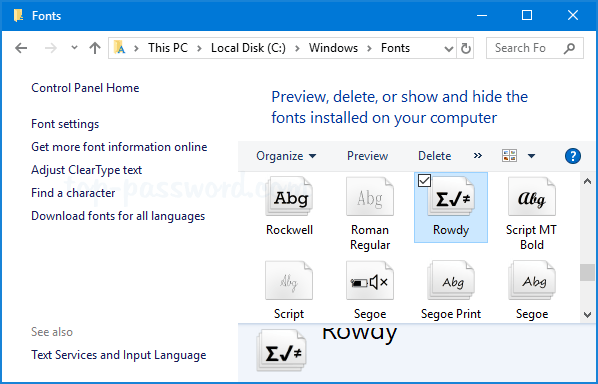
- Now, you can view the installed font in the Control Panel.
That’s it!