Game DVR is part of the Xbox app on Windows 10, intended for recording games. By default, the game clips and screenshots you made with Game DVR are stored in the “Captures” folder inside “Videos” in your account. In this tutorial we’ll show you how to find and change the default save location for Game DVR in Windows 10.
Part 1: Find the Default Location of Game DVR Captures Folder
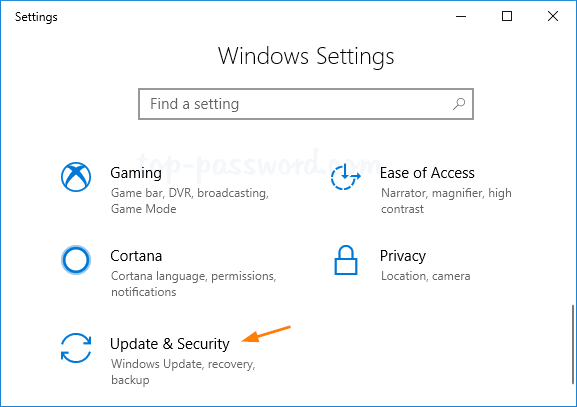
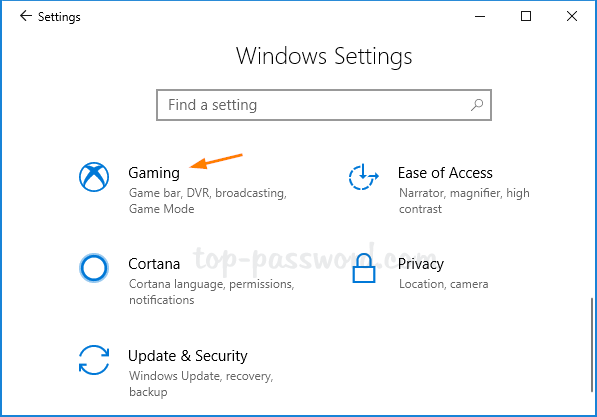
Press the Windows logo key + I to launch the Settings app, then click on Gaming.
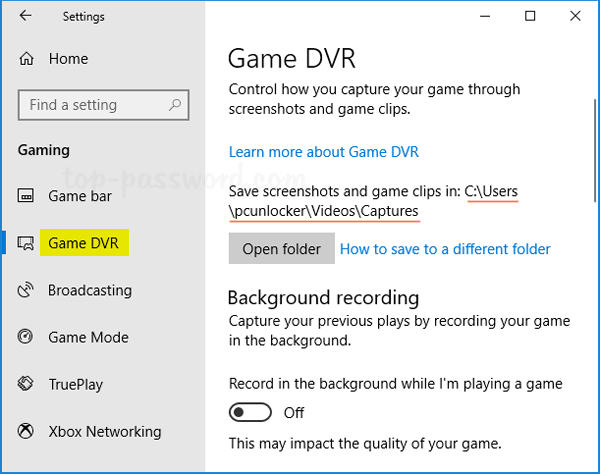
Select the “Game DVR” category at the left side. You can then see the default location where the Game DVR tool will save your screenshots and game clips. By default, it should be C:\Users\username\Videos\Captures.
Part 2: Change the Save Location for Windows 10’s Game DVR
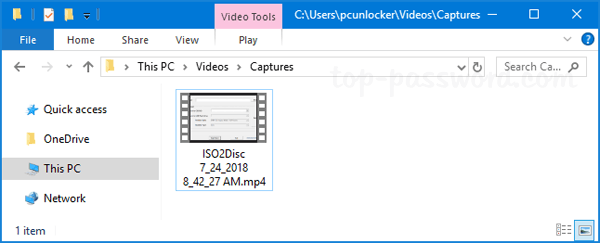
Open File Explorer and browse to the default save location you’ve found with the above steps. Then right-click the Captures folder and select Properties.

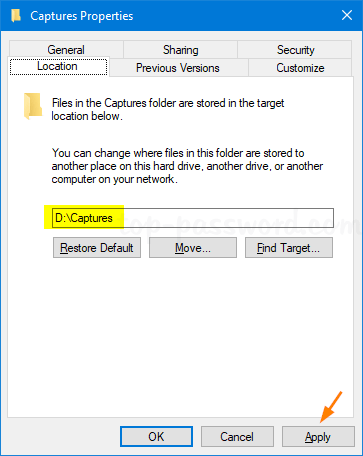
Select the Location tab and click on the Move button.
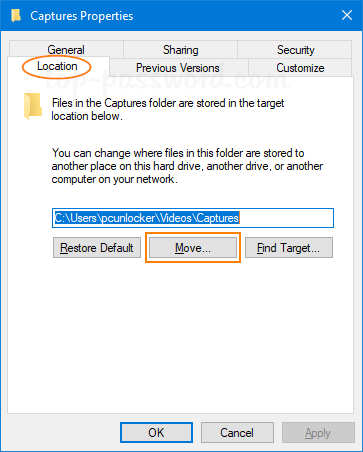
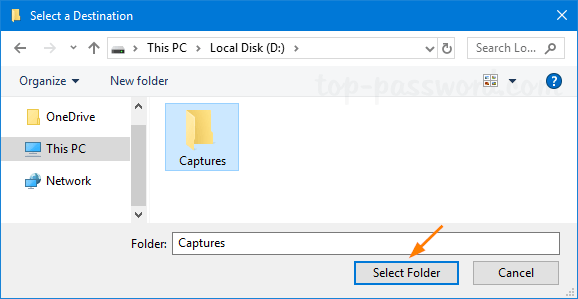
Select a new location for the Captures folder.
Click Apply.
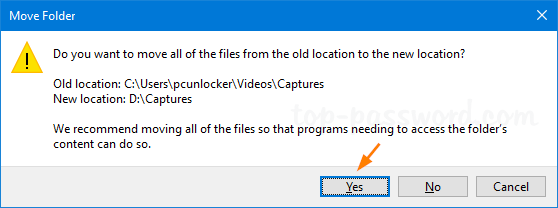
You will be prompted whether you would like to move the screenshots and game clips from the old location to the new location. Simply click Yes to confirm.
Now you’ve successfully changed the default Game DVR save location.