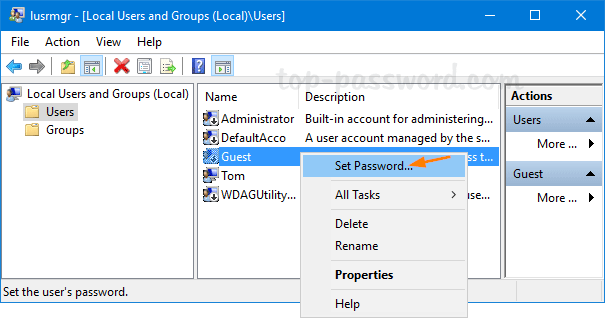
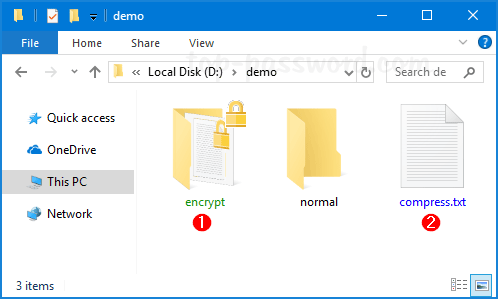
By default, Windows displays all folders and files names in black letters. To help you identify an EFS or compressed folder or file, you can turn on “Show encrypted or compressed NTFS files in color” for your account in Windows 10. EFS encrypted files will show its name in green, while compressed NTFS files will show the name in blue.
Method 1: Show Encrypted or Compressed NTFS files in Color via Folder Options
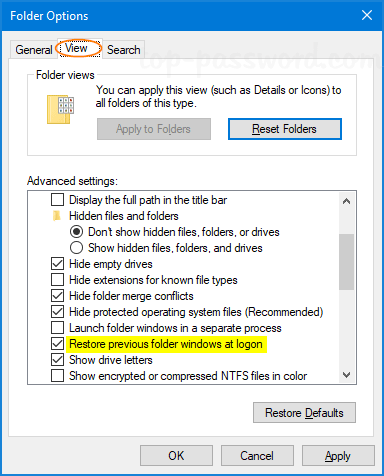
- Press Windows Key + E to open File Explorer. Select the View tab from the File Explorer Ribbon and then click on Options.
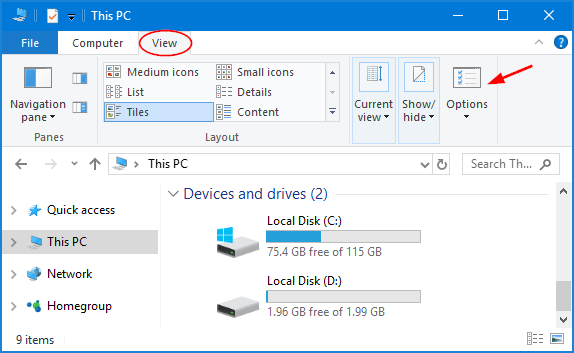
- When the Folder Options window opens, click the View tab and check the option named “Show encrypted or compressed NTFS files in color“.
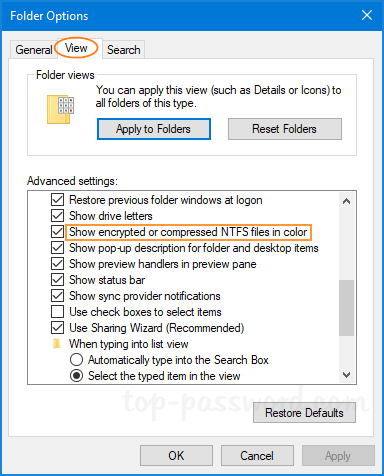
- Click Apply followed by OK. Now Windows 10 will show compressed or encrypted folders or files names in blue or green color.
Method 2: Show Encrypted or Compressed NTFS files in Color via Registry Editor
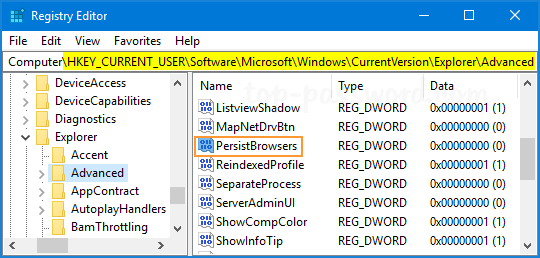
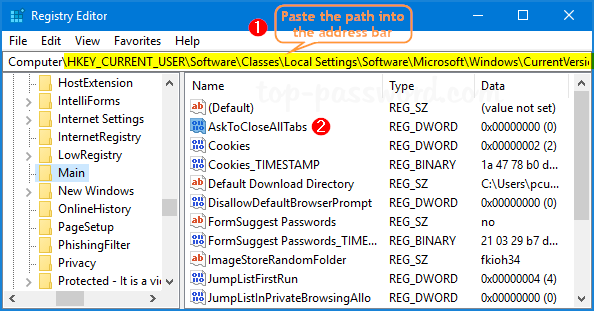
- Open the Registry Editor and navigate to the following key:
HKEY_CURRENT_USER\Software\Microsoft\Windows\CurrentVersion\Explorer\Advanced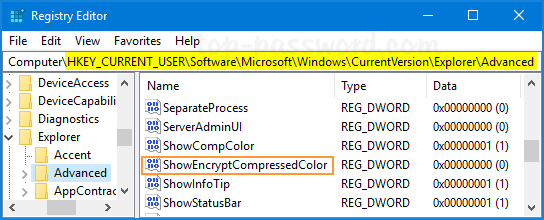
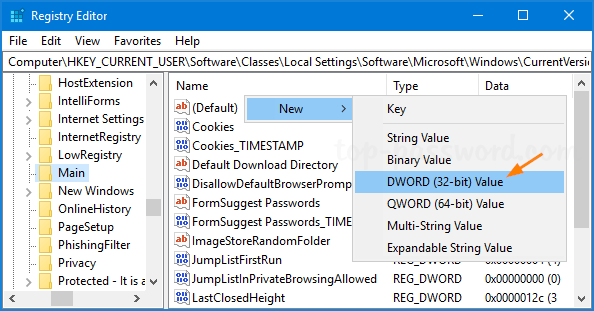
Next, double-click the 32-bit DWORD ShowEncryptCompressedColor in the right pane.
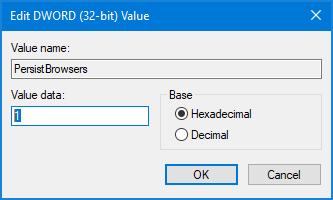
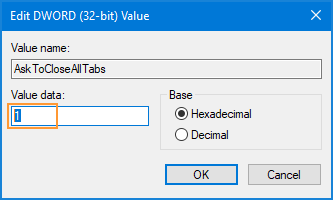
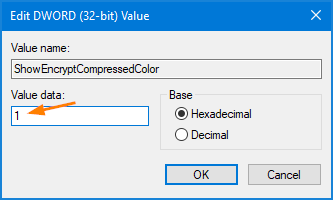
- Set the value data to 1 and click OK.
- Close Registry Editor. Windows 10 makes the file names colorful in order to help you identify the encrypted or compressed file and folder easily.