How can I change the case of selected cells (to lower or upper or whatever) in Excel? Unlike Microsoft Word, Microsoft Excel doesn’t have a keyboard shortcut for changing the capitalization, or case of selected text. Fortunately you can use a formula to accomplish such a specific task. This tutorial will walk you through the steps of changing text from lowercase to uppercase in Excel 2016.
How to Change Text from Lowercase to Uppercase in Excel 2016?
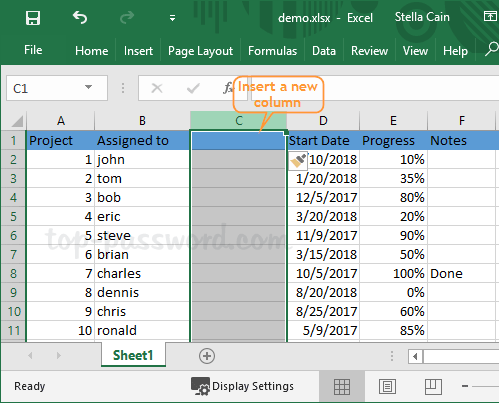
- First of all, open your Excel spreadsheet. Insert a new column next to the one that contains the text you want to convert text case.
- Click inside the adjacent cell (C2) of the new column and enter the formula “=UPPER(B2)“, replacing B2 with the original cell containing the text that you want to make uppercase.
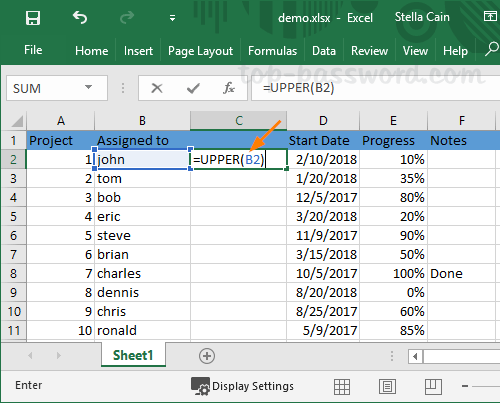
If you want to convert the text to lowercase, type =LOWER(B2) instead.
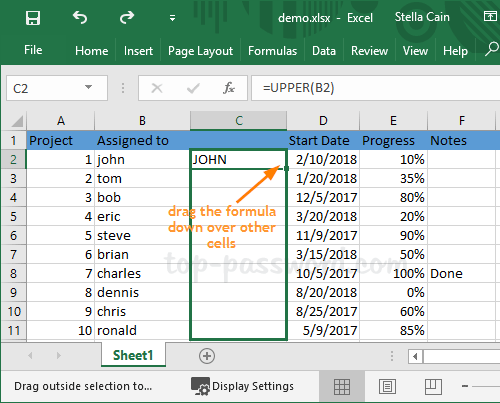
- Select the cell that includes the formula you just entered, then move your cursor to the lower-right corner of the cell until you see a small cross. Drag it down to other cells you wish to convert.
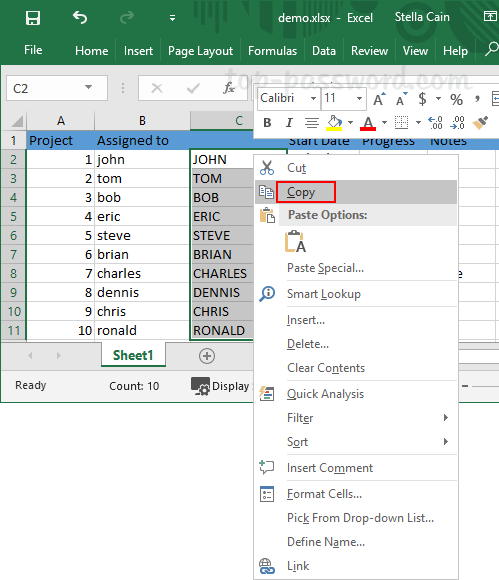
- At this point, the values in the new column (C) should be selected. Right-click to copy them into the Clipboard.
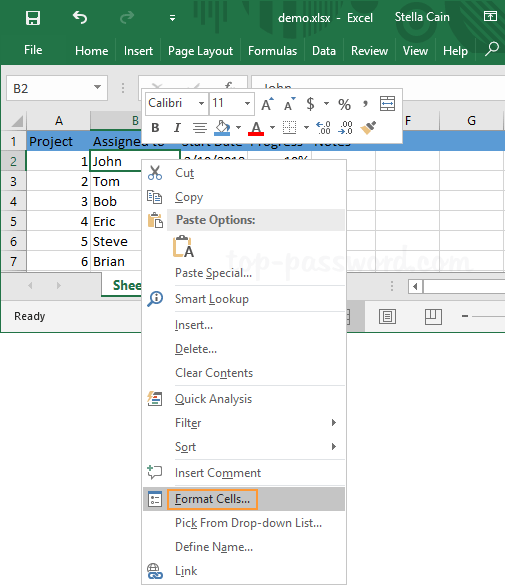
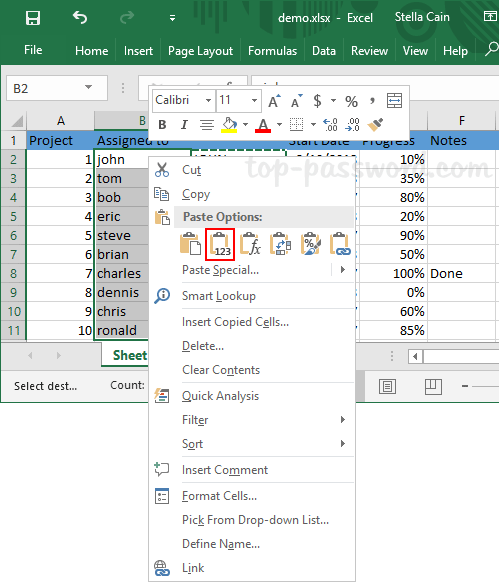
- Right-click on the first cell in the original column (B). Click on the Values icon under “Paste Options” in the context menu.
- You can then delete the new column (C), since it is no longer needed.

- Now you’ve successfully converted the text from lowercase to uppercase in Excel 2016.