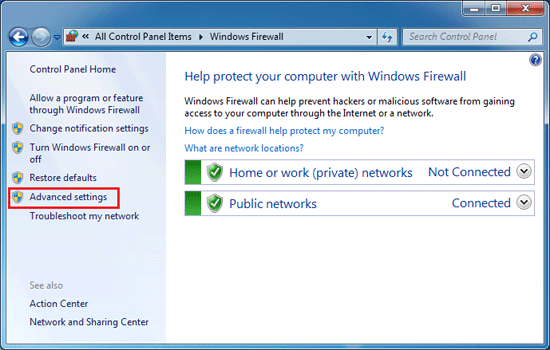
BitLocker is a useful hard drive encryption feature in Ultimate and Enterprise versions of Windows 10/8/7/Vista, which allows you to encrypt an entire fixed drive. If you try to enable BitLocker on an old computer without TPM chip, you will receive one of the following error messages:
“A compatible Trusted Platform Module (TPM) Security Device must be present on this computer, but a TPM was not found. Please contact your system administrator to enable BitLocker.”
or
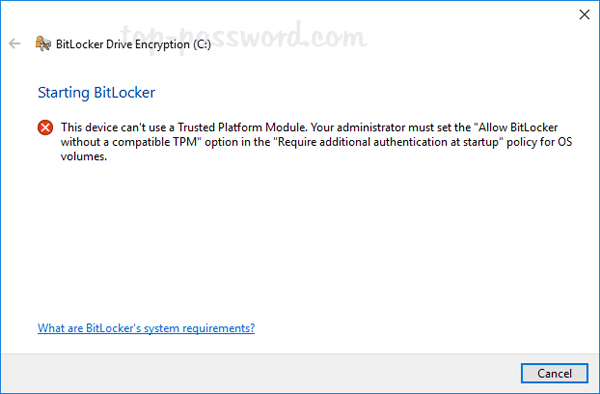
“This device can’t use a Trusted Platform Module. Your administrator must set the “Allow BitLocker without a compatible TPM” option in the “Require additional authentication at startup” policy for OS volumes.”
However, not all computers include TPM and you can’t add a TPM chip to a computer. Luckily there is a group policy that allows you to configure BitLocker to work without a TPM chip. Here’s how:
- Press the Windows key + R to bring up the Run box, type gpedit.msc and hit Enter to open the Group Policy Editor.
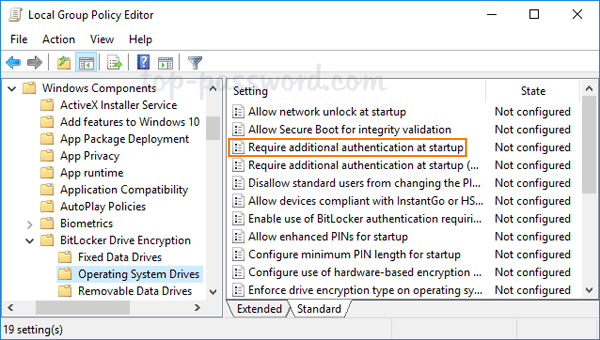
- Go to Local Computer Policy > Computer Configuration > Administrative Templates > Windows Components > BitLocker Drive Encryption > Operating Systems. Double-click on “Require additional authentication at startup“.
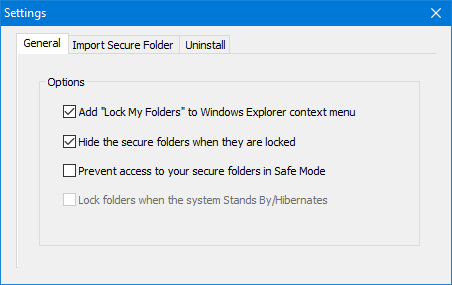
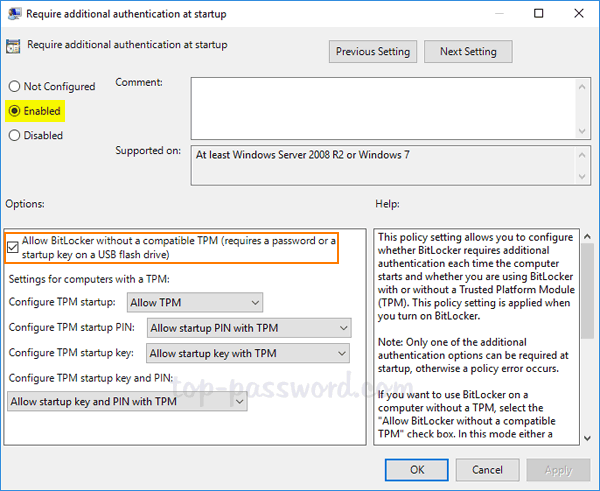
- In the radio buttons at the top, select Enabled. Check the box marked “Allow BitLocker without a compatible TPM“.
- Click OK and close out of Local Group Policy Editor.
- Now we will need to force the policy to take effect on your PC, to do this press the Windows + R key combination. When the Run box opens, type gpupdate /force and hit Enter.
Now you can use BitLocker to encrypt your system drive without having a TPM chip in your computer.