If you’ve turned on BitLocker encryption on a fixed or removable drive, you can choose to unlock the drive with a BitLocker password. When your BitLocker password is compromised, changing the password should be a top priority. In this tutorial we’ll show you 3 ways to change BitLocker password in Windows 10 / 8 / 7.
Method 1: Change BitLocker Password from Windows Explorer
- Right-click on the BitLocker encrypted drive in Windows Explorer, and select Change BitLocker password from the context menu.
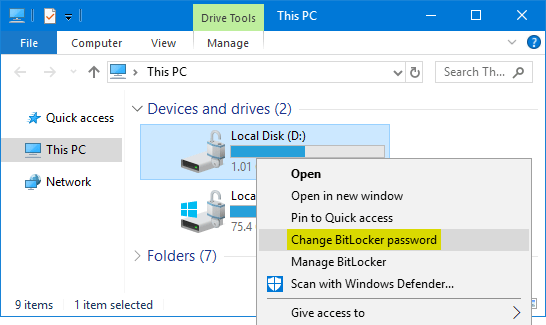
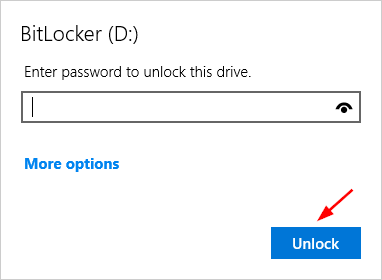
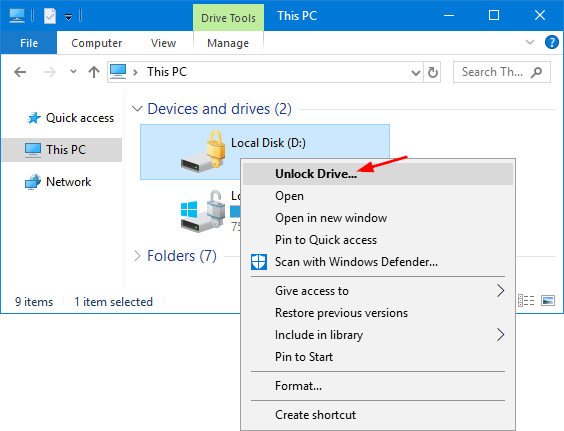
Note: if the encrypted drive shows a gold lock on the icon, then you can’t see the “Change Bitlocker password” option in the context menu, and you need to unlock the BitLocker drive firstly.
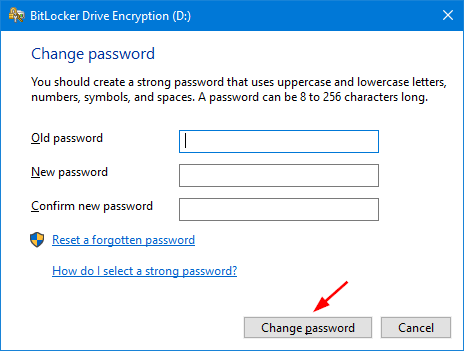
- Enter the old password, followed by the new password (entered twice), and then click Change password.
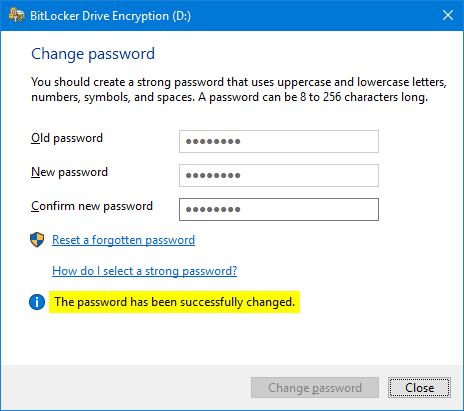
- You would be shown a message that the password has been changed successfully in the same window.
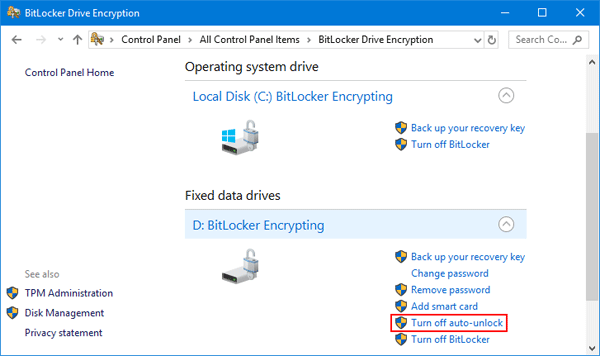
Method 2: Change BitLocker Password from Control Panel
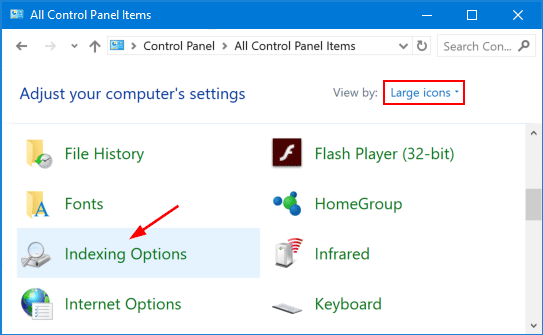
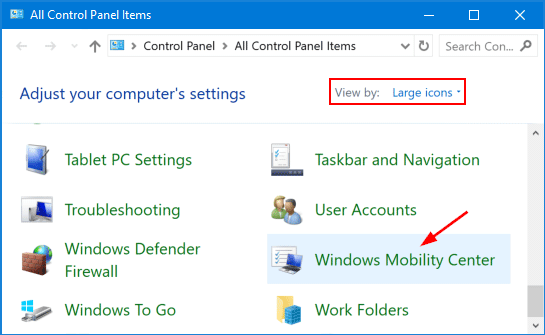
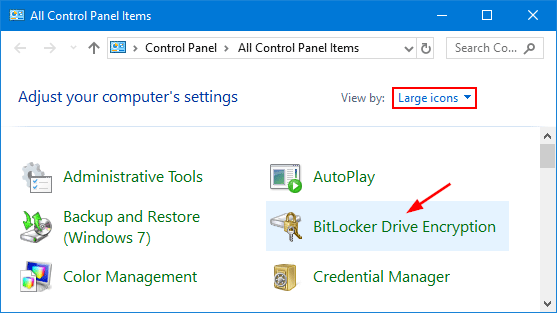
- Open the Control Panel and select Large icons in the View by drop-down menu. Click BitLocker Drive Encryption.
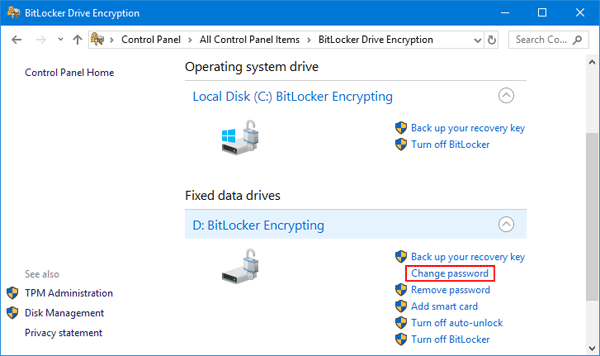
- Expand the drive for which you want to change the BitLocker password, and click Change password from the list of options.
- When the Change Password window appears, type your old password and new password. Click Change password.
- Now you’ve changed your BitLocker password.
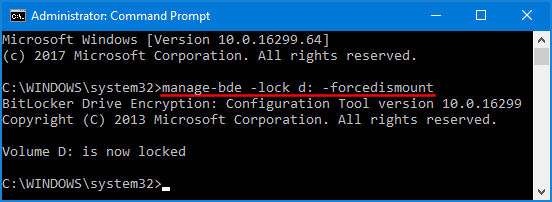
Method 3: Change BitLocker Password Using Command Line
- Open the Command Prompt as administrator.
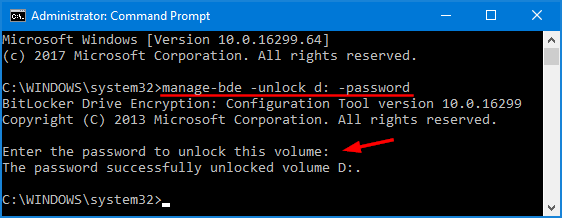
- Assuming you’re going to change Bitlocker password for drive D:, type the following command and hit Enter.
manage-bde -changepassword d: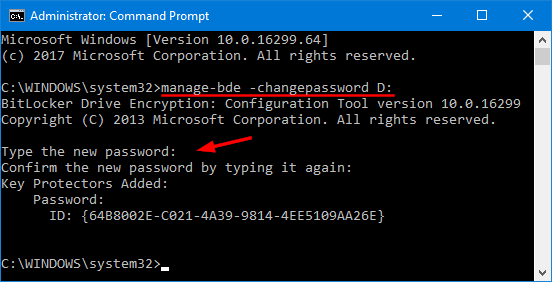
- You’ll be prompted to enter the new password twice. Note: your password won’t be shown while you’re typing.
- When the password has been successfully changed, you can close Command Prompt. Every time you boot into Windows, you can unlock the BitLocker drive with the new password.