Windows Mobility Center is a Control Panel item that lets you change laptop-related settings all in one place, from volume, screen brightness, power options to Wi‐Fi and Bluetooth settings. However, Windows Mobility Center is available only on laptops/tablets, and it is disabled on desktop computers by default.
In this tutorial we’ll show you how to enable Windows Mobility Center on Windows 10 / 8 / 7 desktop computers.
How to Enable Windows Mobility Center on Desktop PC?
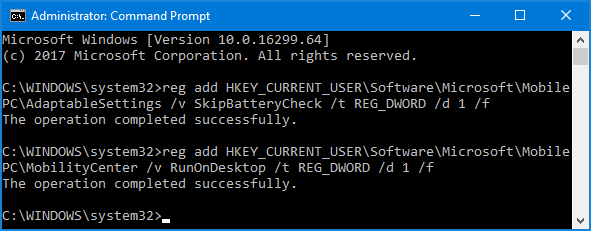
Open the Command Prompt as administrator. Type the following two commands and press Enter.
reg add HKEY_CURRENT_USER\Software\Microsoft\MobilePC\AdaptableSettings /v SkipBatteryCheck /t REG_DWORD /d 1 /f

reg add HKEY_CURRENT_USER\Software\Microsoft\MobilePC\MobilityCenter /v RunOnDesktop /t REG_DWORD /d 1 /f
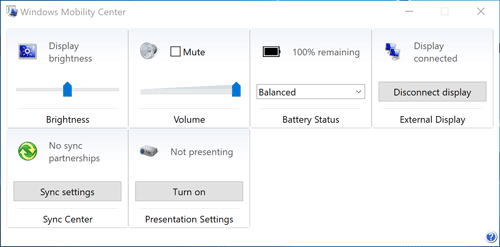
Now, you can access the Windows Mobility Center on your desktop computer. To do this, press the Windows + R hotkey on your keyboard and type mblctr in the Run dialog box.
If you want to disable Windows Mobility Center on your desktop PC again, just open the elevated Command Prompt and run the following commands to restore your registry changes.
reg delete HKEY_CURRENT_USER\Software\Microsoft\MobilePC\AdaptableSettings /v SkipBatteryCheck /f

reg delete HKEY_CURRENT_USER\Software\Microsoft\MobilePC\MobilityCenter /v RunOnDesktop /f
That’s it!