Assigned Access is a useful feature in Windows 10 that allows you to restrict a local standard user to use only a single app that you choose. This makes it easy to create an Assigned Access app for use in a kiosk computer scenario. In this tutorial we’ll walk you through the steps of setting up Assigned Access in Windows 10.
How to Set up Assigned Access to Restrict Local User to One App in Windows 10?
This feature is available only in Windows 10 Pro, Education, and Enterprise. To set up Assigned Access, you must be logged into Windows 10 using an administrator account.
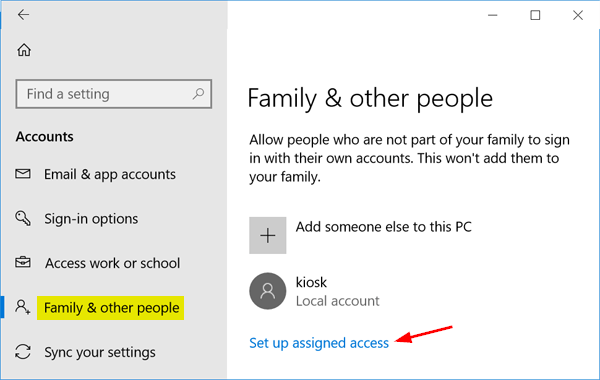
- Press the Windows key + I to open the Settings app. Navigate to Accounts > Family & other people. Click the Set up assigned access link at the bottom of the right pane.
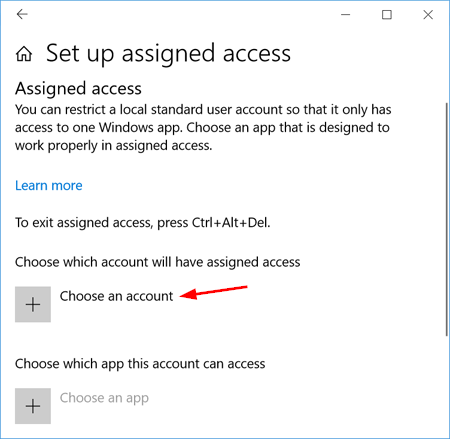
- When you see the Set Up Assigned Access screen, you’ll be prompted to choose an account and an app. To begin, click Choose an account.
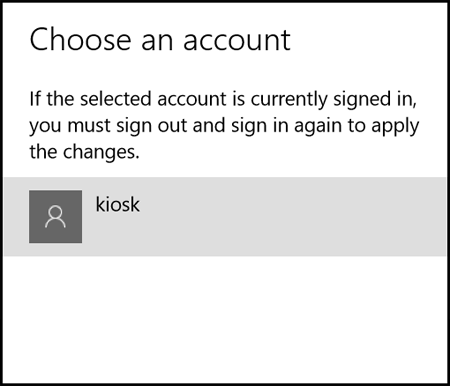
- Select the standard account for which you want to set up Assigned Access.
- After the user account is selected, click the Choose an app option.
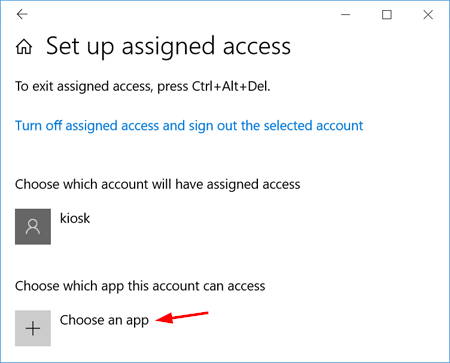
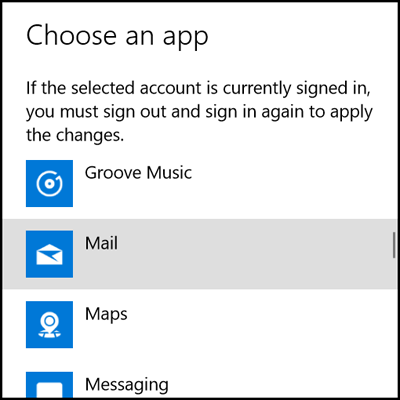
- You’ll see a list of built-in apps or third-party apps installed from Windows Store. Just pick a single app for Assigned Access.
- When you’re done, restart your computer. After you log in with the Assigned Access account, the app you assigned to that account will start automatically in full-screen mode. You’re unable to switch or close the app. To exit the account, simply press Ctrl + Alt + Del and you’re out.
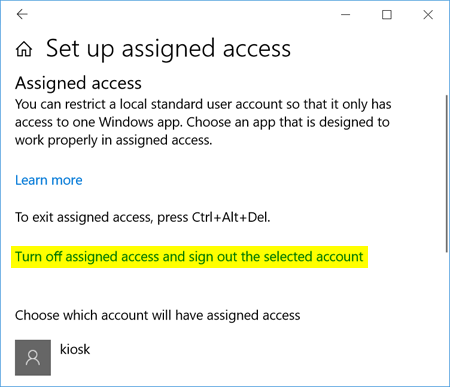
That’s it! When you no longer need Assigned Access on Widows 10, just bring up the Set Up Assigned Access screen again and click the “Turn off assigned access and sign out the selected account” link.
How would you use Assigned Access? Let us know in the comments section below.