Since Windows 10 Fall Creators Update, the old “Share with” option in Windows Explorer’s context menu was renamed to “Give access to”. This option lets you quickly share folders with other users on a network. However, if you never use this feature, you can remove “Give access to” option from the right-click context menu in Windows 10 File Explorer.
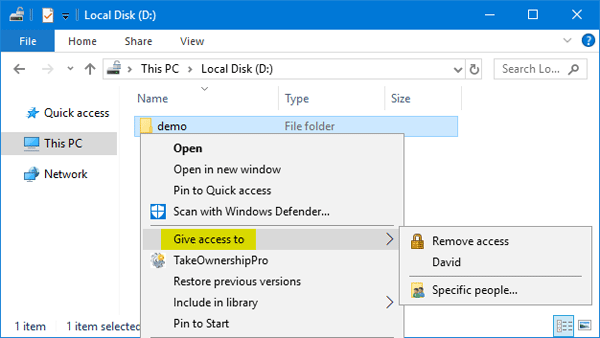
How to Remove “Give access to” Context Menu in Windows 10?
- Press the Windows key + R key combination to launch Run dialog box, then type regedit and press Enter.

- In the Registry Editor, browse to the following key:
HKEY_LOCAL_MACHINE\SOFTWARE\Microsoft\Windows\CurrentVersion\Shell Extensions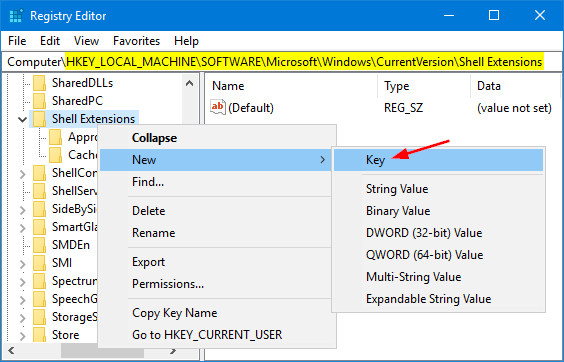
Right-click the Shell Extensions key in the left pane, select New -> Key. Name it Blocked.
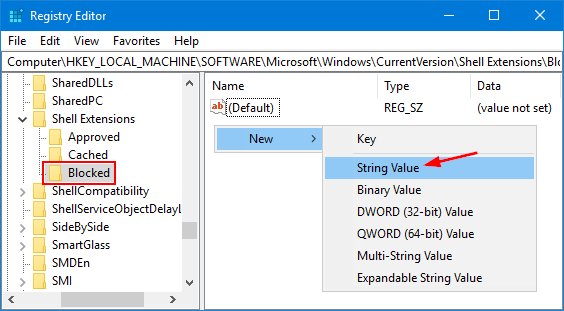
- Select the new key Blocked, and then right-click blank area on the right side, select New -> String Value.
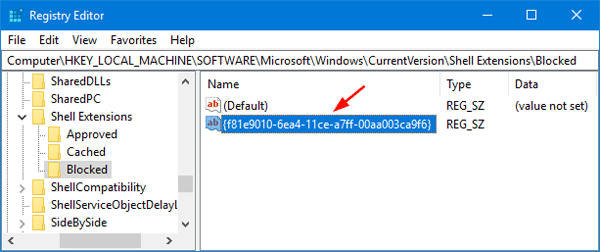
- Name the new String {f81e9010-6ea4-11ce-a7ff-00aa003ca9f6} and leave its data value empty as shown below.
- Restart File Explorer or log out and then log in to see the change. Now the “Give access to” option is removed from the right-click context menu in the File Explorer. If you want to restore that option back, just open Registry Editor and delete the Blocked key you created.