Since the release of Fall Creators Update (officially version 1709), Windows 10 comes with a number of optional features including OpenSSH Client / OpenSSH Server. In this tutorial we’ll show you how to install / uninstall OpenSSH from the Settings app in Windows 10.
Part 1: Install OpenSSH as an Optional Feature in Windows 10
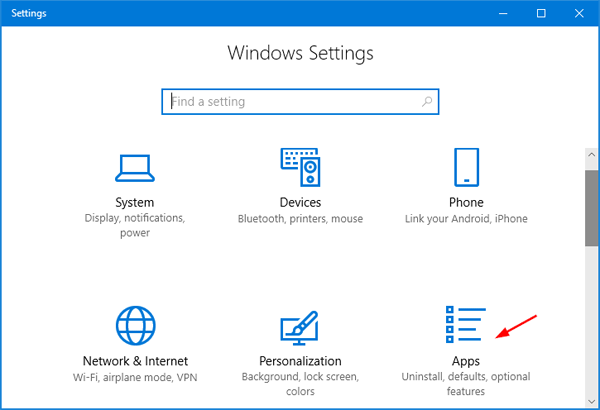
Press the Windows key + I shortcut to open the Settings app, and then click the Apps category.
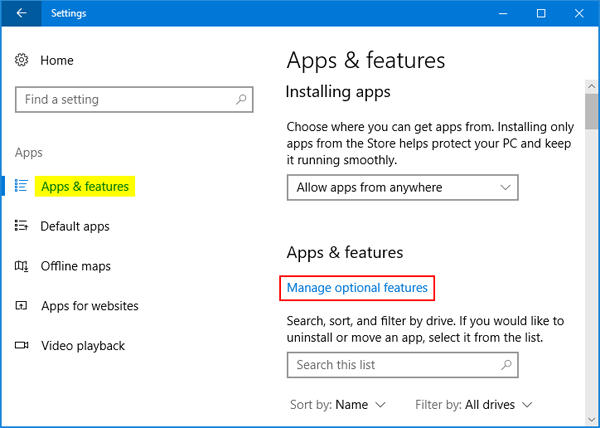
When the Apps & features page appears, click the “Manage optional features” option in the right pane.
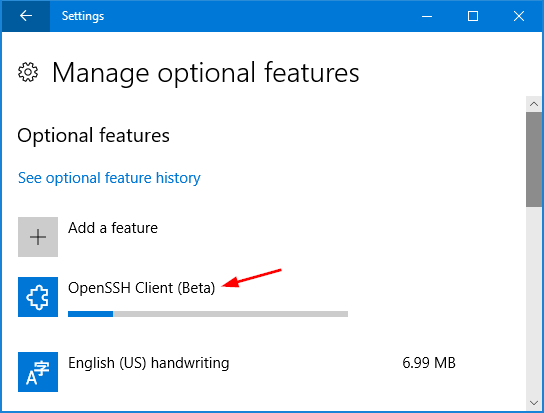
This will launch Manage optional features page displaying a list of various installed features. Now we want to install OpenSSH, so click the “Add a feature” button.

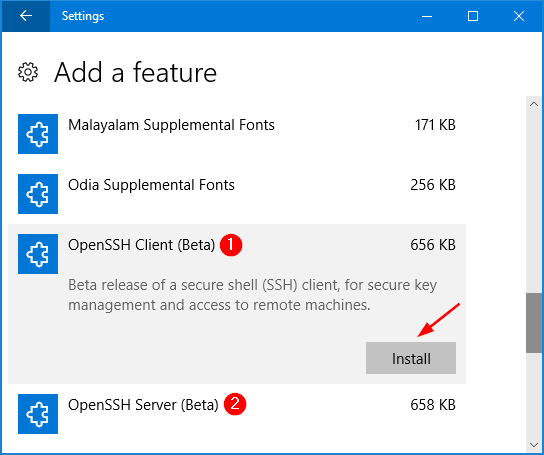
Browse through the list of features and look for the OpenSSH Client or OpenSSH Server feature. After selecting OpenSSH Client or OpenSSH Server, you can click the Install button.
Now, head back to the Manage optional features page and you can see the progress of installing OpenSSH.
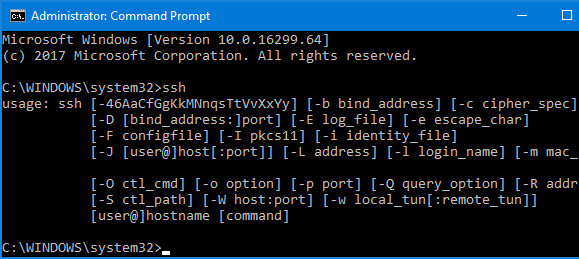
Once OpenSSH was installed, you can use the SSH command from PowerShell or the Command Prompt
Part 2: Uninstall OpenSSH from Windows 10
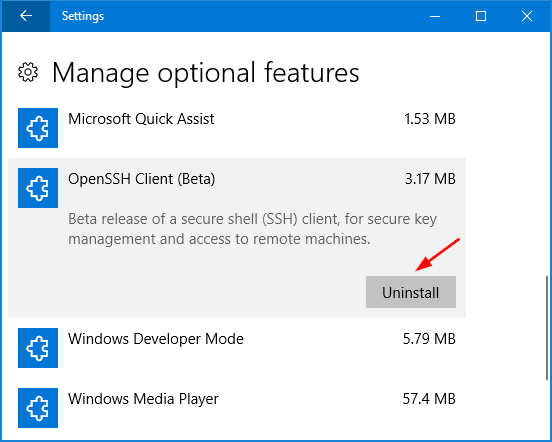
If you want to uninstall OpenSSH later, just follow the above steps and head over to the Manage optional features page. Click the OpenSSH Client or OpenSSH Server feature you wish to remove, an Uninstall button will appear and you can click on it.
That’s it!