I just bought my eleven year old daughter an HP laptop with Windows 7. I set her up as the administrator, with a password (which in hindsight, I shouldn’t have) she changed the admin password, but didn’t write the new password down, and can’t remember what she changed it to. Is there any free and straight forward techniques to reset Windows 7 password?
If you’ve ever forgotten your Windows 7 password or been asked to assist somebody else in resetting their lost password, there’s a lot of different ways to accomplish it. Here’s how to reset Windows 7 password by using the Sticky Keys trick.
Sticky Keys is designed for people who have difficulty holding down two or more keys at a time. By default, if you press the SHIFT key five times, the Sticky Keys dialog box will open up, even if you are at the Windows login screen. So if you replace the Sticky Keys application with the Command Prompt, you can then press the SHIFT key five times to open up a Command Prompt which runs with system privileges, which can used to reset forgotten passwords of any user accounts existing in your Windows 7 system.
How to Reset Windows 7 Password Using Sticky Keys Trick?
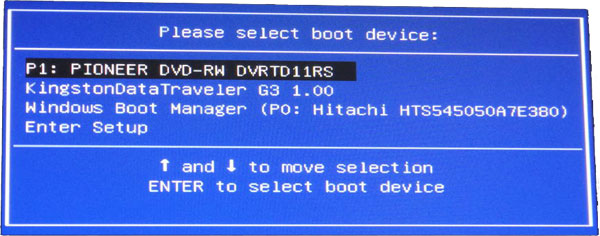
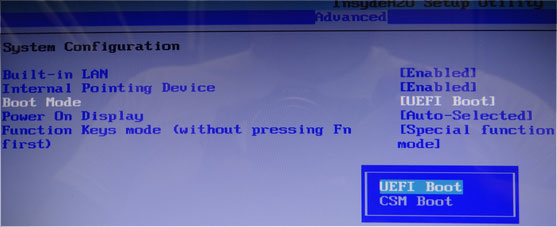
Firstly, you need to boot your locked Windows 7 PC from a Live CD, such as Windows PE, system repair disc, Ubuntu or Linux Live CD. After booting from a Live CD, you can access all files on your system partition through a GUI interface or command prompt.
Simply replace the Sticky Keys application (c:\windows\system32\sethc.exe) with the Command Prompt (c:\windows\system32\cmd.exe). Please note the drive letter of your Windows 7 system as seen in Live CD may be different from what you’ve seen before.
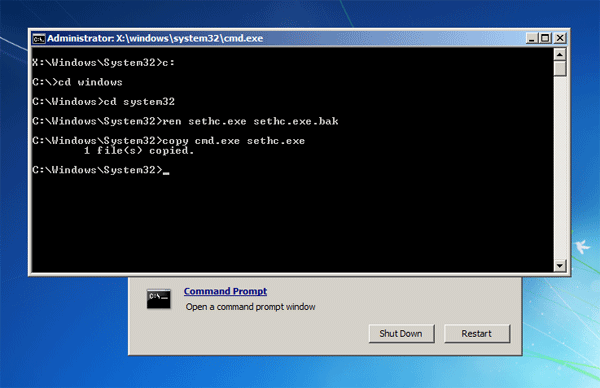
Next take out the Live CD from the CD drive and restart your computer. When you reach the Windows 7 login screen, press the SHIFT key five or more times, this will bring up a Command Prompt instead of the Sticky Keys application.
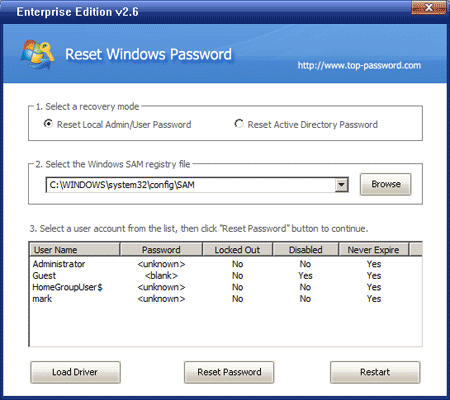
Tips: If the system already has the Sticky Keys feature disabled, or you don’t have a Live CD around, you can use Password Recovery Bundle to reset your Windows 7 password instead.
Type the following command to reset your forgotten Windows 7 password, replacing username with your account name and password with a new password.
net user username password
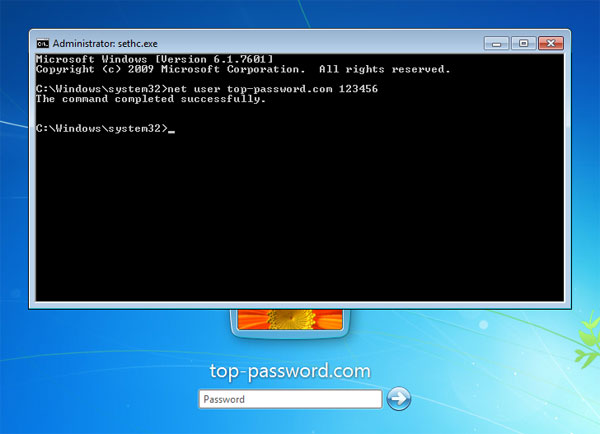
After that you can now log in using your new password.
After getting into Windows 7, it is important to rename the sethc.exe file so as to prevent any other user from using this same trick to reset your password. This is especially important if you use a shared computer.
Note: Resetting Windows 7 password using the Sticky Keys trick means you will lose access to EFS-encrypted files, encrypted email messages, and stored passwords for Internet Explorer and network resources. Remember to back up your important data regularly.