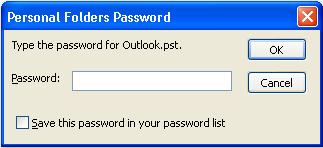
In all versions of Microsoft Outlook, password protection is commonly used to protect the content of our PST files. If your PST files are password protected, then no one (any unknown or unauthorized person) can open or access your data, including messages, contacts, calendar, tasks, notes, etc. If you have password protected a Personal Folders file (.pst), a dialog box similar to the following appears when you try to open the .pst file in Microsoft Outlook.
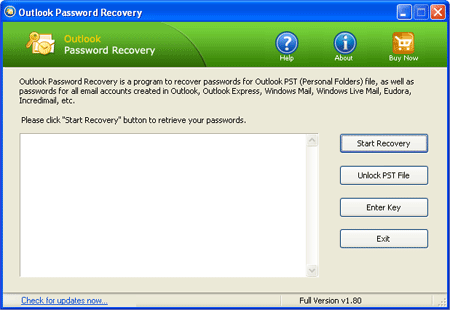
But have you ever imagined what would happen if you lose or forgot the PST passwords? All you important information inside the PST file will become inaccessible. However, such issue can be easily handled provided you have a professional PST file recovery application. In this tutorial we’ll explain how to recover Outlook PST file password using the Outlook Password Recovery program.
How to Open Password Protected Outlook PST File?
- Download and install Outlook Password Recovery program on your computer.
- After installing, launch the program and click on the “Unlock PST File” button from the main interface.
- It will prompt you to choose a password-protected Outlook .pst file. After selecting your .pst file, click OK.
- The program will display some passwords which could be used to open your password protected Outlook .pst file.
Microsoft’s encryption is so weak that there are multiple passwords that can open a single encrypted PST file. The passwords that the program returns will work and they may not even include the password you had provided upon creation!