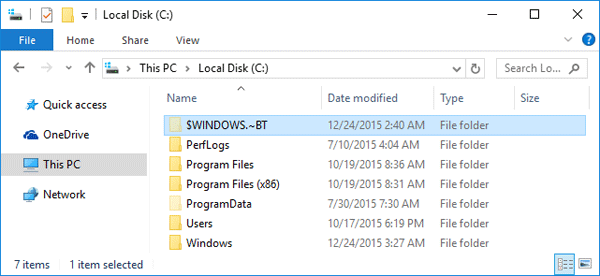
There is a folder named $WINDOWS.~BT on the root of my C:\ drive. It is a hidden folder and is 2 GB in size. What is its purpose? Is it safe to delete it?
The $WINDOWS.~BT folder is a temporary folder created by Windows Update, which contains update logs and files downloaded by the Windows update process. By default, the $WINDOWS.~BT folder is hidden. It exists at the root of your system drive. To see it, enable viewing hidden folders in Windows 10.
The $WINDOWS.~BT folder can be safely deleted. However, you can’t delete that folder the normal way. In this article we’ll show you 2 ways to delete the $WINDOWS.~BT folder to reclaim your hard disk space.
Option 1: Delete $WINDOWS.~BT Folder Using TakeOwnershipPro
- Download and install the freeware TakeOwnershipPro on your computer. After installing, it will add the take ownership shortcut to right-click context menu.
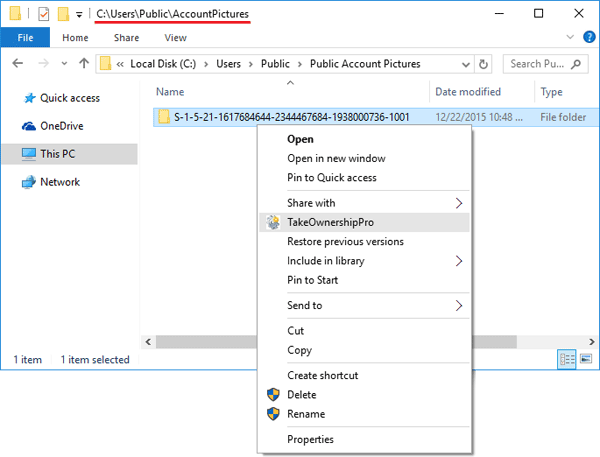
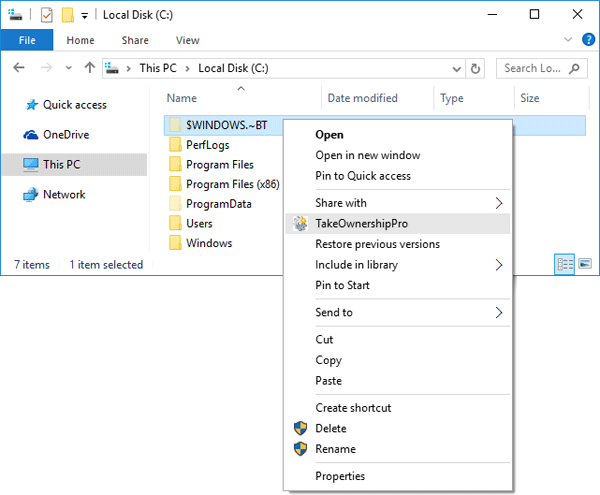
- Browse to the root path of your system drive. Right-click on the $WINDOWS.~BT folder and select TakeOwnershipPro. This will grant you full permissions to access the $WINDOWS.~BT folder.
- Now you can delete the $WINDOWS.~BT folder the normal way.
Option 2: Delete $WINDOWS.~BT Folder Using Disk Cleanup
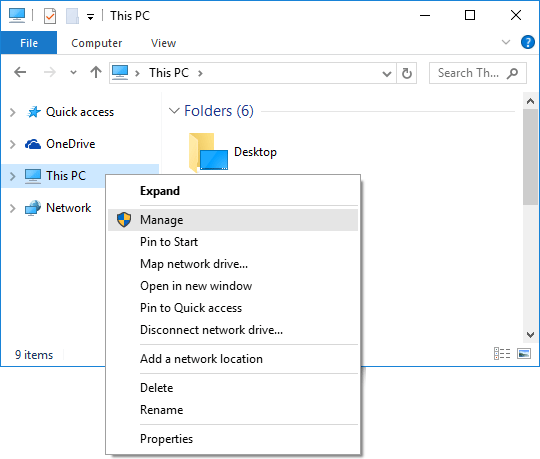
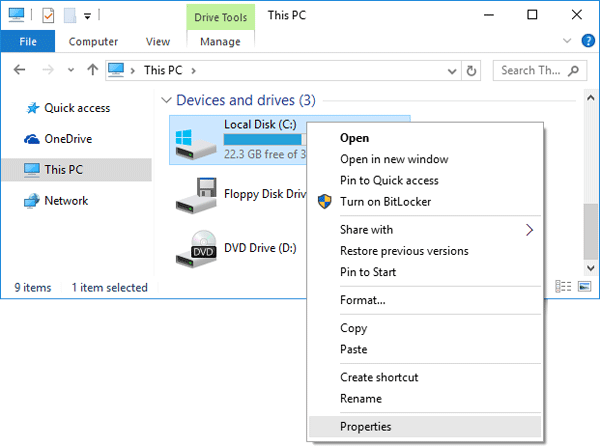
- To clean the $WINDOWS.~BT Folder folder, open This PC, right-click your local C: drive and then select Properties from the context menu.
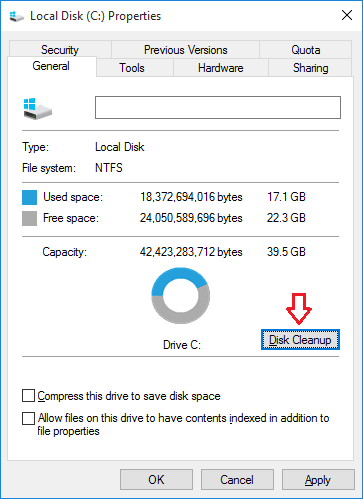
- Click on Disk Cleanup.
- Next click on Clean up system files. It will perform a scan of your computer’s hard drives to determine what files can be cleaned up and how much storage space they use.
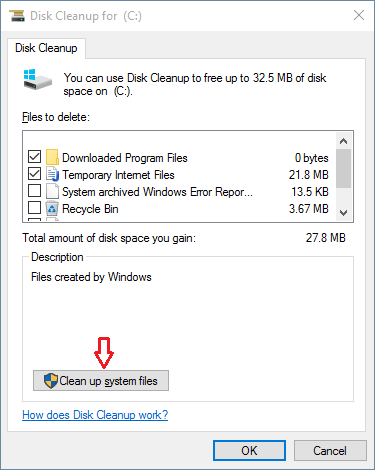
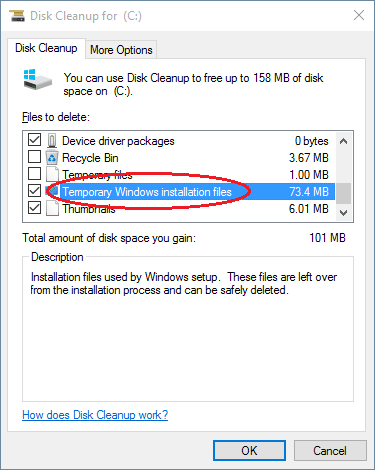
- When it is finished scanning the Disk Cleanup program will open again, but this time with some extra options that you can select as shown in the image below. To delete the $WINDOWS.~BT folder you have to check the option labeled “Temporary Windows installation files” or “Previous Windows installation(s)“.
- Click OK and the Disk Cleanup wizard will clean out everything in the $Windows.~BT folder. If there is a lot of data to delete, please be patient while they are removed from your hard drive.