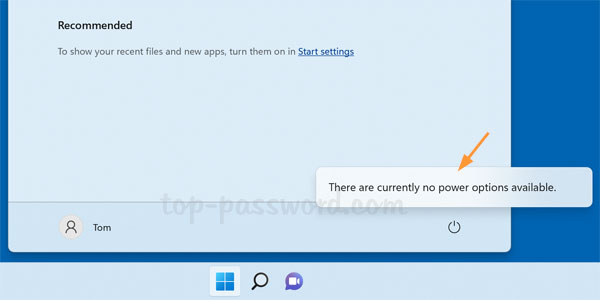
When you click the Power button in the Start Menu, you may get this message saying “There are currently no power options available” and can no longer use the restart and shut down options. In this tutorial we’ll show you exactly how to fix such issue in Windows 11.
Method 1: Grant Permissions to Shut down PC
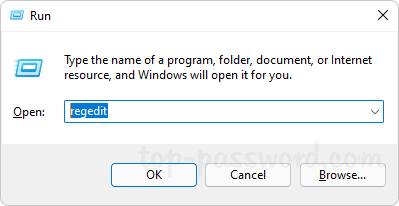
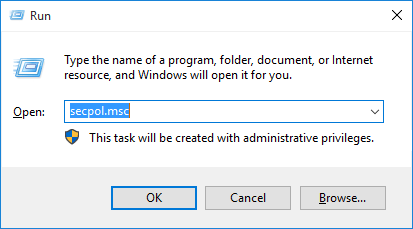
- Press the WIN + R keyboard shortcut to bring up the Run box, type secpol.msc and hit Enter.
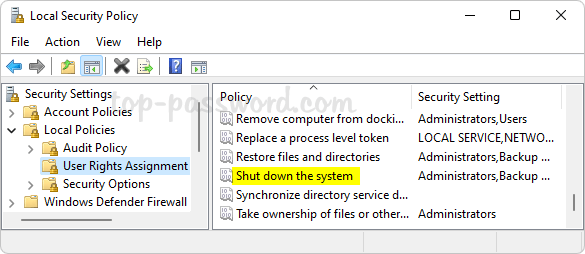
- When the Local Security Policy window opens, navigate to:
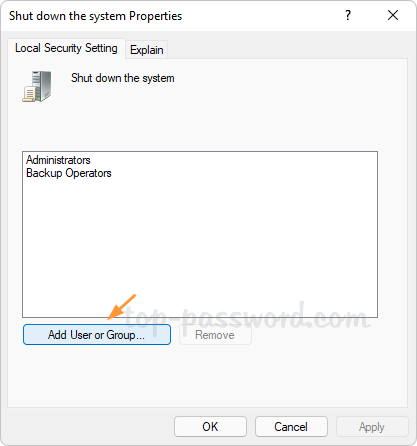
Security Settings -> Local Policies –> User Rights Assignment. On the right pane, double-click the policy called “Shut down the system“.
- Click on the “Add User or Group” button.
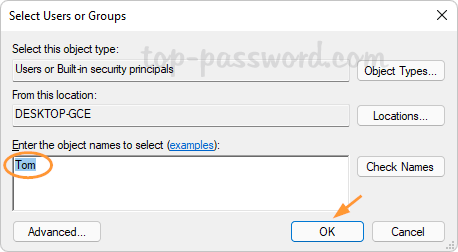
- Type the name of the user account that you want to grant shutdown permissions to, and click OK.
- Log out of your account and log in to see if the power options are available.
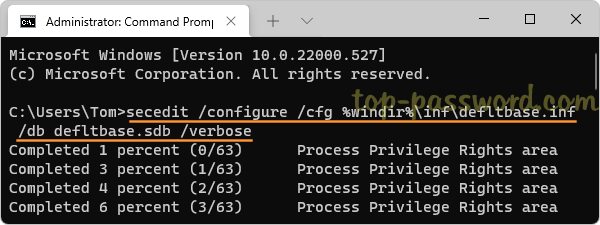
If you’re on Windows 11 Home, the Local Security Policy snap-in (secpol.msc) is missing and the above steps don’t help. In that case, you can choose to reset your local security policy settings to default. Just open the elevated Command Prompt and execute this command:
secedit /configure /cfg %windir%\inf\defltbase.inf /db defltbase.sdb /verbose
Method 2: Disable the Group Policy which Causes No Power Options Available
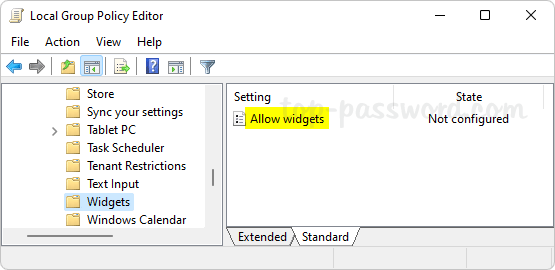
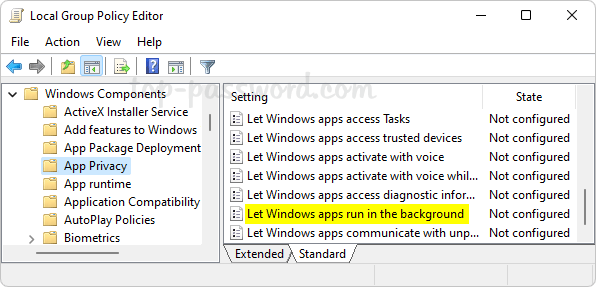
- Open Local Group Policy Editor and browse to:
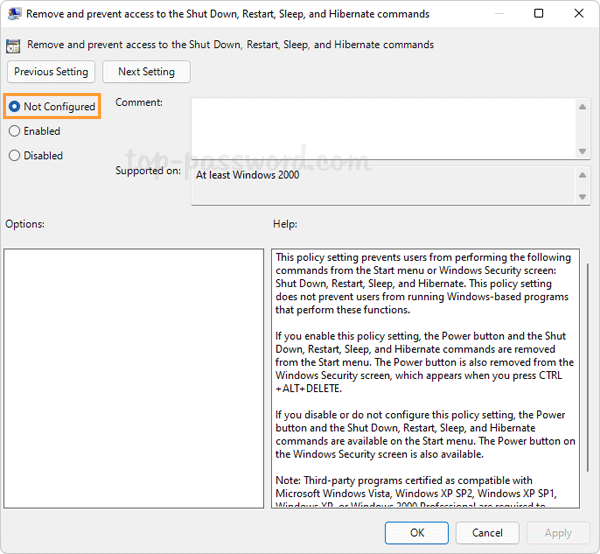
User Configuration -> Administrative Templates -> Start Menu and Taskbar. On the right pane, double-click the “Remove and prevent access to the Shut Down, Restart, Sleep, and Hibernate commands” policy.

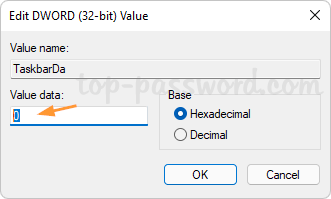
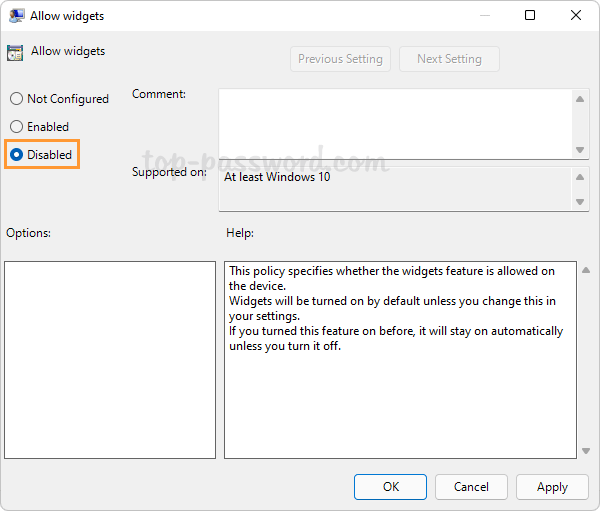
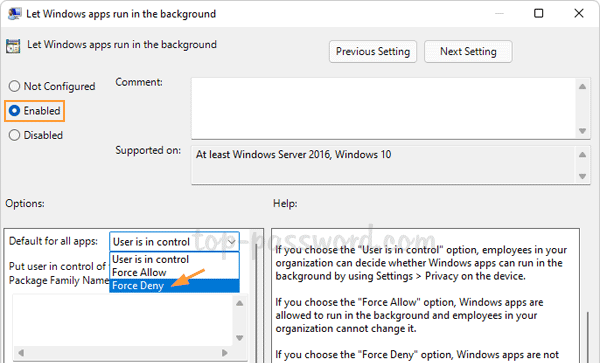
- If this policy is enabled, just change it to “Not Configured” or “Disabled“. Click Apply and then OK.
- Restart your computer to make the changes take effect.
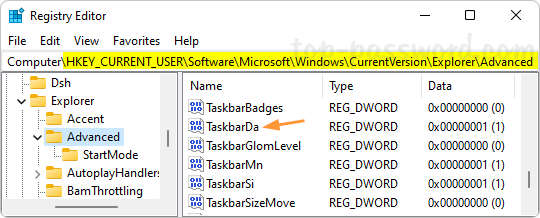
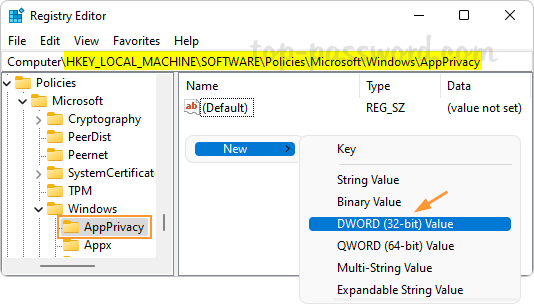
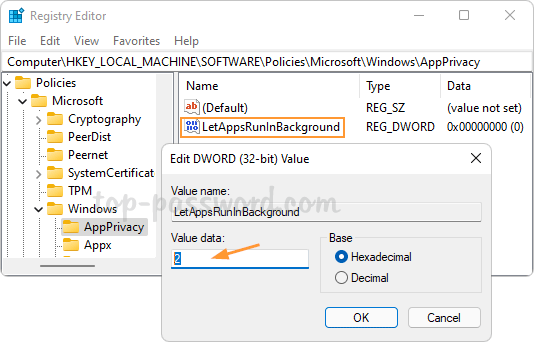
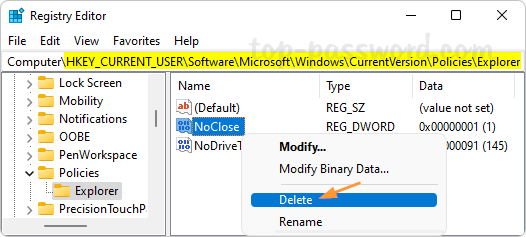
Since the Local Group Policy Editor is missing in Windows 11 Home edition, you may need to disable the above group policy using Registry Editor. Just navigate to the registry location: HKEY_CURRENT_USER\SOFTWARE\Microsoft\Windows\CurrentVersion\Policies\Explorer, and then delete the NoClose value on the right pane.
Method 3: Run the Power Troubleshooter
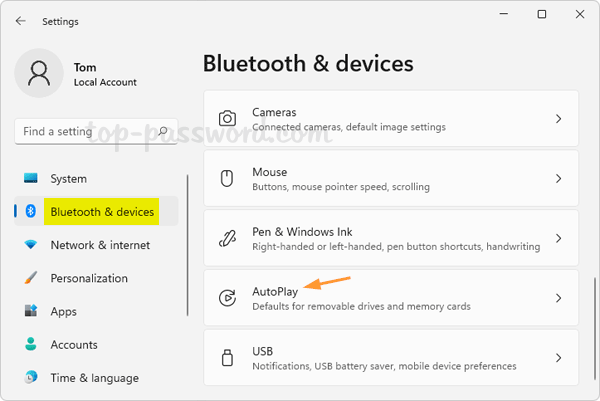
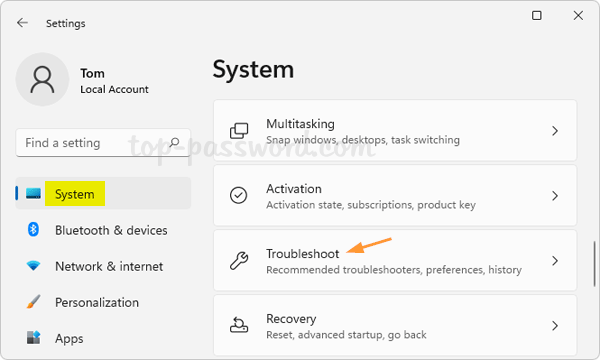
- Press the WIN + I keyboard shortcut to launch the Settings app. While the System category is selected in the left sidebar, click Troubleshoot on the right pane.
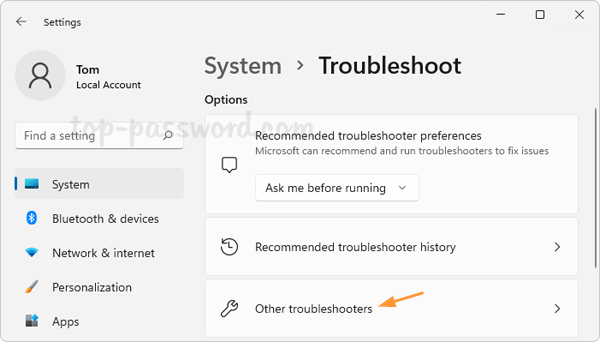
- Click on “Other troubleshooters“.
- Scroll down to find the Power troubleshooter and click on the Run button.
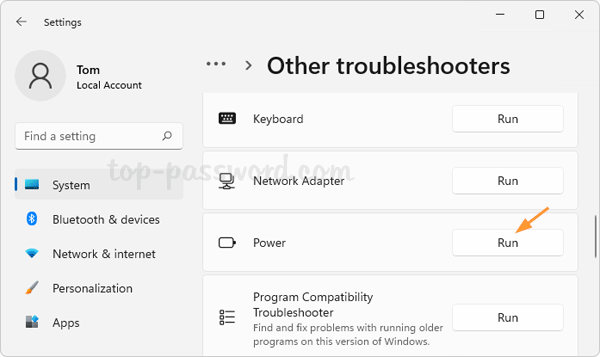
- The Power troubleshooter will automatically fix any power related problems.
Conclusion
That are the most common methods to fix the issue “There are currently no power options available”. If you’re still encountering the issue, try to reset power plan settings to default or perform a system restore.