There are many situations where you need to open up the Command Prompt as administrator. But in Windows 8 the classic Start Menu is replaced with a new Charm Bar, which doesn’t provide you an option to run the Command Prompt. So here we’ll show you 2 options to run the Command Prompt as administrator in Windows 8.
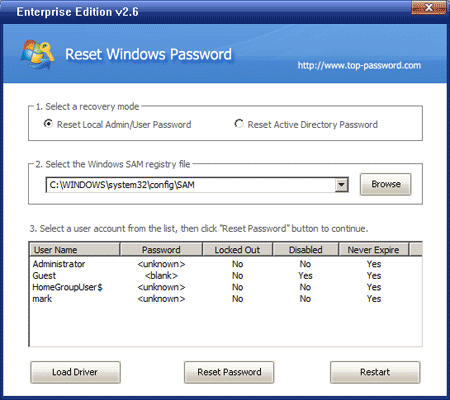
Note: If you have logged on as a standard or limited user, you’ll be prompted to enter the administrator password when trying to run the Command Prompt as administrator. If you’ve forgotten the admin password, you can reset it using a Windows Password Reset boot CD or USB drive.
Option 1: Win + X Menu
Right-click in the bottom left corner of your screen, or press the Windows + X keyboard combination. This will bring up a menu with many administrative options, including Command Prompt (Admin), Control Panel, Computer Management, Task Manager, Windows Explorer, etc.
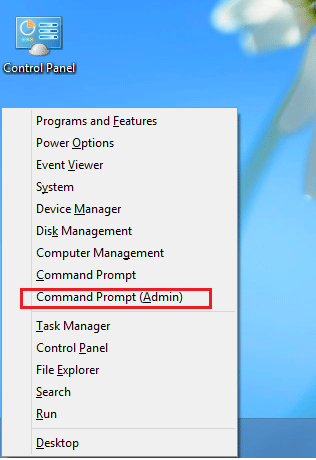
Simply click on the Command Prompt (Admin) option, it will open up a Command Prompt with administrator privileges. This Win + X menu is also know as Power User Menu. It should be the easiest way to run the Command Prompt as administrator in Windows 8.
Option 2: Search Charm
Move the mouse cursor to the bottom right corner of the screen, the charm bar will appear on the right side of the screen. Click on the Search icon. Type cmd in the Search box.

Windows 8 will show Command Prompt in search results page. Right-click on the shortcut and select “Run as administrator” option given at the bottom.
That’s it. These are many different ways to open Command Prompt as administrator in Windows 8, but the methods above should be the easiest ones.