I have an old Windows XP laptop that’s not been used for 5 years, problem is I had a password set up on it and can’t remember what it was, I’ve tried many different passwords that it could possibly be without any luck, is there anyway I can reset or bypass the login password? I have some important documents and pictures on there that I really don’t want to lose with a brand new Windows install.
Forgot Windows XP password on your old laptop? Is there any way to unlock a password protected laptop without data loss? Fortunately, with the help of PCUnlocker Live CD, you can reset lost Windows XP password for your user account, allowing you access back into the operating system.
PCUnlocker Live CD boots up before Windows does, thus allowing it to access the SAM database of your Windows XP installation and reset your lost admin/user password. This makes sense because without your password you are completely locked out of your old computer. Follow this tutorial and you can reset Windows XP password easily!
How to Reset Windows XP Password on Your Old Laptop?
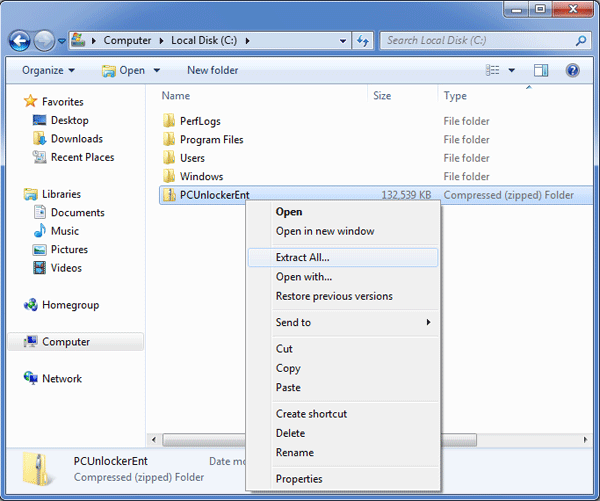
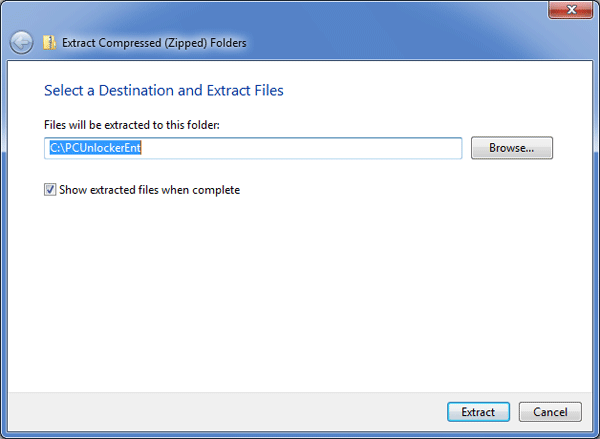
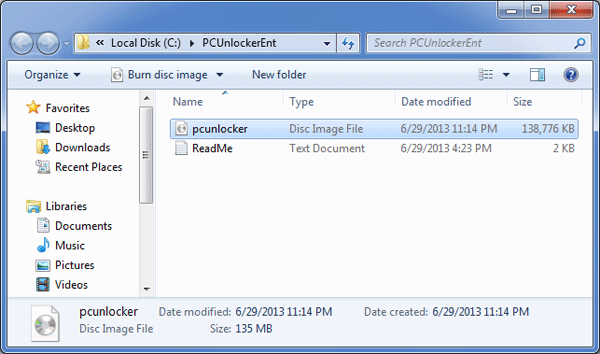
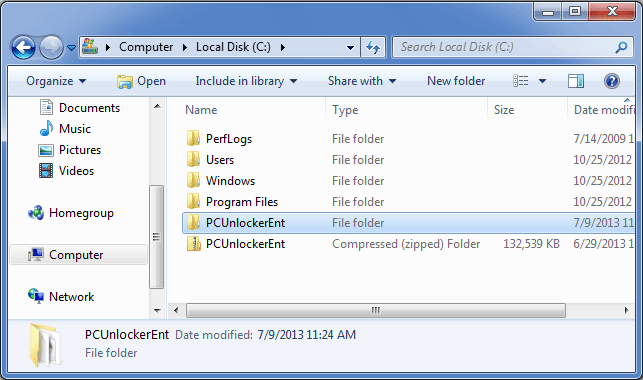
- First download the zipped ISO image of PCUnlocker Live CD. After you’ve downloaded it, decompress the ZIP archive and you’ll have a bootable ISO image file: pcunlocker. Burn it on to a blank CD using ISO2Disc, ImgBurn or other CD burning program.
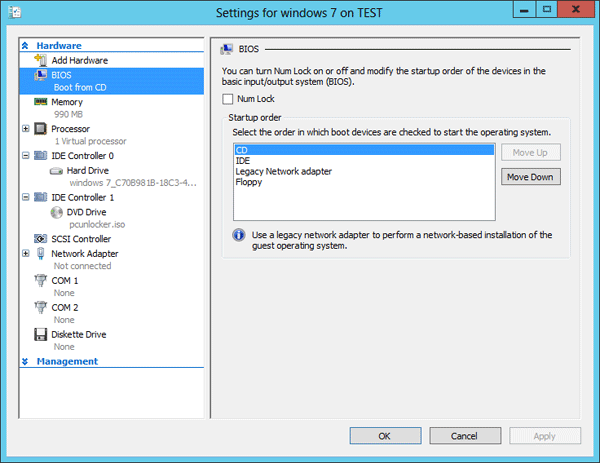
- Insert the boot CD into your old Windows XP laptop and restart the computer. Go into the boot menu when the computer starts up (press the F12, Esc, or other key to enter the boot menu) and choose to boot from the CD.
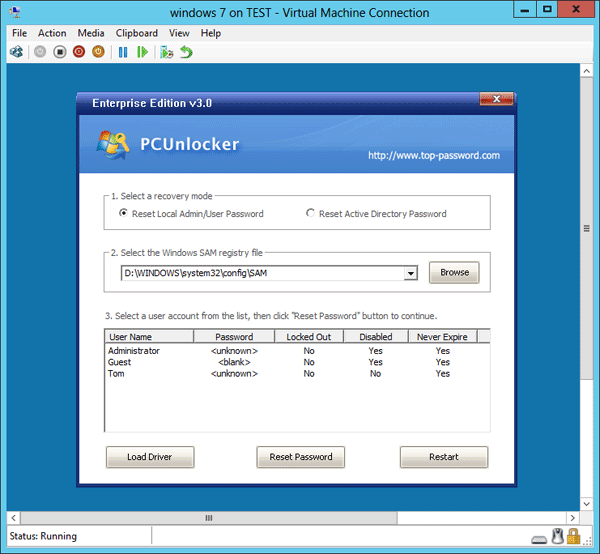
- Just one or two minutes later you’ll see the PCUnlocker program. It displays a list of Windows local accounts of your old Windows XP laptop.
- Select the user account whose password you want to reset and click on Reset Password button. The program will remove your forgotten Windows XP password and unlock the user account when it is disabled, locked out or expired.
- Click on Restart button and remove the boot CD. The laptop will restart and it will automatically login to your Windows XP system without requiring you to enter a password.
Can’t remember Windows XP password for your old laptop? Using PCUnlocker Live CD you can get past Windows XP login screen easily. Quickly unlock your old laptop by resetting your lost or forgotten Windows XP password.