There could be a number of scenarios that might cause a Windows system to be locked down, some of them are:
- Can’t log in to Windows or you do not have any clue what the password is?
- You’re given a computer without knowing the password?
- Someone changed your Windows password without your knowledge?
The only ways to “break into” a Windows system is to boot with a Live CD so you can access the SAM database and reset the stored login credentials. In this tutorial we’ll show you how to reset forgotten Windows 10 / 8 / 7 password with Knoppix, a free Linux CD based on Debian designed to repair unbootable or damaged PC.
How to Reset Windows 10 / 8 / 7 Password with Knoppix?
Boot your Windows PC with Knoppix Live CD. Press Enter at the boot prompt.

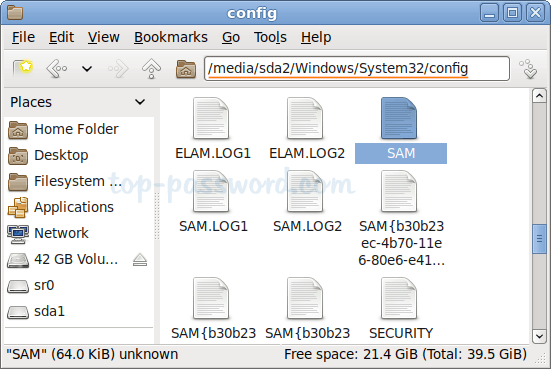
When you reach the Knoppix desktop, use the built-in file manager to find the SAM file located under /Windows/System32/config. Make a note of the full path to the SAM file.
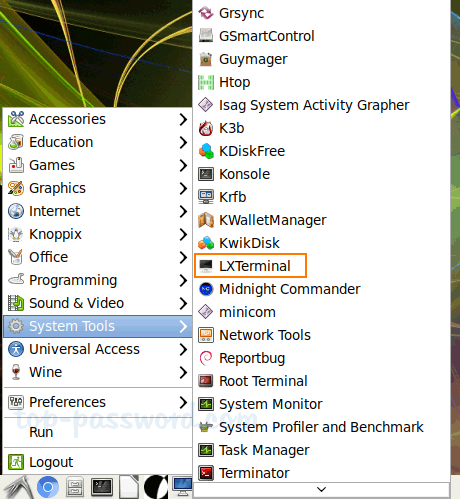
Click the “K” button in the bottom left corner, and then select System Tools and click LXTerminal.
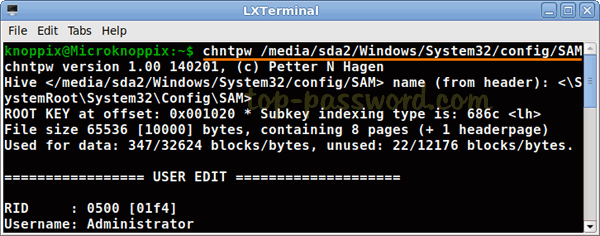
Now, load the SAM file by running the built-in utility – chntpw.
In order to reset Windows local Administrator password, type 1 and hit Enter. You’ll see the message “Password cleared!”
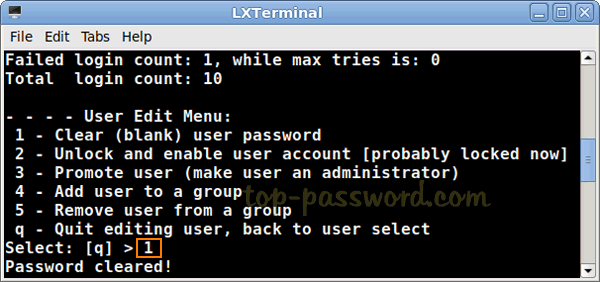
Type q and then type y to save your changes.

Reboot and eject Knoppix Live CD, your computer should automatically log in as you have a blank password on the local Administrator account.