Locked out of a computer but need to be able to log in as a local admin? What you need to do is set up a UBCD4Win (also known as Ultimate Boot CD for Windows) live CD, boot up the computer with it and run the NTPWEdit tool to clear forgotten Windows password.
UBCD4Win is based on BartPE, and it requires the Windows XP CD (with SP1 or SP2). This article we’ll walk through the steps required to create a UBCD4Win bootable CD and then use it to bypass Windows administrator password.
Note: UBCD4Win is a freeware so don’t expect it to work with domain controllers. If you want to find a more powerful yet easy-to-use password recovery software, try the PCUnlocker Live CD.
Part 1: Create A UBCD4Win Bootable CD
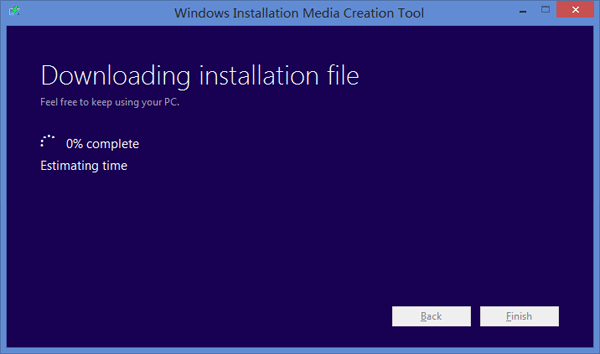
- Download the freeware UBCD4Win from its official website. The download is pretty big (about 269Mb), so expect to wait a while if your network connection is slow.
- After installing, start the UBCD4Win (UBCD4WinBuilder.exe) program. Point the “Source” path to your Windows XP setup CD or Windows 2003 installation CD. However, Vista is not yet supported as a source.
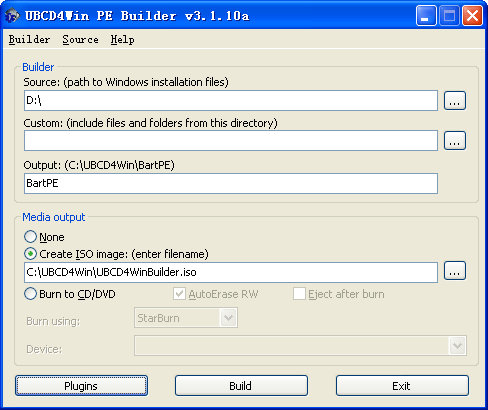
- Insert a blank CD, select “Burn to CD/DVD” and click Build. The whole process will take a little while.
Part 2: Bypass Windows Admin Password
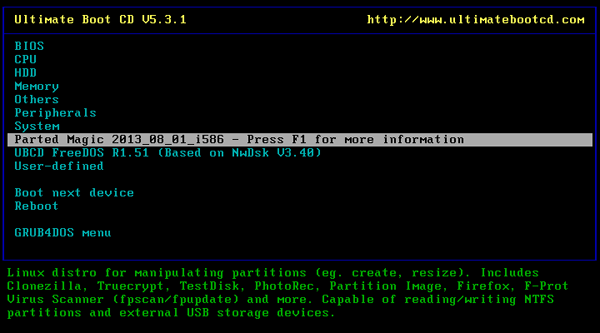
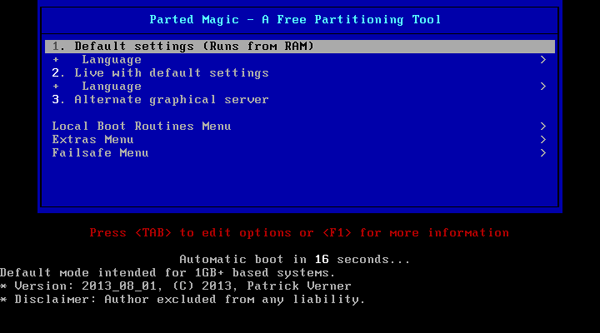
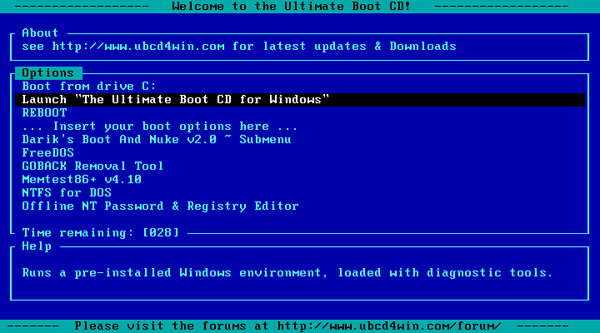
- Once the CD has been created, go to the BIOS and make sure your CD-ROM is set as the first boot device. Start up the computer with UBCD4Win in the CD-ROM and you will have some boot options. Choose the “Launch The Ultimate Boot CD for Windows” option.
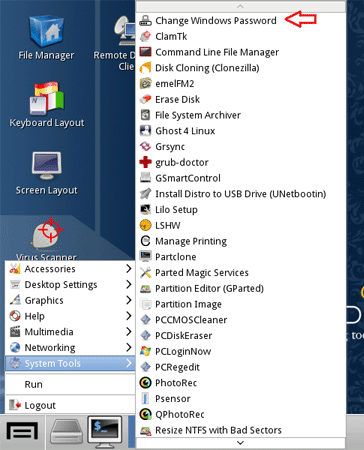
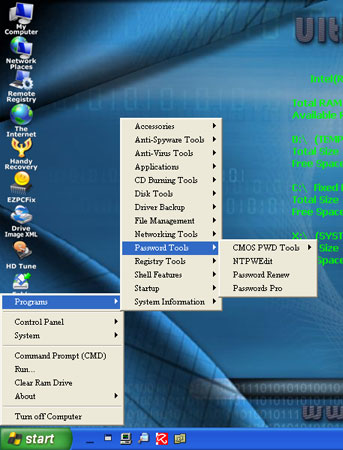
- It will take a few minutes to load fully, but when it does you should see a Windows XP like interface. Once there, go to Start > Programs > Password Tools > NTPWEdit.
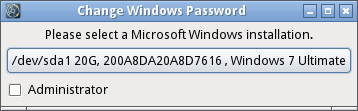
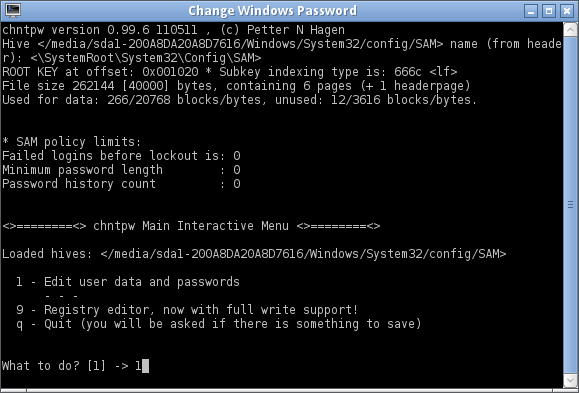
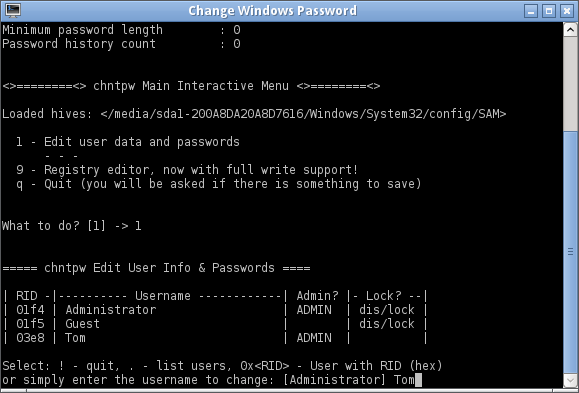
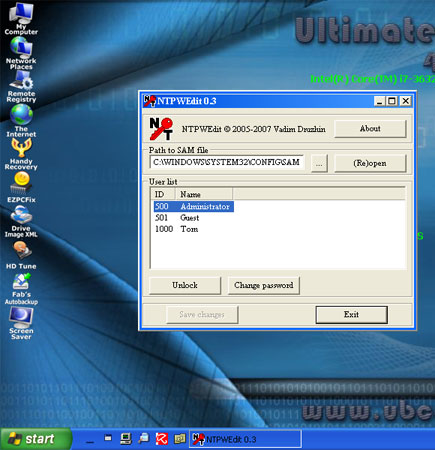
- Once the utility is open, you need to click the (Re)open button to open up the SAM file which should show you the list of local system accounts for your Windows installation. Select the Administrator account and click on Change Password.
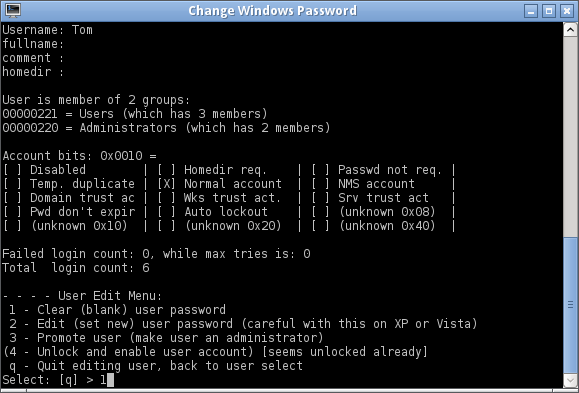
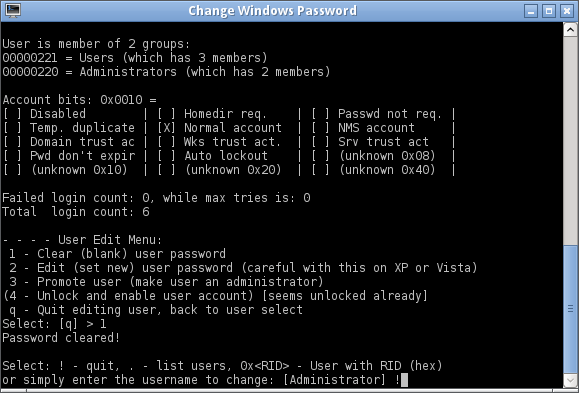
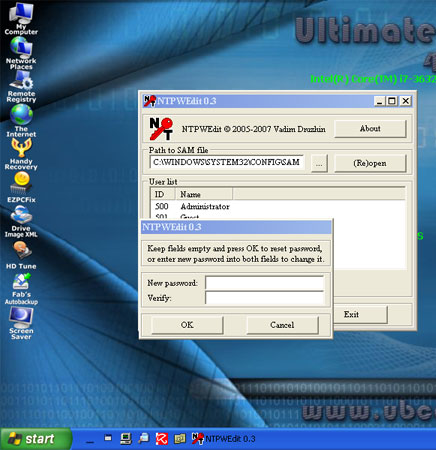
- Type your new password twice, or leave the password fields blank if you want to clear the password. Click OK.
- Restart the computer, remove the UBCD4Win Live CD from the drive, and you should be able to log into Windows administrator account with the new password you’ve set.