The size of text in Chrome is too small or too large? Improper font size can make the text on the web pages hard to read. In this tutorial we’ll show you 2 easy methods to change default font size for Chrome browser.
Method 1: Change Font Size for Chrome Using Zoom Mode
Zoom mode allows you to quickly change the size for both text and images of any web site. You can set different zoom levels for each website. Here’s how:
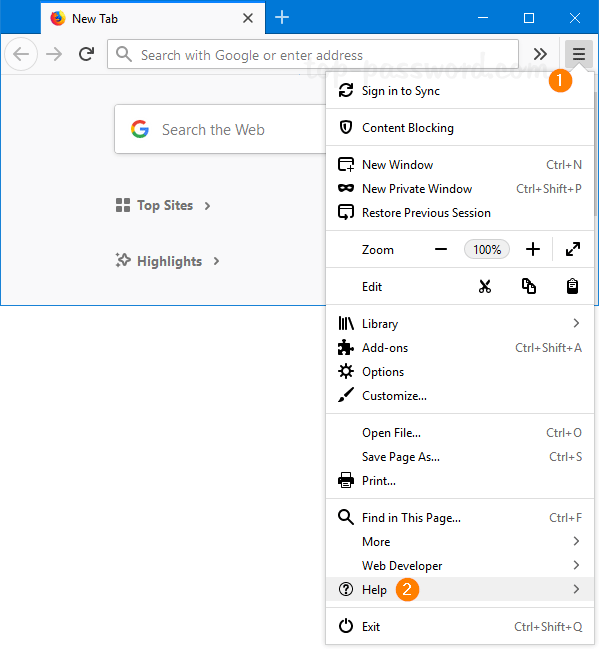
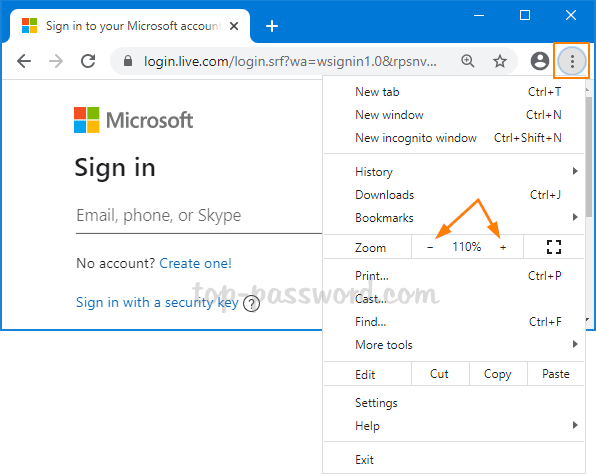
- Open the Chrome browser and go to the web page for which you want to change the font size. Click on the Menu button (three vertical dots) to the right of the URL bar.
- In the menu that pops up, look for the “Zoom” option. The default value of Zoom is 100%. You can click + to make everything on that page bigger, or click – to make things smaller.
Method 2: Change Default Font Size for Chrome via Settings
This method lets you change Chrome’s default text size for every website at once, but it won’t affect the size of images. Here’s how:
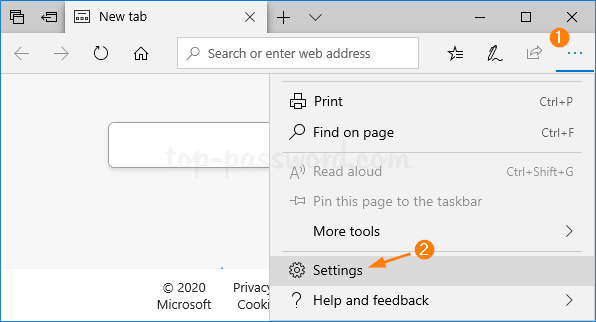
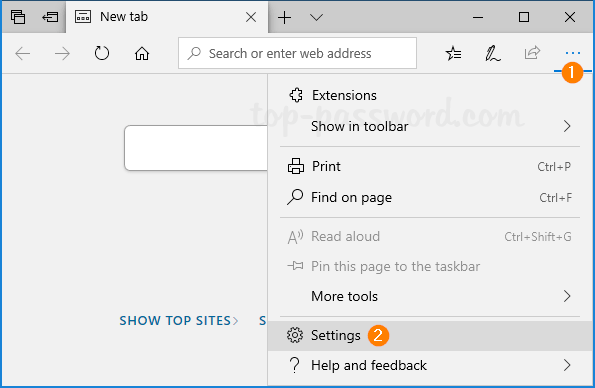
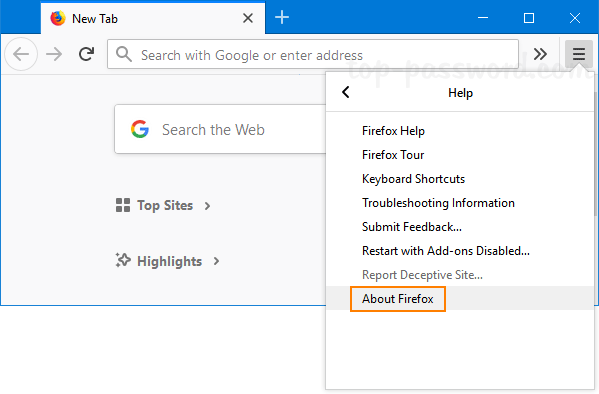
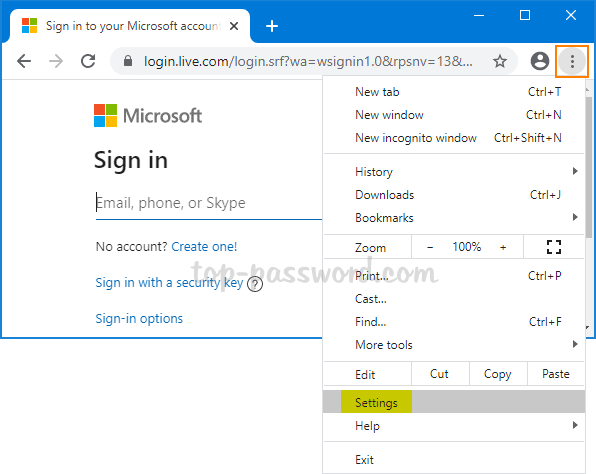
- Open Google Chrome on your PC, click on the Menu button (three vertical dots) on the top-right corner and then select Settings.
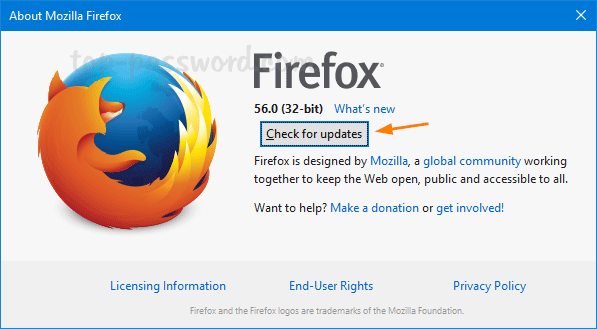
- Scroll down to the Appearance section. Click the Font Size drop-down list and you can choose the new font size for web pages: Very large, Large, Medium, Small or Very small.
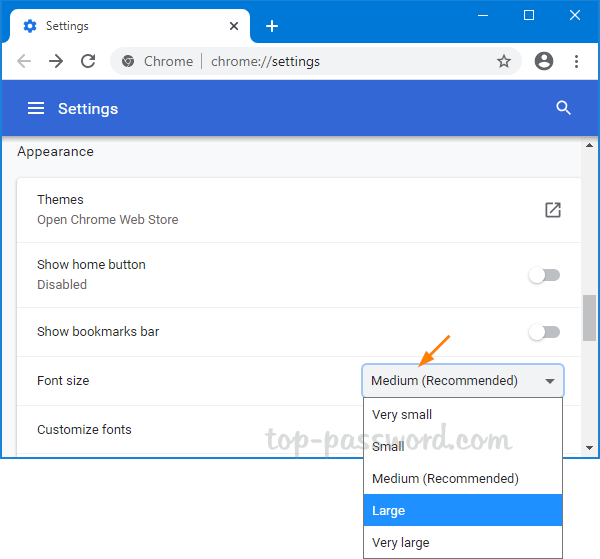
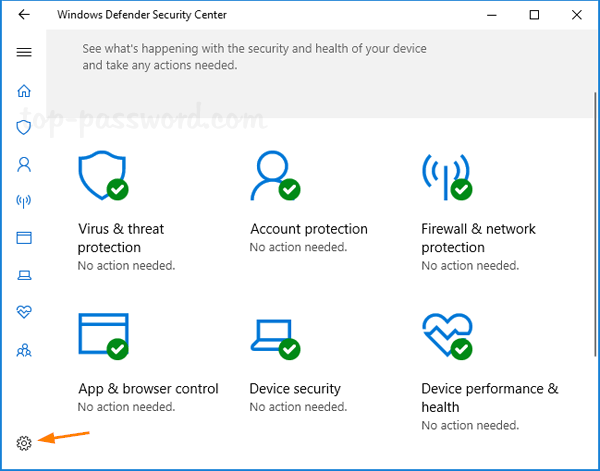
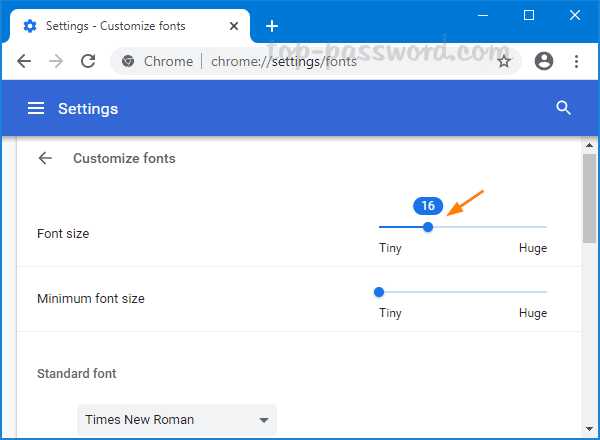
- If you still can’t get the fonts to the proper size, just click on Customize fonts.

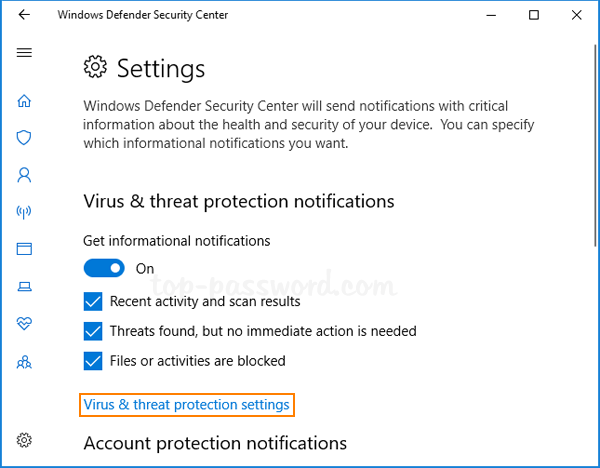
You can move the slider to change the default font size to any value between 9 and 72.
That’s all there is to it!