Just like the local account, Windows 10 also allows you to set up expiration date for PIN login. A PIN usually contains only numbers, and this makes it easier for anyone with physical access to break into your computer. It’s good practice to enable PIN expiration policy to prompt users to change PIN regularly.
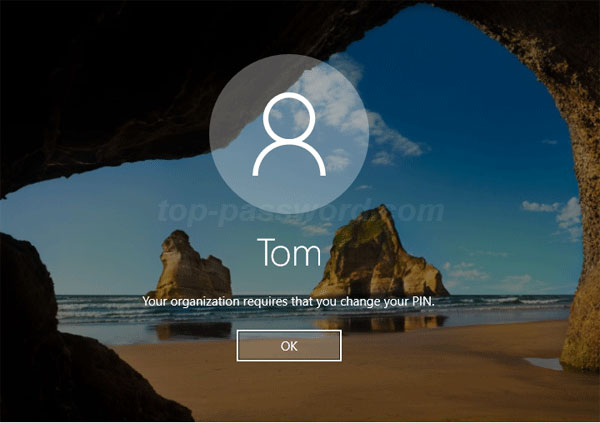
In this tutorial we’ll show you 2 simple ways to turn on or off PIN expiration in Windows 10. When your PIN is expired, you’ll receive the message “Your organization requires that you change your PIN” during login.
Method 1: Turn On / Off PIN Expiration in Windows 10 Using Group Policy
- Open the Local Group Policy Editor by pressing the Windows key + R keyboard shortcut and then typing gpedit.msc.

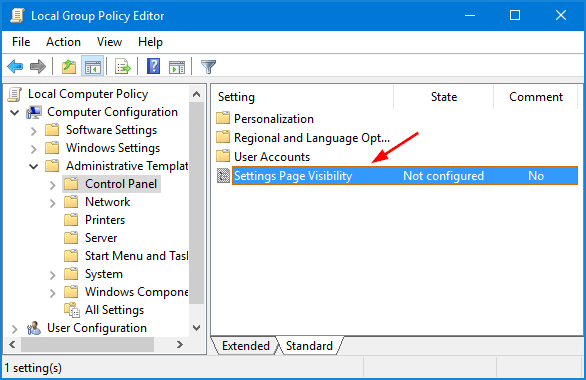
- Navigate to the following location in the left pane of Local Group Policy Editor:
Computer Configuration\Administrative Templates\System\PIN ComplexityNext, double-click the Expiration policy in the right pane.
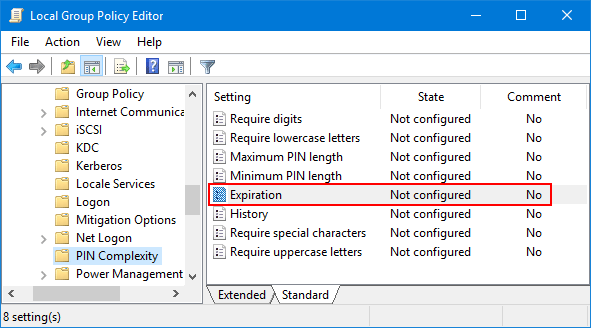
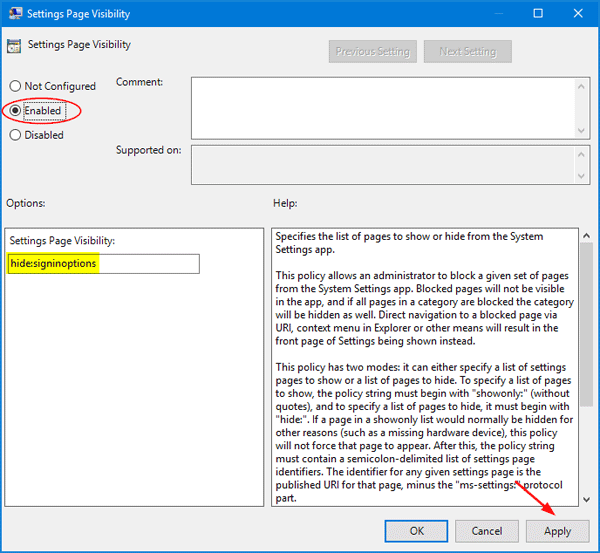
- This will open the Expiration window. To enable PIN expiration, select the Enabled option and enter a number between 1 and 730 days for when to expire after. If you use default 0 the PIN will never expire.
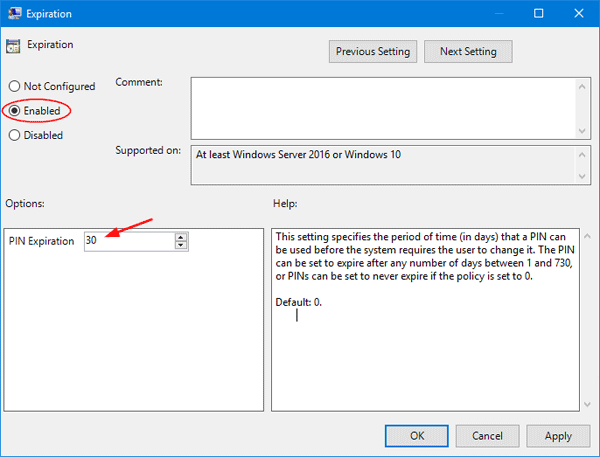
If you want to disable PIN expiration, just select either Disable or Not Configured, and click OK.
- Close local Group Policy Editor and restart your computer to apply your changes.
Method 2: Turn On / Off PIN Expiration in Windows 10 Using Registry Editor
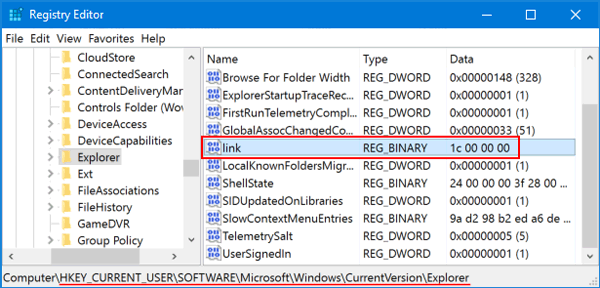
- Open the Registry Editor by pressing the Windows key + R keyboard shortcut and then typing regedit.

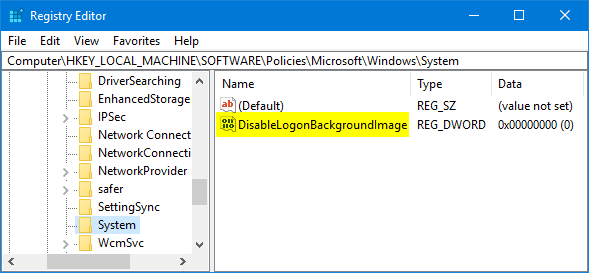
- Navigate to the following registry key:
HKEY_LOCAL_MACHINE\SOFTWARE\Policies\Microsoft\PassportForWork\PINComplexityThe last two keys (PassportForWork, PINComplexity) may not exist on your machine, so you will have to create them (right-click on the previous key and select New->Key in the context menu that appears).
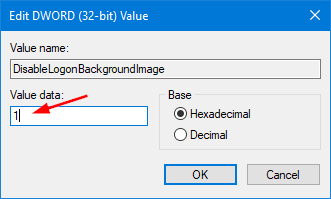
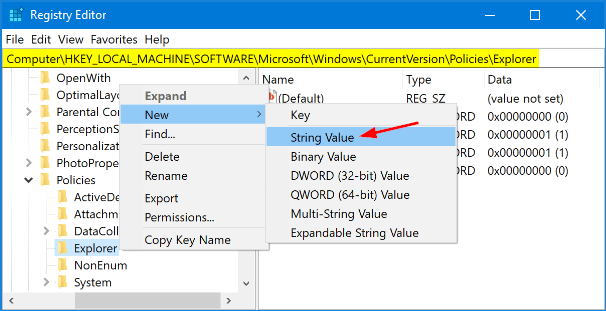
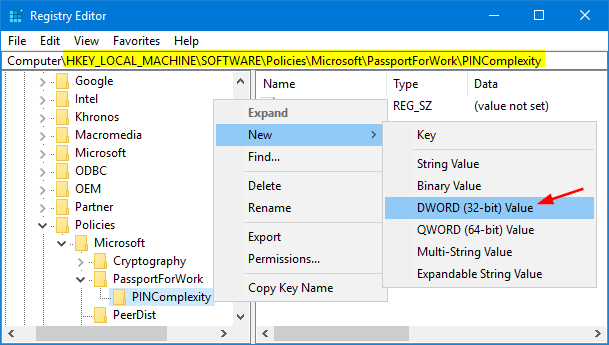
- Right-click on the PINComplexity key in the left pane, and then select New -> DWORD (32-bit) Value.
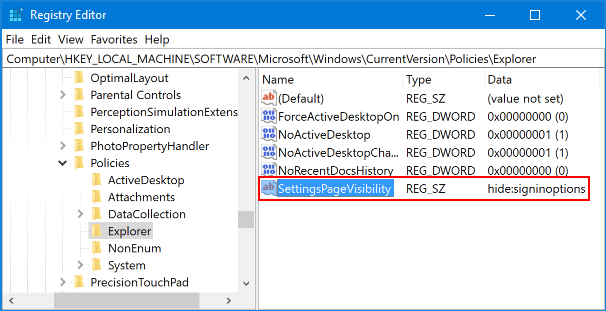
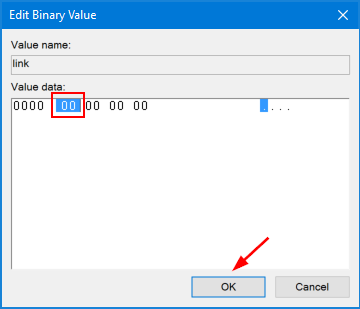
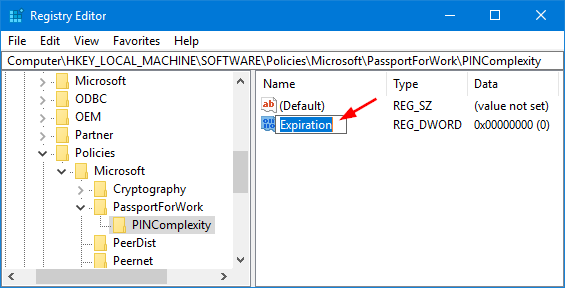
- Name the new DWORD value as Expiration, and then double-click on it to modify.
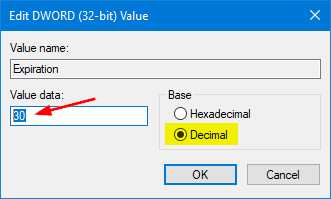
- Select the Decimal option, you can enter a number between 1 to 730 days before requiring users to change PIN. Click OK.
If you want to disable PIN expiration later, just delete the Expiration value itself.
- Close Registry Editor and reboot your PC for your changes to take effect.