Posts Tagged ‘system cooling policy’

How to Change System Cooling Policy in Windows 10 / 8 / 7

February 17th, 2017 by Admin

System Cooling Policy allows you to specify the cooling mode you want to use for your Windows-based computer, for which you have two options: Active and Passive.

  • The Active setting increases fan speed before slowing the processor to main cooling. You’ll get the best performance by leaving the System Cooling Policy set to Active.
  • The Passive setting slows the processor before increasing fan speed. If the fan is always running and you would like to make it quieter, you can choose to opt for the passive mode.

In this tutorial we’ll show you how to change the system cooling policy in Windows 10, 8 and 7.

How to Change System Cooling Policy in Windows 10 / 8 / 7?

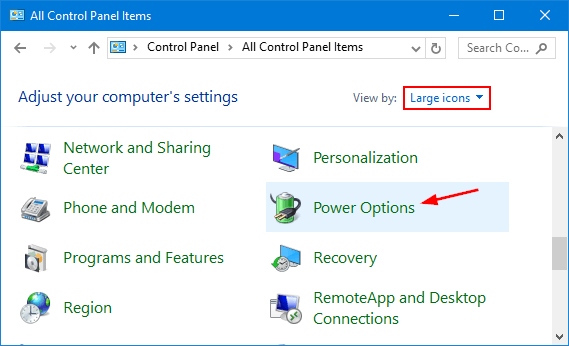
  1. Open the Control Panel in Large icons view. Click Power Options.

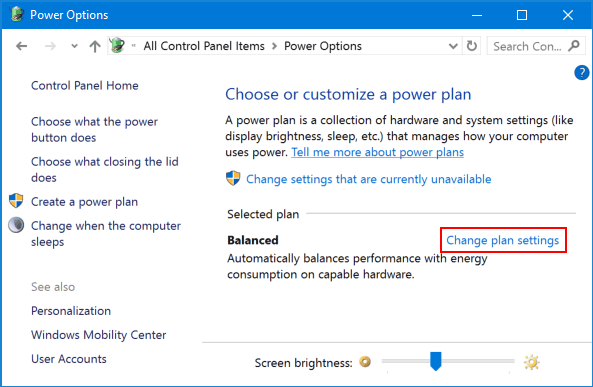
  2. In the right pane, for the power plan that you have selected to use, click Change plan settings.

    change-power-plan-settings

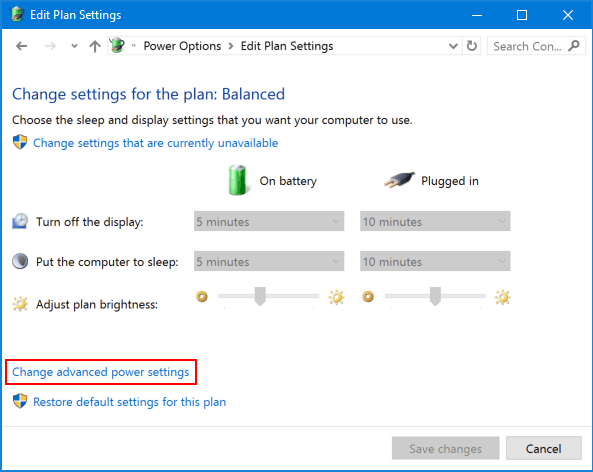
  3. Click Change advanced power settings.

    advanced-power-settings

  4. Click the link labeled Change settings that are currently unavailable.

    change-power-settings-unavailable

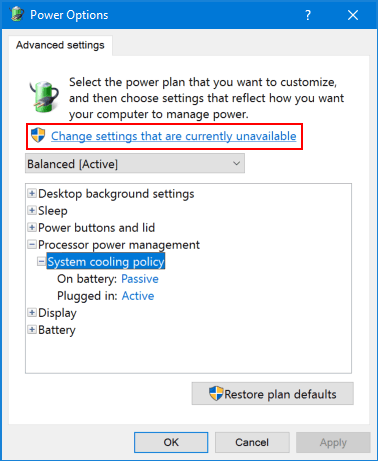
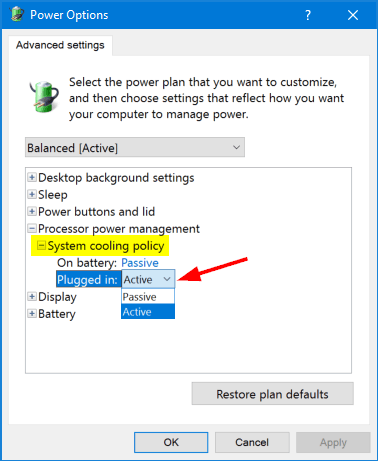
  5. In the Power Options dialog box, expand Processor power management and you’ll see the System cooling policy setting. Set the System cooling policy to Active or Passive, then click OK.

    system-cooling-policy

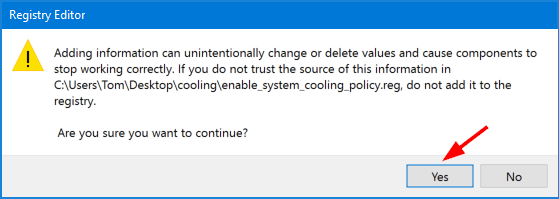
If the System Cooling Policy setting is not showing in the Power Options dialog box, you can restore it using a registry hack: Fix: System Cooling Policy Missing in Power Options.

Fix: System Cooling Policy Missing in Power Options

February 17th, 2017 by Admin

System Cooling Policy is missing in Windows? System Cooling Policy lets you change the cooling mode of your system. If you couldn’t see the System Cooling Policy option under the Power Options of Control Panel, you need to tweak the registry settings. In this article we’ll show you how to restore the missing System Cooling Policy option in Windows 10, 8 and 7.

Fix: System Cooling Policy Missing in Power Options

  1. Open Notepad. Copy and paste the code below into Notepad, then save it as a .reg file.

    Windows Registry Editor Version 5.00
    [HKEY_LOCAL_MACHINE\SYSTEM\CurrentControlSet\Control\Power\PowerSettings\54533251-82be-4824-96c1-47b60b740d00\94D3A615-A899-4AC5-AE2B-E4D8F634367F]
    "Attributes"=dword:00000002

  2. Double-click on the .reg file to import the settings into the registry. Click Yes when asked to confirm.

    import-reg-file

  3. Open the Control Panel and access the Power Options, you’ll see that the System Cooling Policy is shown under the.Processor power management node.

    system-cooling-policy

If you want to remove the System Cooling Policy option again, repeat the steps above to import the following registry settings.

Windows Registry Editor Version 5.00
[HKEY_LOCAL_MACHINE\SYSTEM\CurrentControlSet\Control\Power\PowerSettings\54533251-82be-4824-96c1-47b60b740d00\94D3A615-A899-4AC5-AE2B-E4D8F634367F]
"Attributes"=dword:00000001

That’s it!