Most of us end up having so many different passwords for different websites, that sometimes it becomes really hard to remember them. Writing them anywhere would defeat the whole purpose of having a password. A very simple solution is a Password Manager. Password Manager is a software that securely stores all your passwords, and you are provided with one master password to access all your passwords. This means that you need to remember just one password.
We have reviewed many free password managers. Here is a list of the best 3 free password managers that we have come across. All of these are extremely easy to use, very secure, and completely free. Some have more features than others. So, go through the list, and see which one fits your needs.
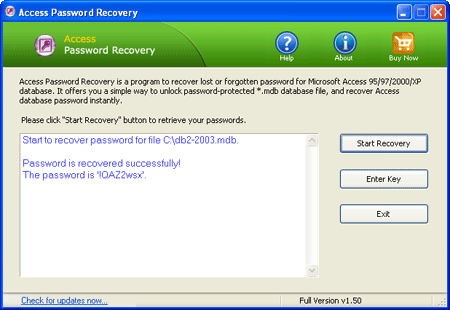
Note: Almost all available password manger utilities use some kinds of irreversible encryption algorithms to secure your password. So if you forgot the password to log in to your password manager software, it’s unable to recover all logins and passwords saved by the application. But you can still give a try with Password Recovery Bundle, it can help you reset forgotten Windows login password, unlock MS Office / PDF document, recover passwords from email clients and instant messengers, etc.
1. KeePass
KeppPass Password Manager is my favorite Password Manager. It is extremely secure, and uses advanced algorithms for encrypting your information. Apart from passwords, it stores website URL, login name, and password. So, if you want to open a website, and add login information to that, just double click on that in KeePass Safe, and it will take care of that for you. This makes it extremely useful. Apart from that, you can carry it in your Flash drive so you can use it on any system. It works on almost all OS, including, Windows, Mac OS X, Linux, and FreeBSD.
2. iPassMan
iPassMan is another useful password manager. It works a lot like KeePass. You can store name of website, and the corresponding login information. You can also add some notes for your login information. To run a website, you can directly click on it in iPassMan, and it will open the website for you, and also fill in the login information. It works only on Windows.
3. MyPadlock
MyPadlock Password Manager is a secure and simple password manager that allows the user to keep all the password under “lock and key” on their PC and is only accessible if they know a master password that is created by the user on initial configuration. This master password will be the only password which needs to be created.
MyPadlock has using 128-bit AES encryption to encrypt all the password into an encrypted file and keep into hard drive. The file is also encrypted with password and will automatically logged off in a few minutes to ensure that the users don’t leave the password open to anyone while they were away from their desk.
So which password manager is right for you? Ultimately, it’s up to you to decide what features you want. If these free password manager utilities can’t meet your needs, you can also consider purchasing commercial software such as LastPass, RoboForm, 1Password, etc.