In Windows 10, password protected sharing is turned on by default, so your shared files could be accessed by only network users who have the login credentials of your computer. If you want to allow others to access the shared files on your PC without any username/password, follow the below step-by-step tutorial to turn off password protected sharing in Windows 10.
Steps to Disable Password Protected Sharing in Windows 10
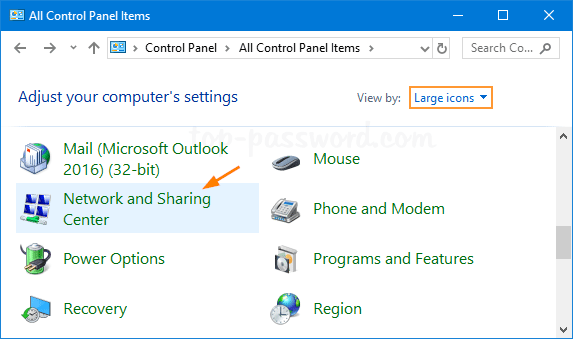
- Open the Control Panel and change the View by setting to Large icons, then click on Network and Sharing Center.
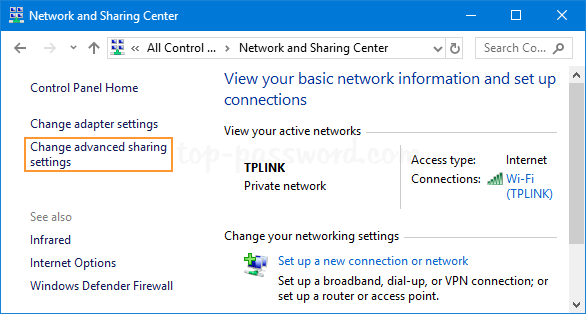
- Click on the “Change advanced sharing settings” link on the left side.
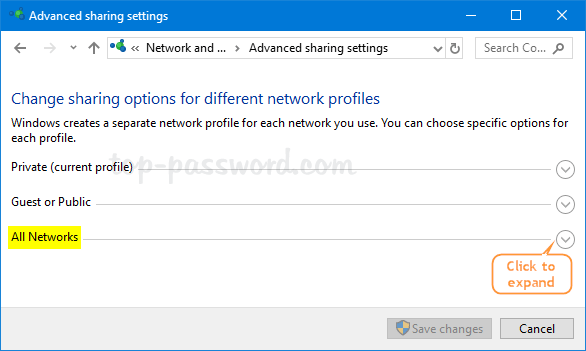
- Click on the downward arrow to expand the All Networks section.
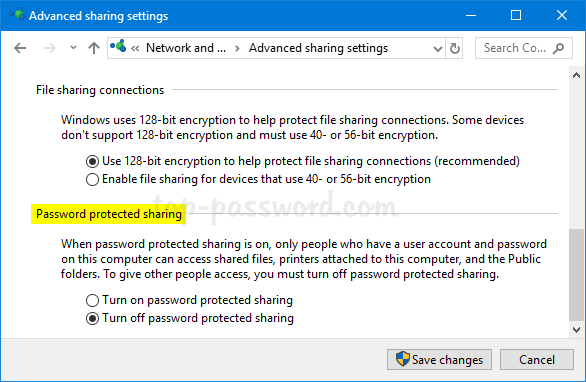
- Under Password protected sharing, check the option “Turn off password protected sharing” and click Save changes.
Can’t Turn off Password Protected Sharing?
After you’ve followed the above steps to disable password protected sharing, go back to the Advanced sharing settings and sometimes you may find the password protected sharing is still turned on. This issue usually happens when your Guest account is protected with a password. To fix this issue, you have to remove the Guest password:
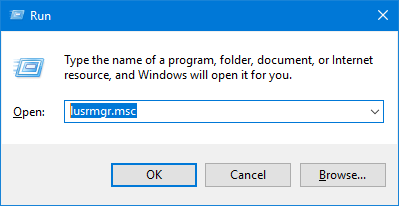
- Press the Windows key + R together to open the Run box, type lusrmgr.msc and press Enter to open Local Users and Groups.
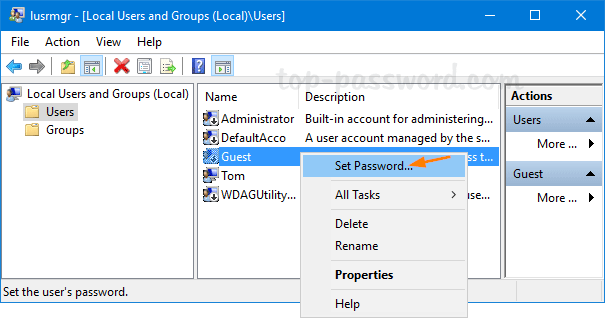
- Click Users in the left pane, then right-click on Guest and select Set Password.
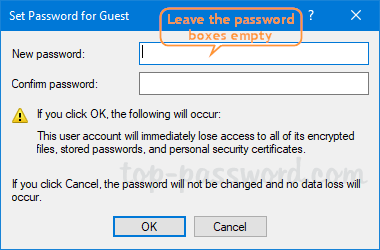
- Leave the New password and Confirm password fields blank, then click OK.
If you’re unable to run the lusrmgr.msc (Local Users and Groups snap-in), you can use other methods described in the following article to remove the Guest account password.
5 Ways to Remove the Administrator Password in Windows 10
After removing the Guest password, you should now be able to turn off password protected sharing successfully.